Adding the shear strips

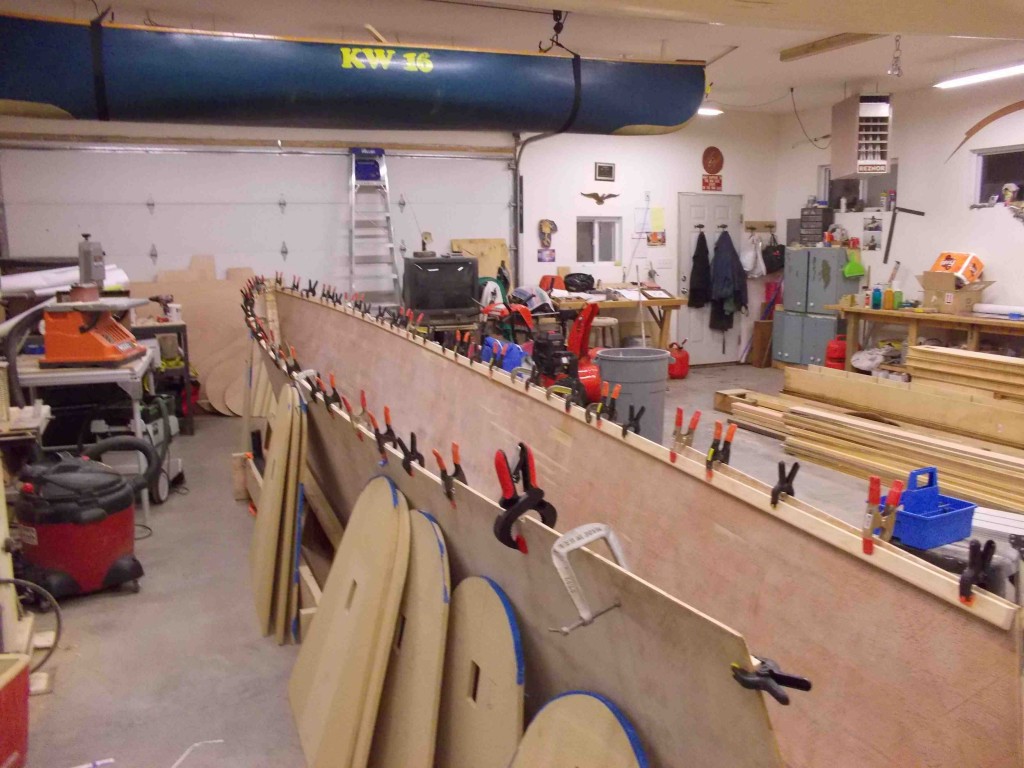
Finally got hull #1 in the shop and all my tools moved around. After many hours in the thinking chair, I have a plan of attack.

  1. Add the shear strips
  2. Fit the bulkheads starting at the bow and moving aft

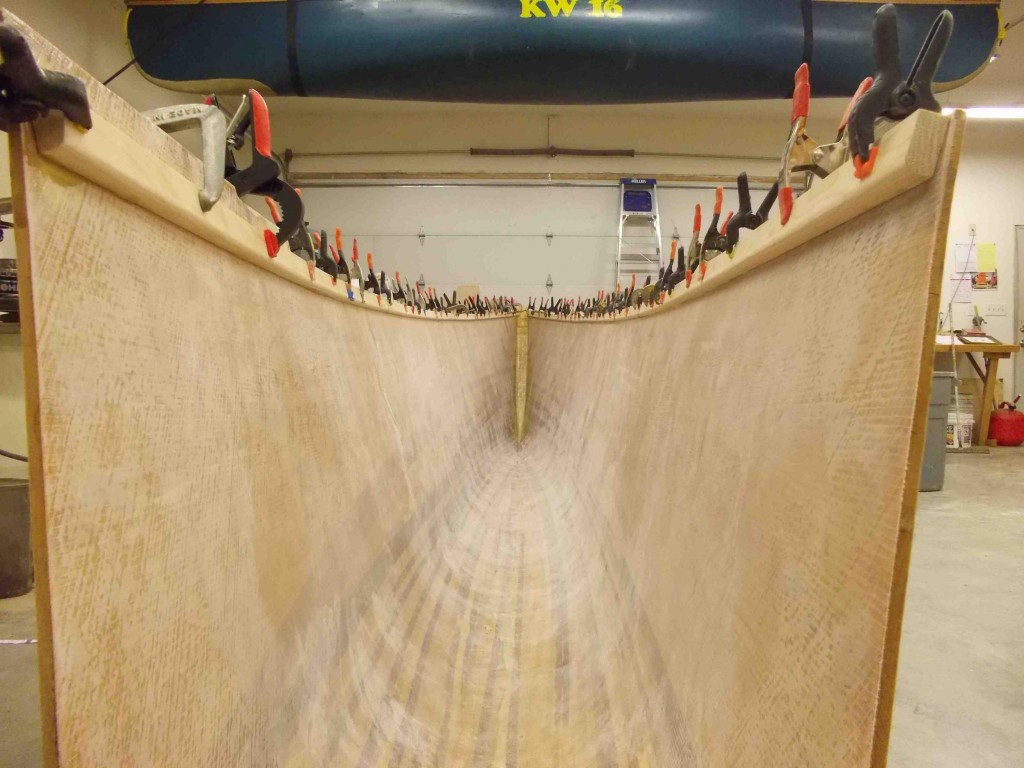
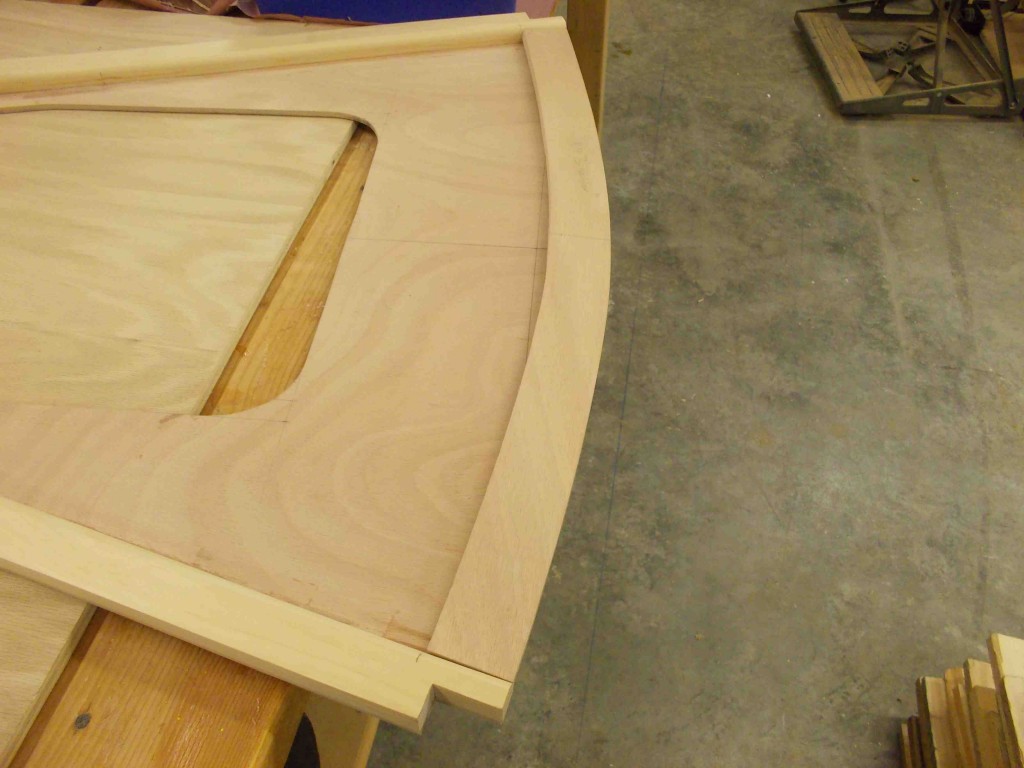
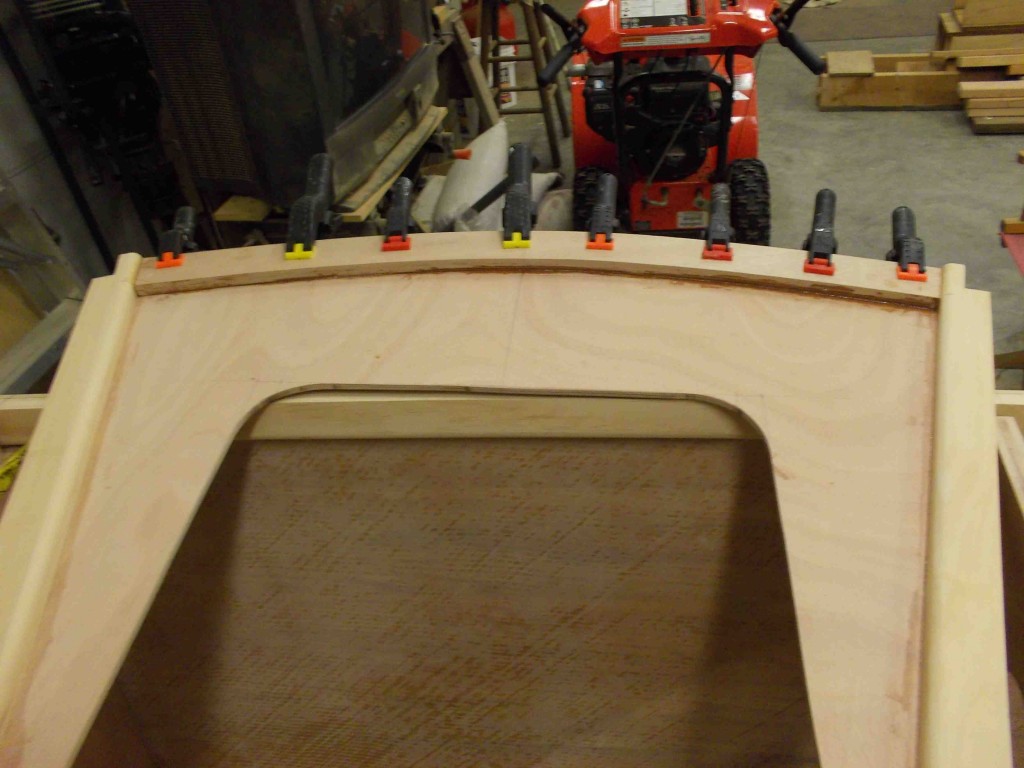
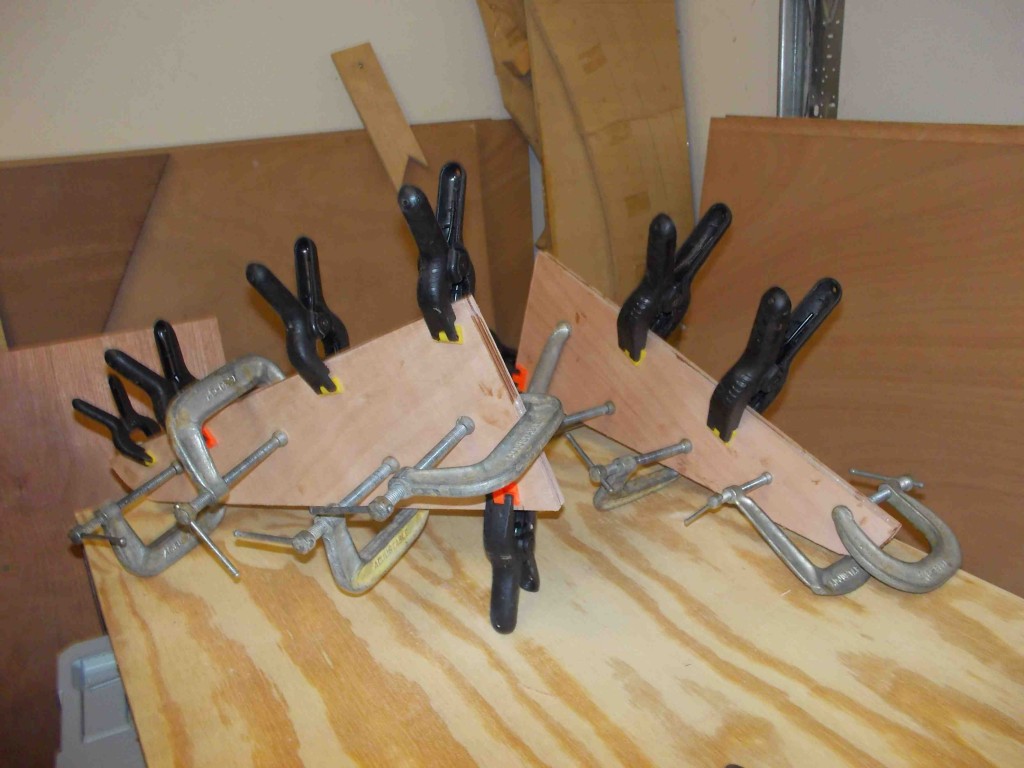
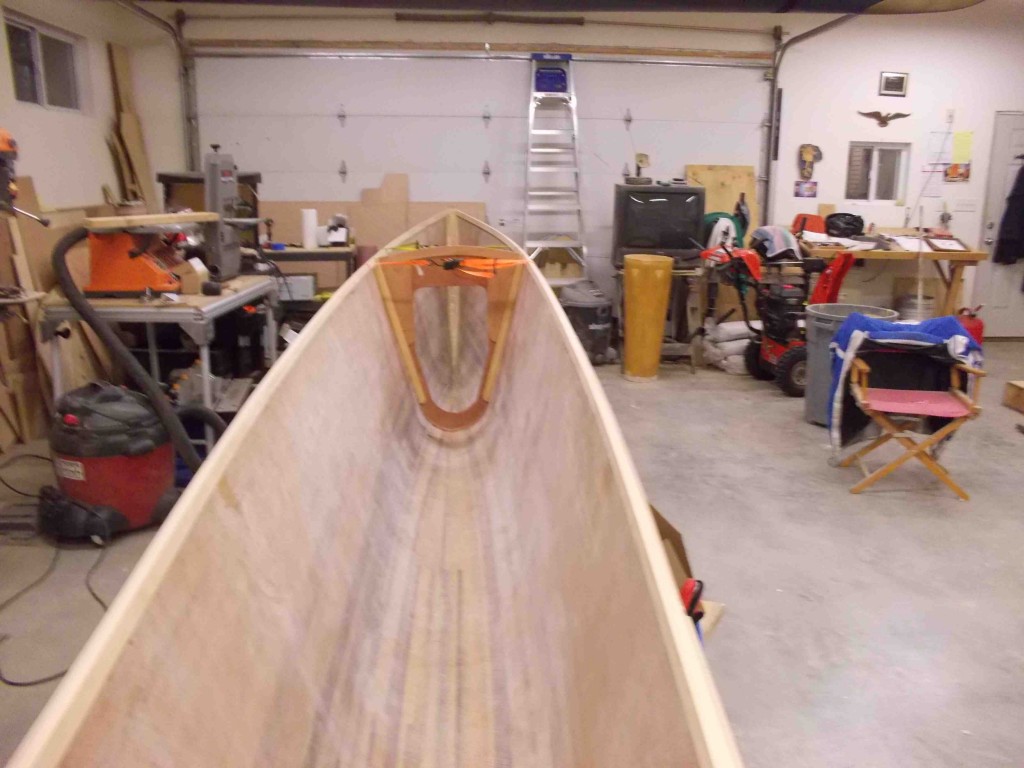
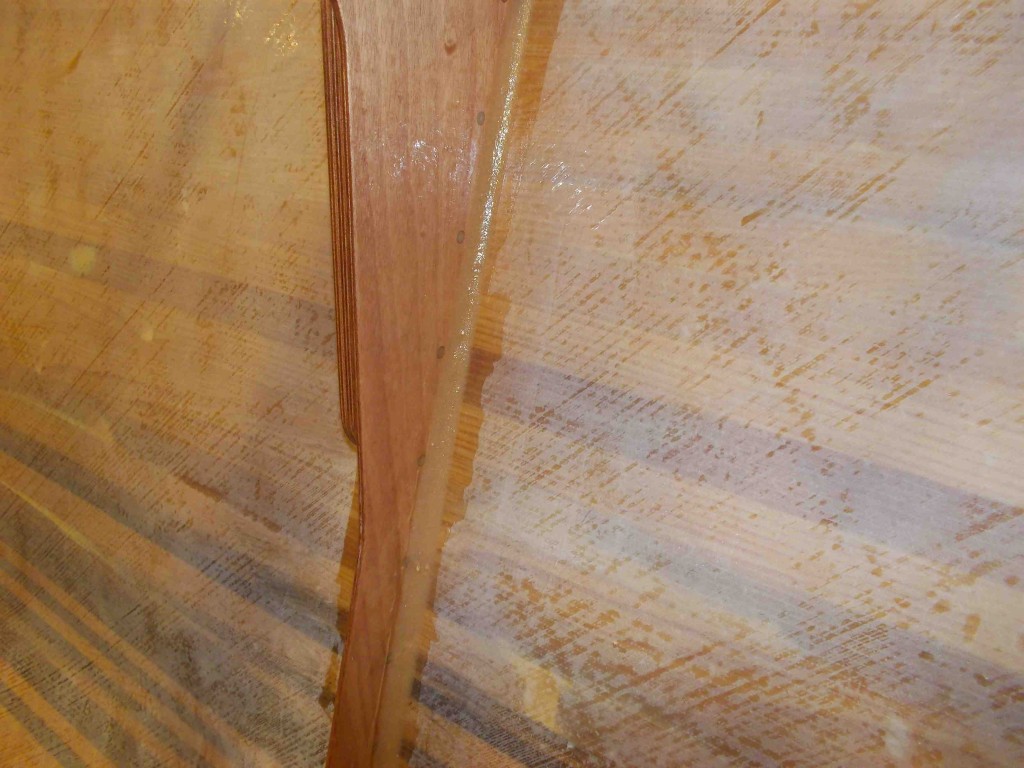
Ok, so I should have marked the shear line when I still had the boat on the forms. I actually did buy sanded the mark off. So back to placing the forms in the hull and marking the shear line. Once that was done it was quick work to scarf the sheer strip, radius the bottom of it and glue it in place with epoxy. The nice thing about sharing a boat building garage, is now I have access to twice as many clamps!

clamping the shear

This is an excellent time to make sure your sheer flows smoothly and adjusting it before the glue hardens. Notice that I added a radius to the bottom of the strip before glueing.

checking for fairness

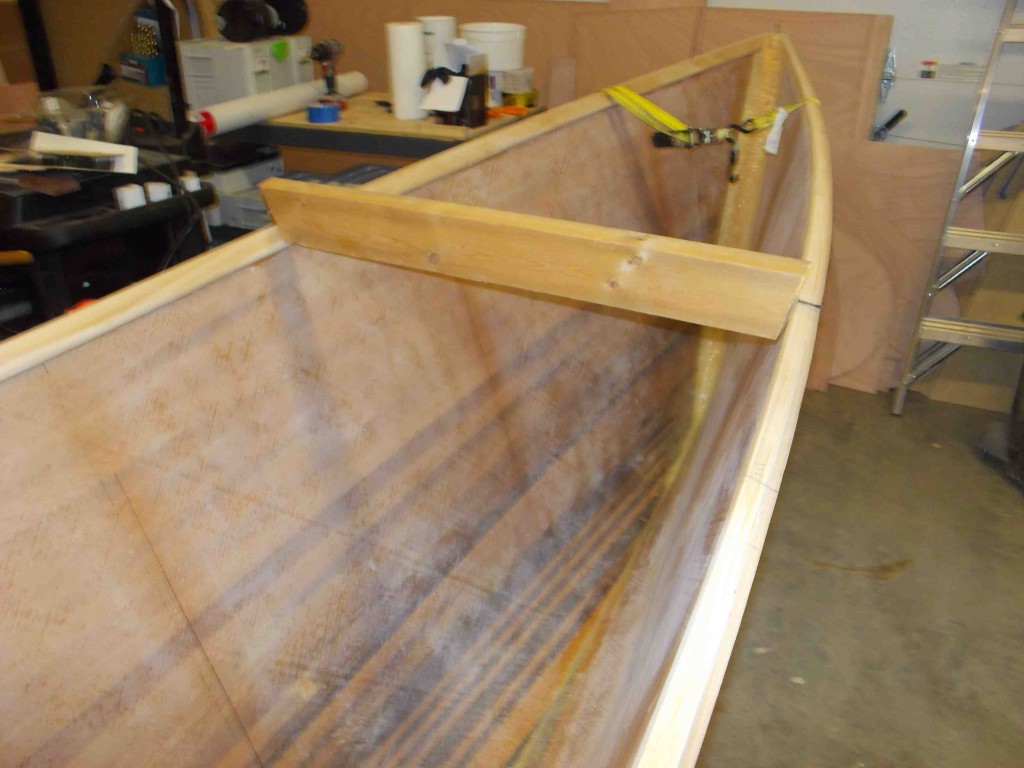
Once the epoxy hardened I ran my router with a pattern bit and trimmed the excess hull to the sheer strip.shear after trimming
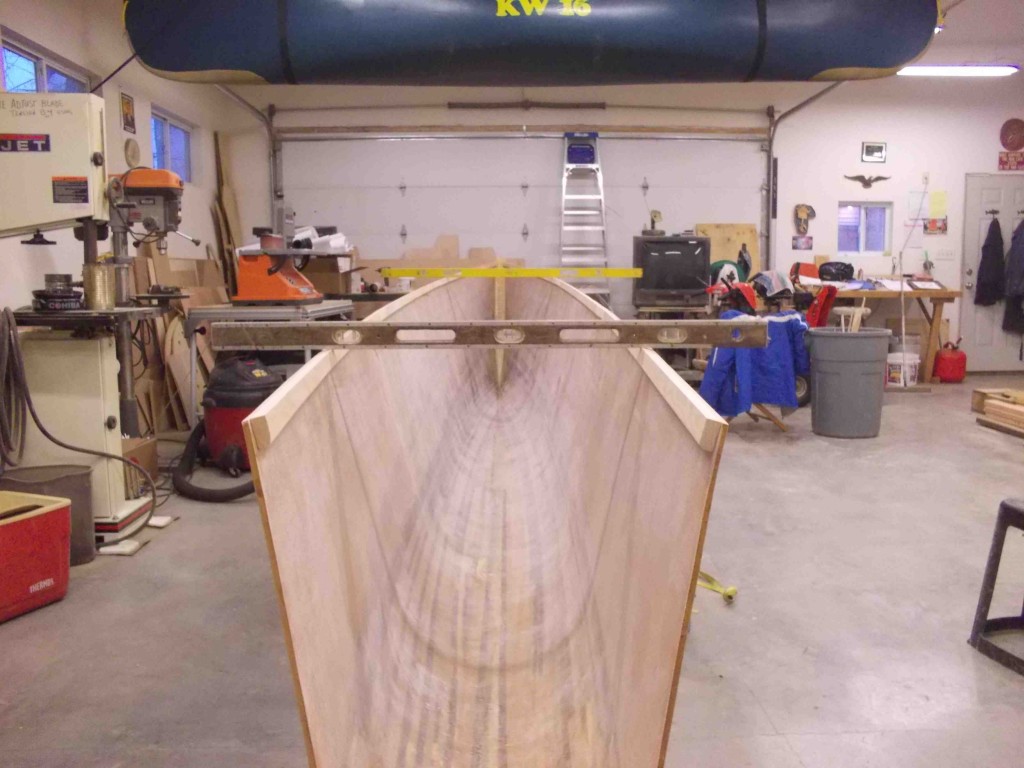
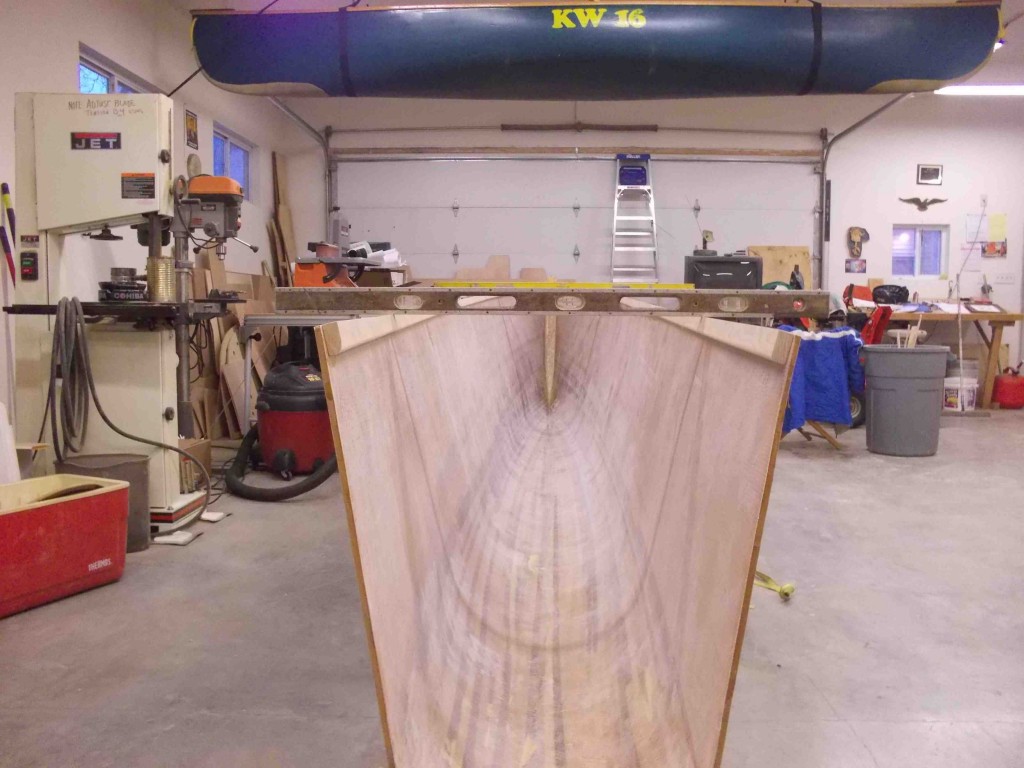
At this point I am super anxious to see if the hull is still true and square. A simple eyeball test tell me that the front and back of the hull have not torqued. If the are crooked, the front and back levels  will not align.

she is level

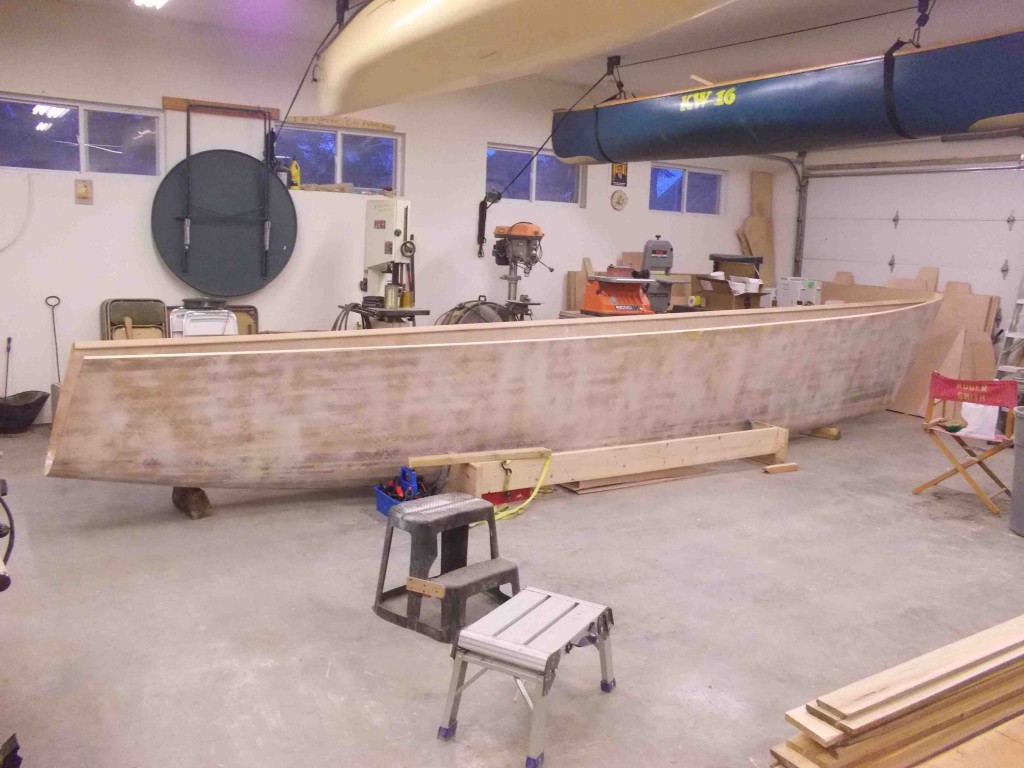
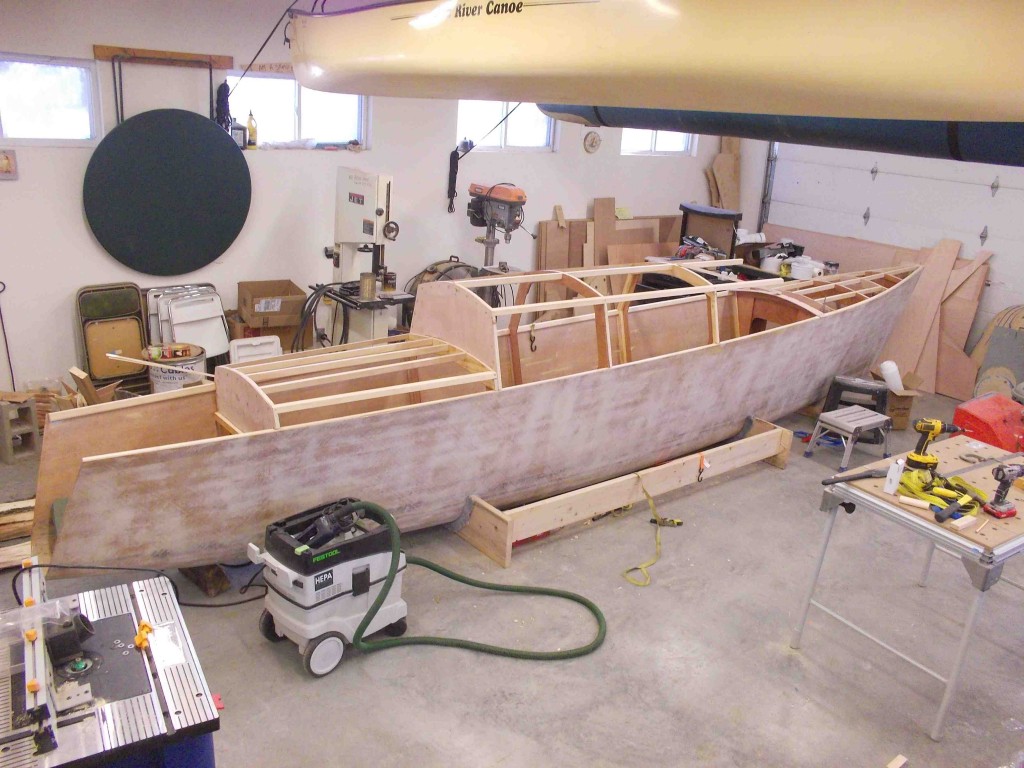
There she is! What a beauty! The hull ready for the bulkheads.
ready for bulkheads

Bulkhead #3

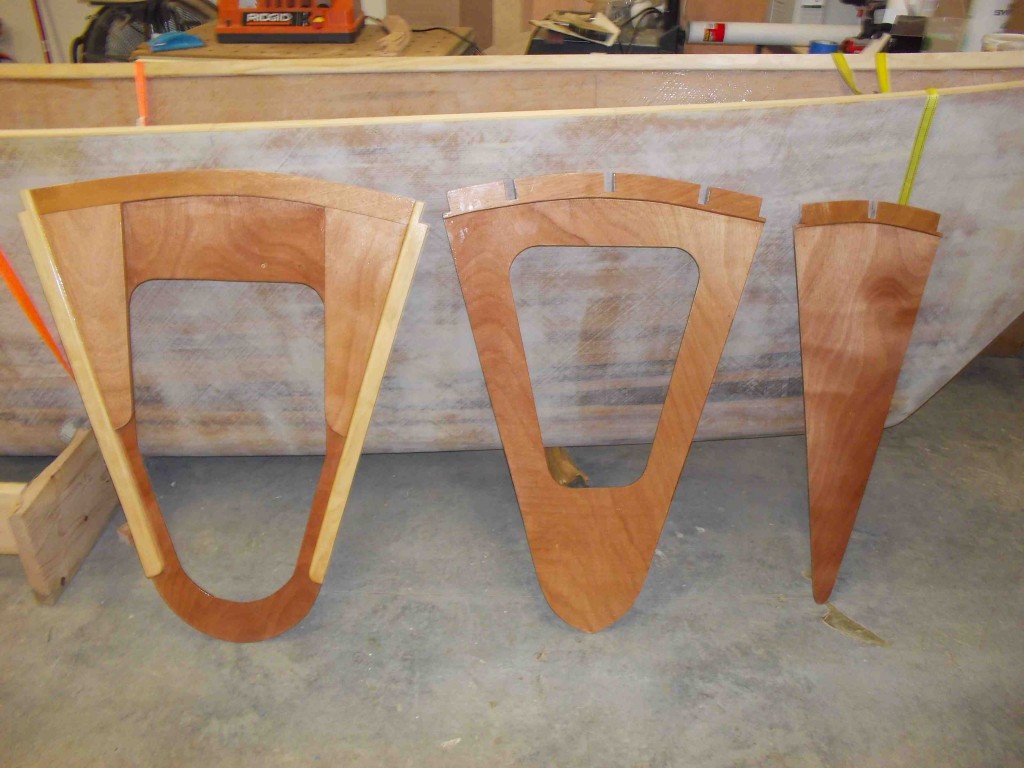
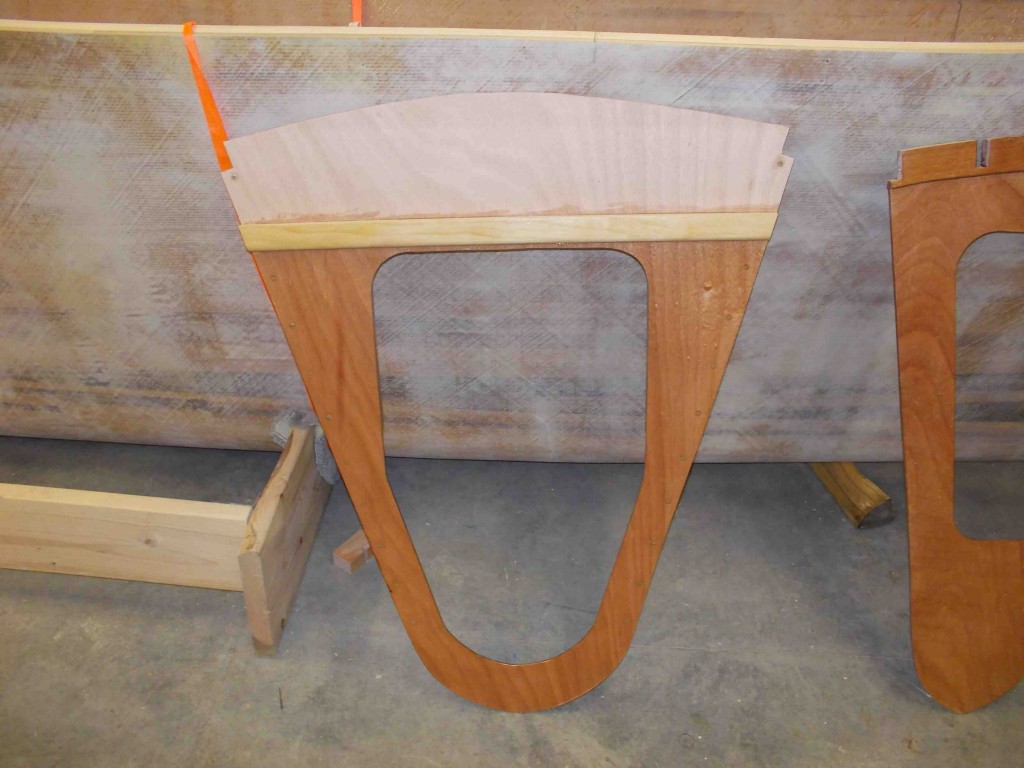
Bulkhead #3 is one of the two bulkheads that the cross beam gets connected to, thus deserving special attention. At this point I have dry fitted bulkheads 1, 2 and 3. Before glueing them in place I decide  to add as many of the extra pieces that make the beam box before bonding the bulkhead.

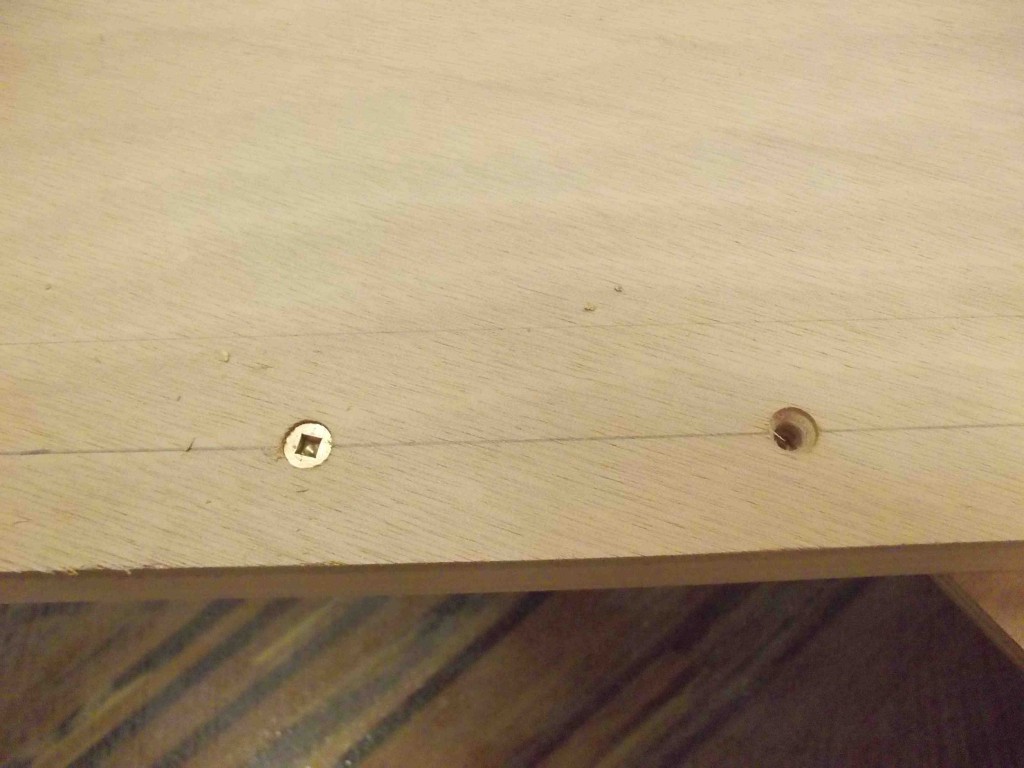
For many of these joints I am bonding with thickened epoxy and silicon bronze screws.

bonding and screwing


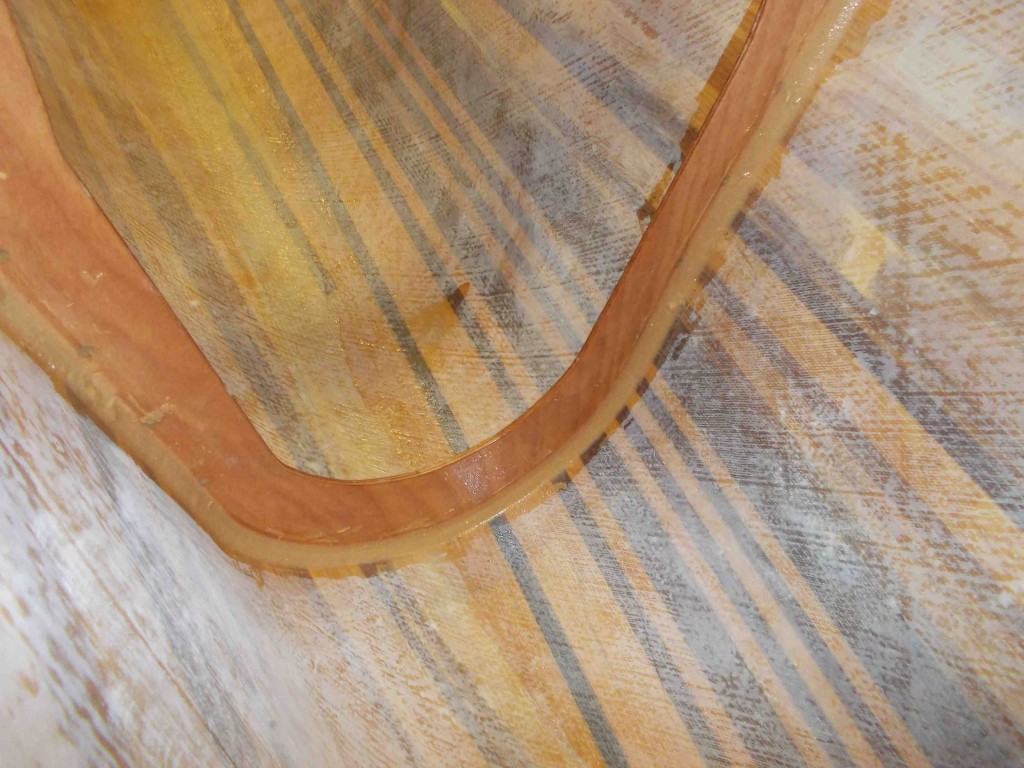
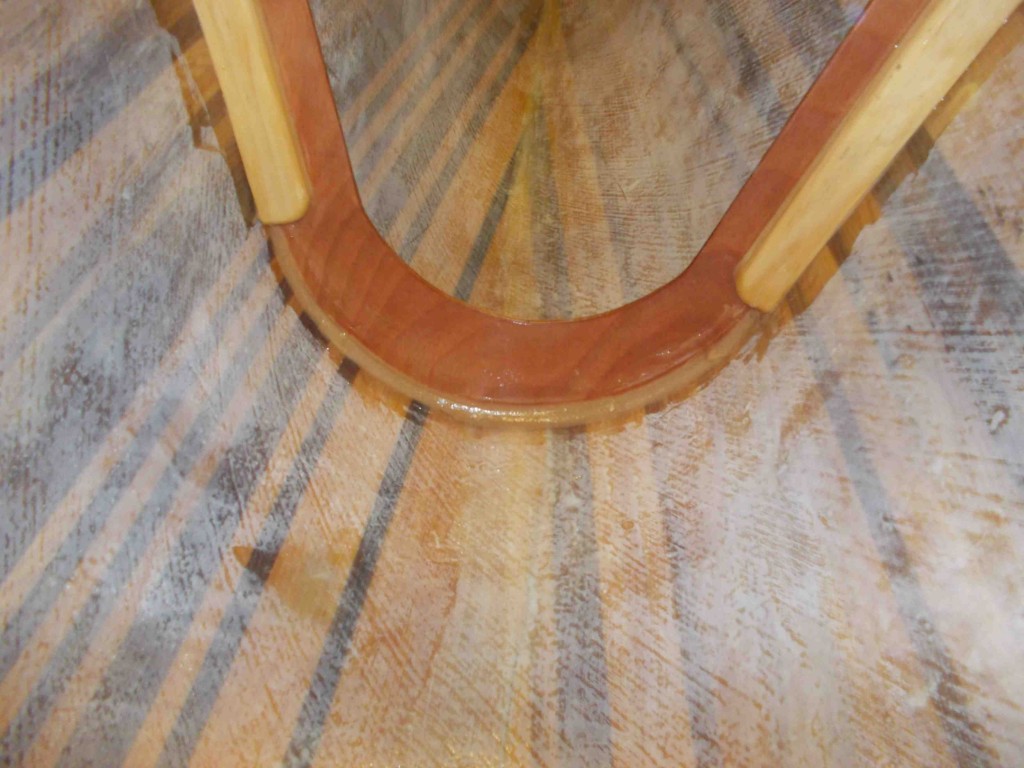
Here you can see the 1×2 reinforcements in place and the 12mm doubler that will help in setting the deck

doublers

Next you can see 12mm knees that will hold the beam bolts in place

knees knee fitting

bonding every thing together

bh3 doubler bonding bonding the knees


I also added the first brace for the beam box at this time.

Finally after two coats of epoxy to seal everything up the bulkhead is ready to install.

bh3 ready to go bh3 beam sideTo install the bulkhead and keep a good bead of epoxy going, I found it helpful to spread the  sides apart before installing. Unfortunately you can only use this trick moving aft as we go on.

spreading the hull

Clean with water and a scrubbing pad to prep the surfaces one last time, You can tell above how much dust still needed to be removed. Then I clear coated the mating surfaces and added a nice bead of thickened epoxy. Here we don’t care how much oozes out since it will be used to supply the extra epoxy for the fillets. Cargo straps tighten things up.

bh3 bonded in place filet details fillet details 3fillet details 2


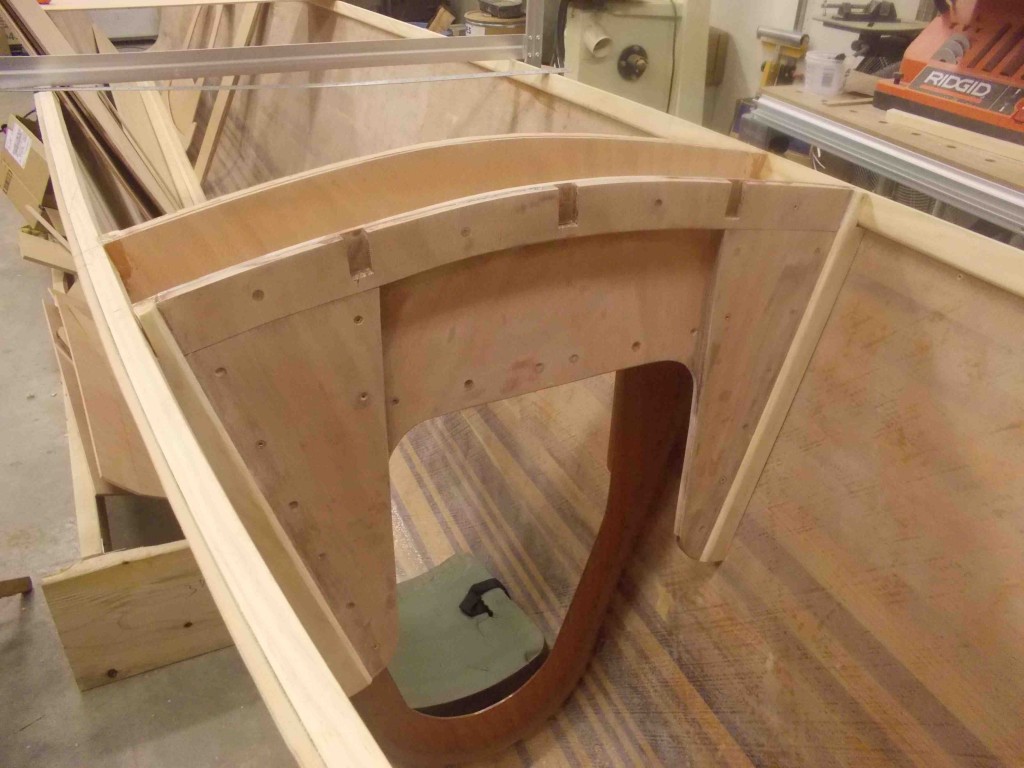
Fwd beam box

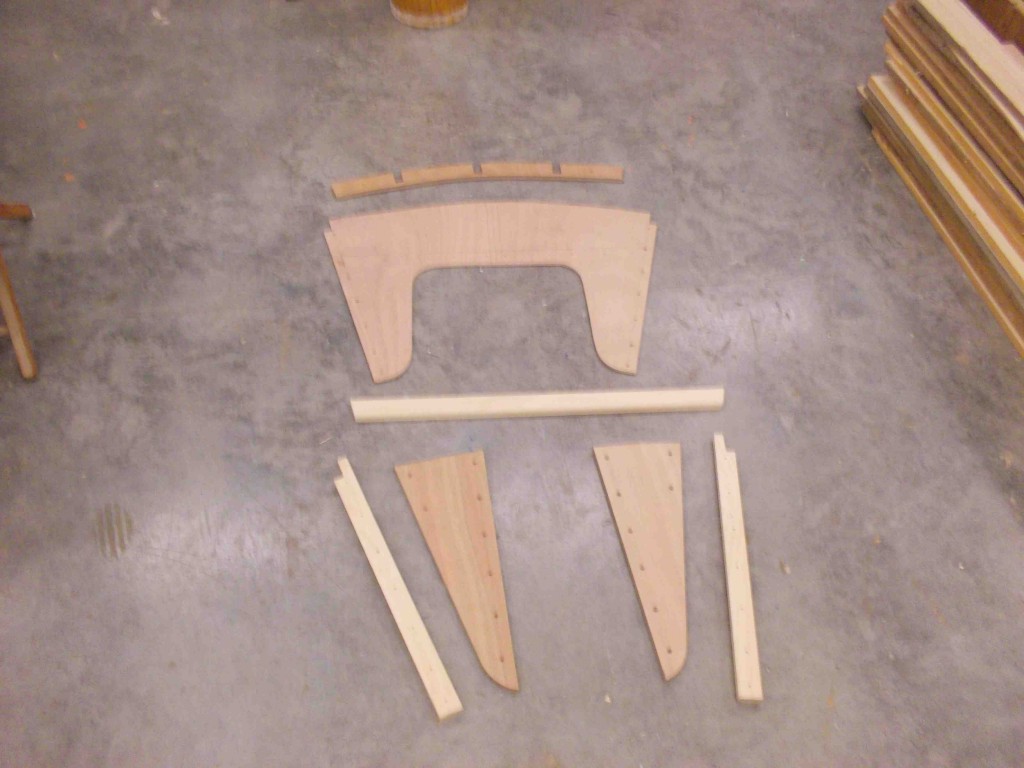
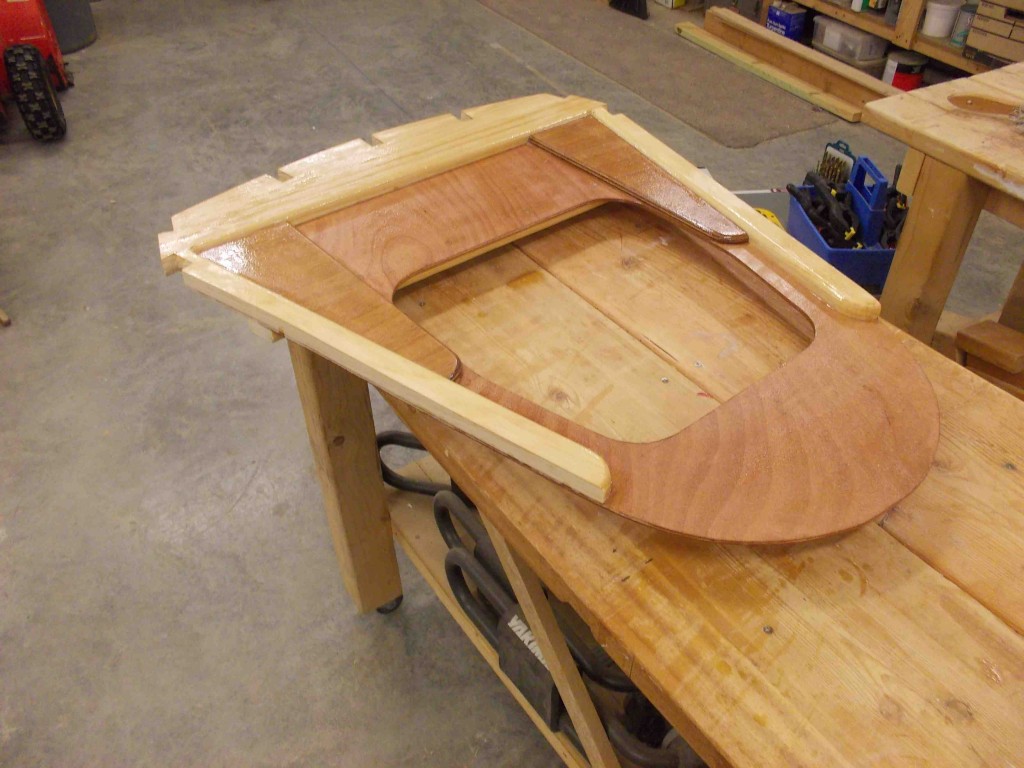
It looks simple, but it took a good part of a day to measure and cut the pieces that make up the fwd beam box. Luckily I has some help and things kept moving along.

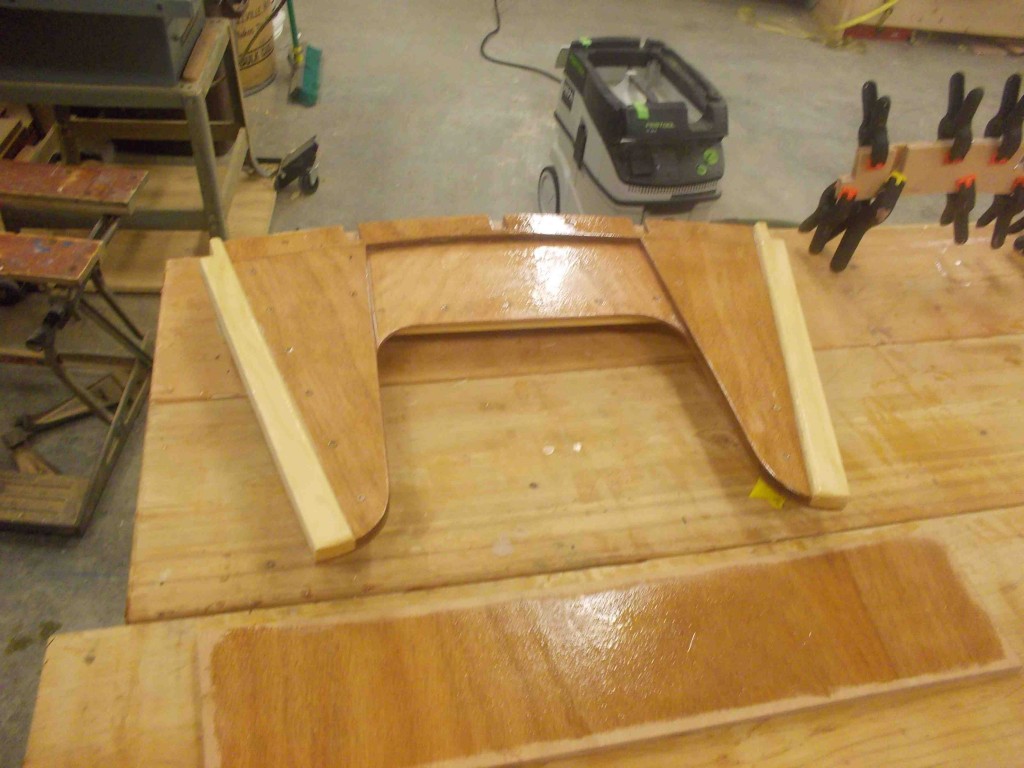
The piecesfwd beam box parts

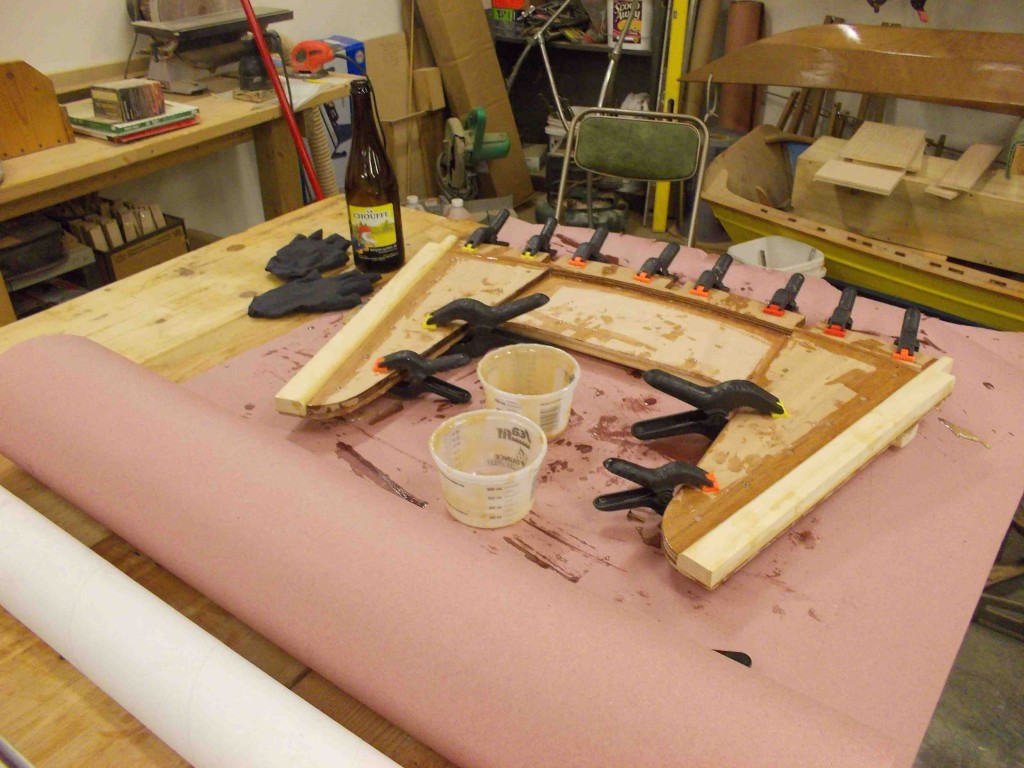
The glue up. Lots of epoxy oozing out and this baby is going to be solid! We used more screws this time, so less clamps.

fwd beam box glue up

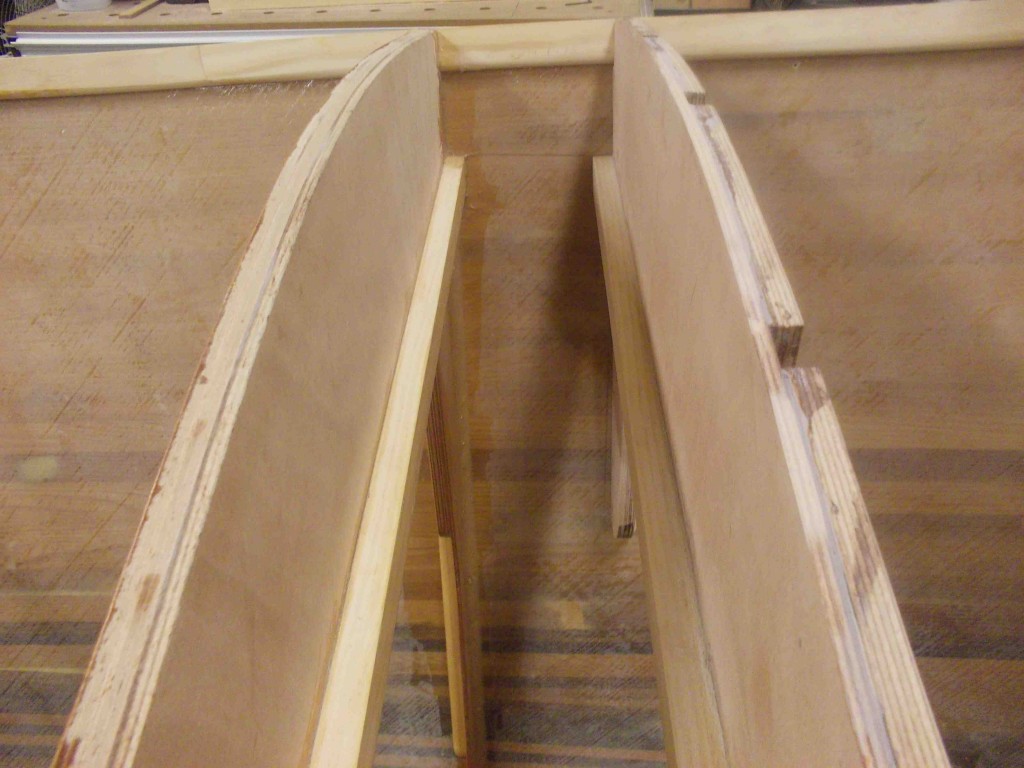
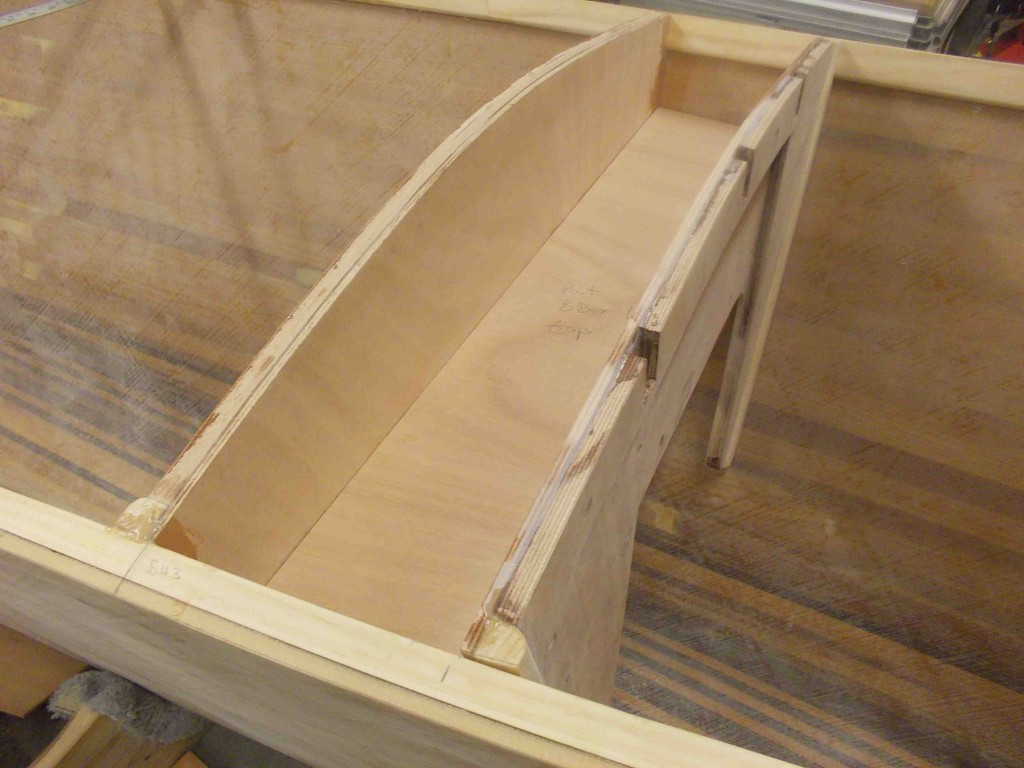
After removing all the clamps and sanding the piece down, time to see how it fits. Perfect!

fwd deck beam shelf detail

fwd deck beam dry fit

fwd deck beam dry fit 2

Now for the two coats of epoxy to seal all the plywood. Notice that I can’t bond this piece to the boat until I drill the holes for mounting the beam bolts. Those are being welded for me and should be done within the week.

fwd deck beam prepping

You might notice that on the picture above you can see frame #1 being glued. A successful day in the shop means one of 3 things happen at the end of the day

  1. I bond a bulkhead or frame
  2. I glue up the additional parts required for a bulkhead or frame
  3. I am pre-fininshing a bulkhead before installation

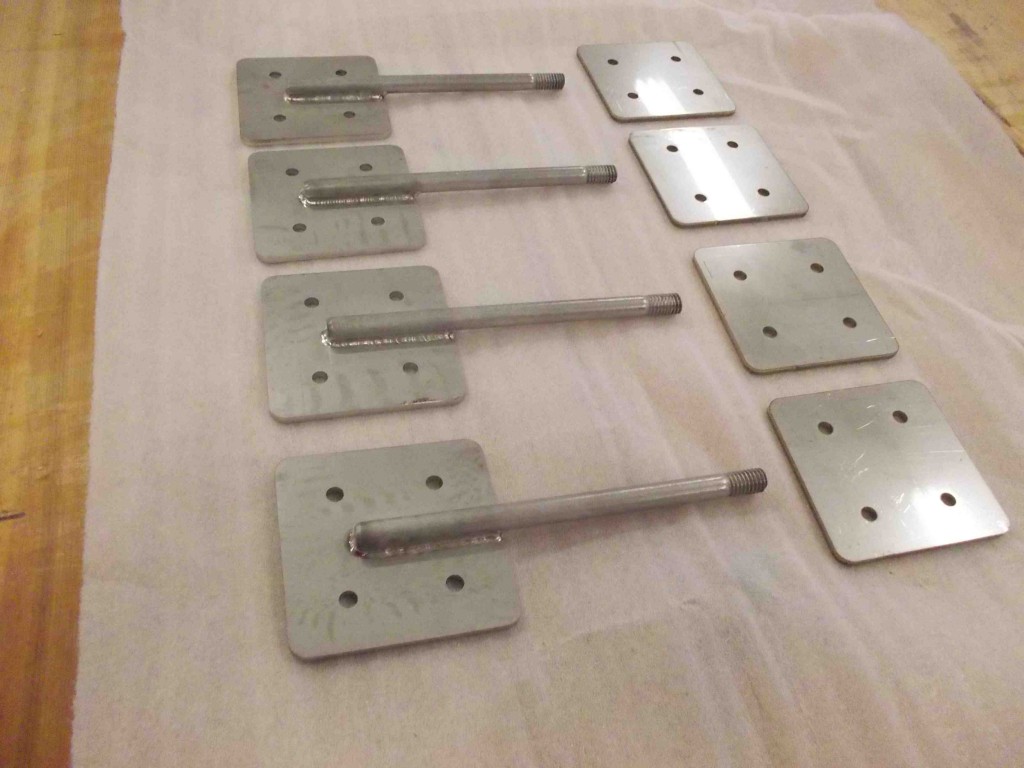
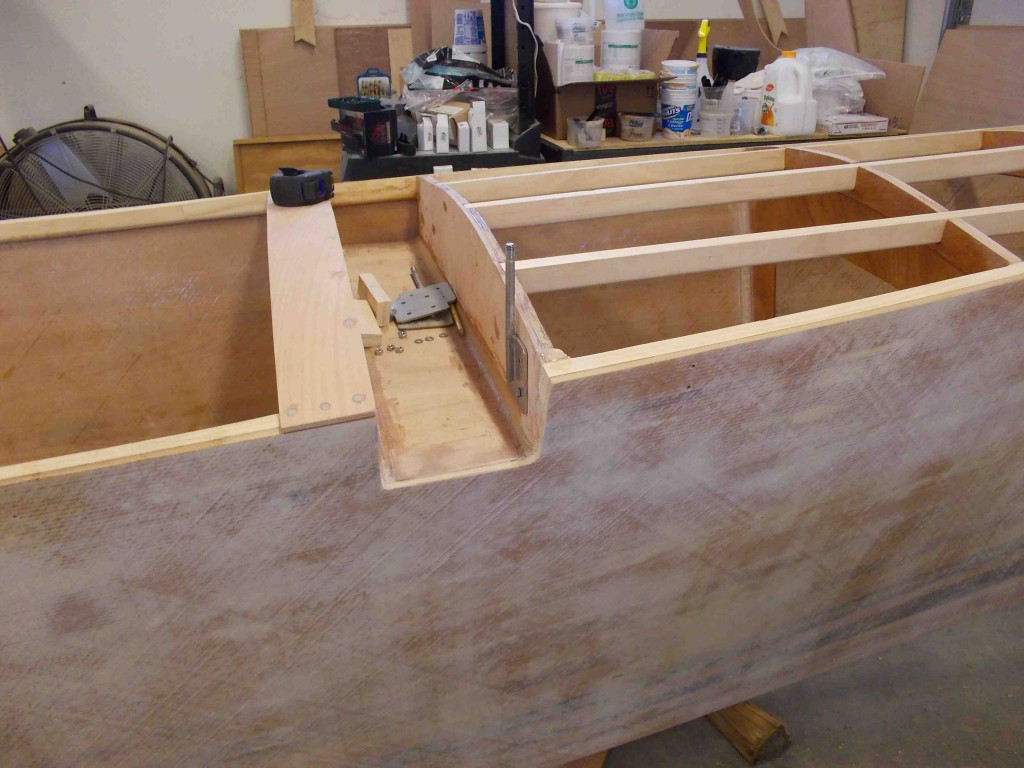
And right on time for Christmas my beam bolts were fabricated so I was able to drill the holes and bond the beam box to the hull

beam box drilled and laminated

All together we need 16 pieces, and since I had them machine cut, I also made 16 backing plates.

beam bolts

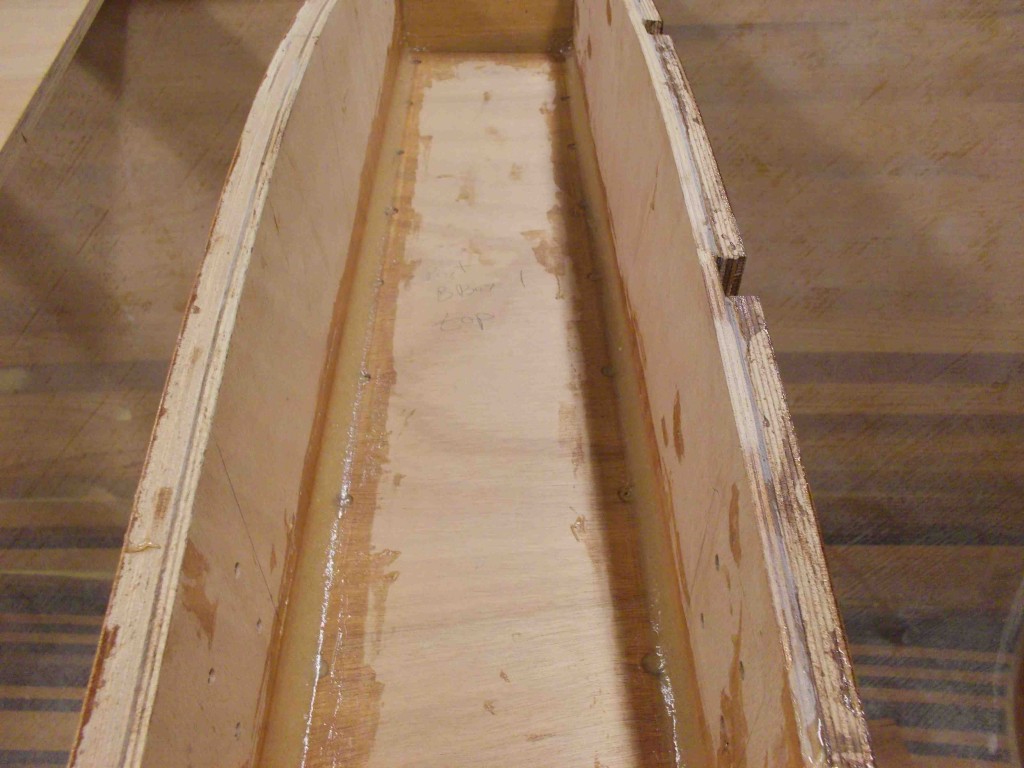
The beam box with the hull cut out and a bracket in placebeam box cut out

More Bulkheads

A busy three weeks adding the remaining of the bulkheads and the transom. She is finally starting to look like a boat.

looking like a boat


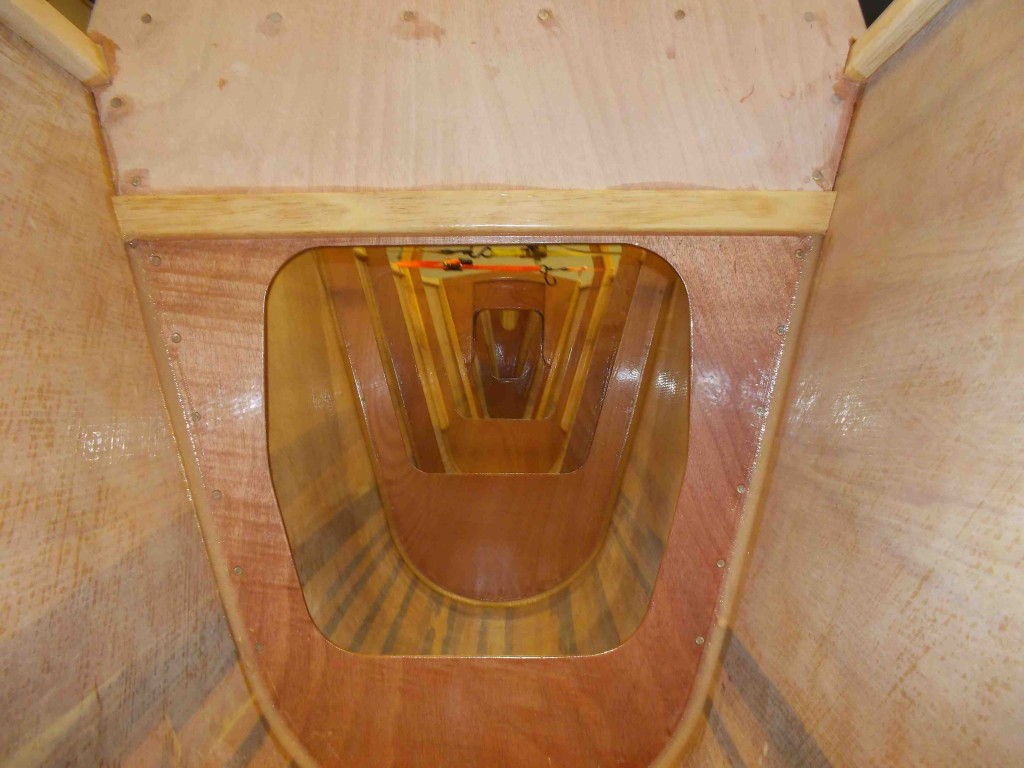
A view from the transom looking forwardthrough view


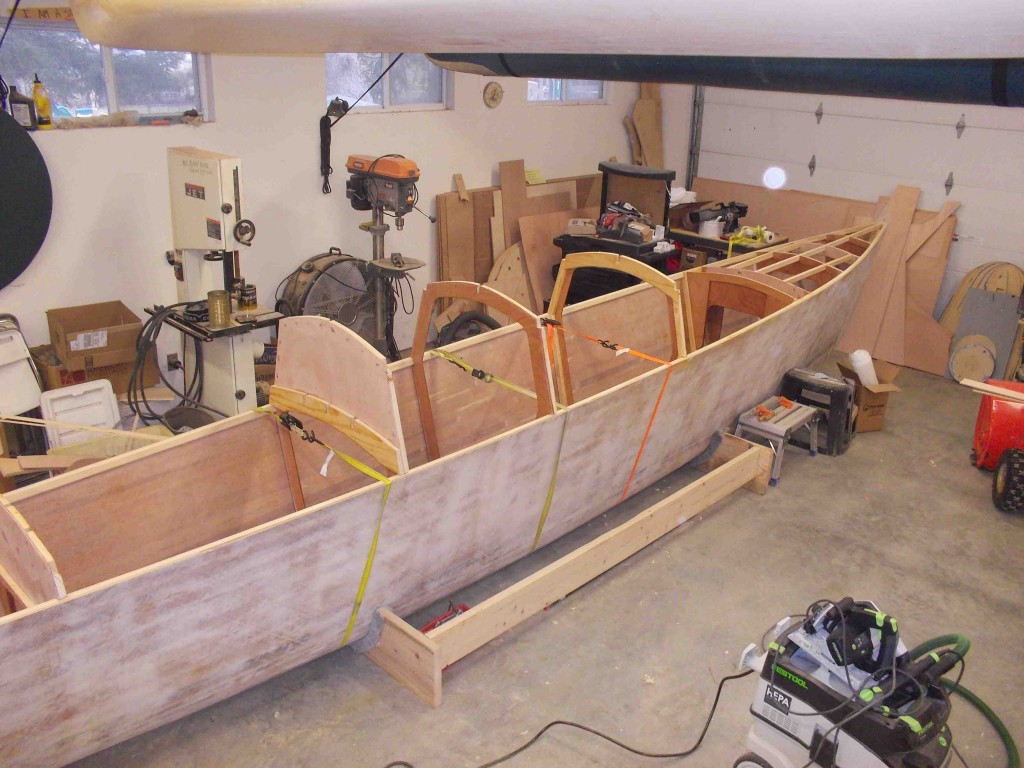
Bulkheads tabbed in

bonding bulkheads

Bulkhead 7 showing the reinforcements for the aft beam box bh7 framed

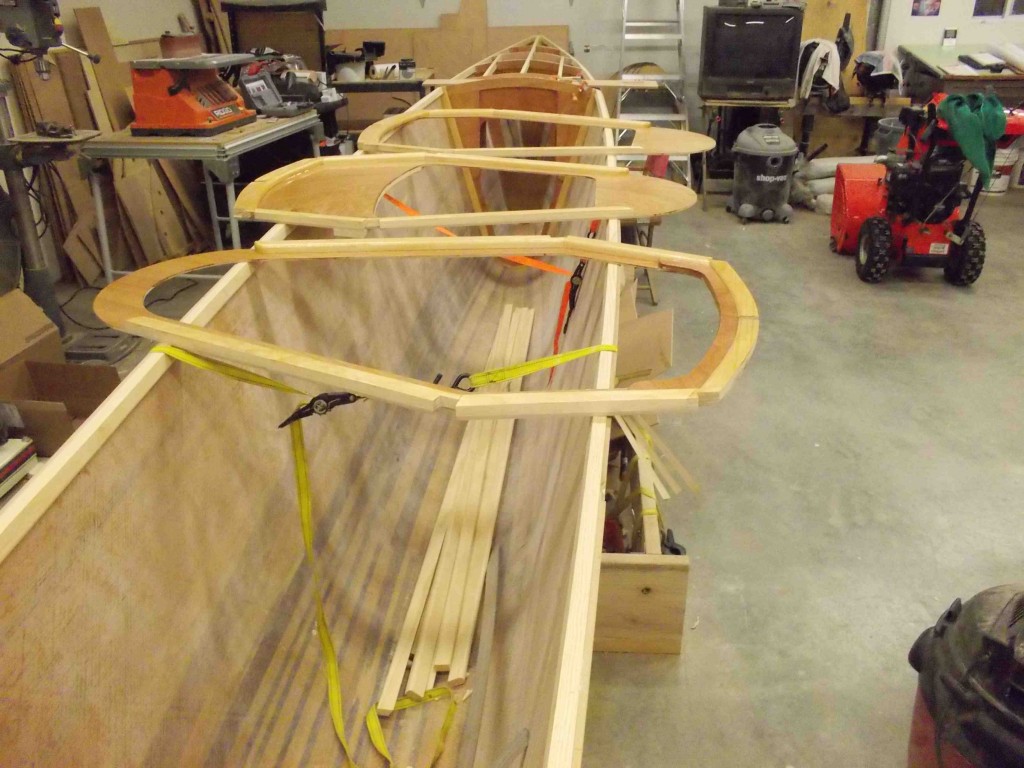
Bulkheads 4, 5 and 6 ready to be bonded inbulkheads456 framed

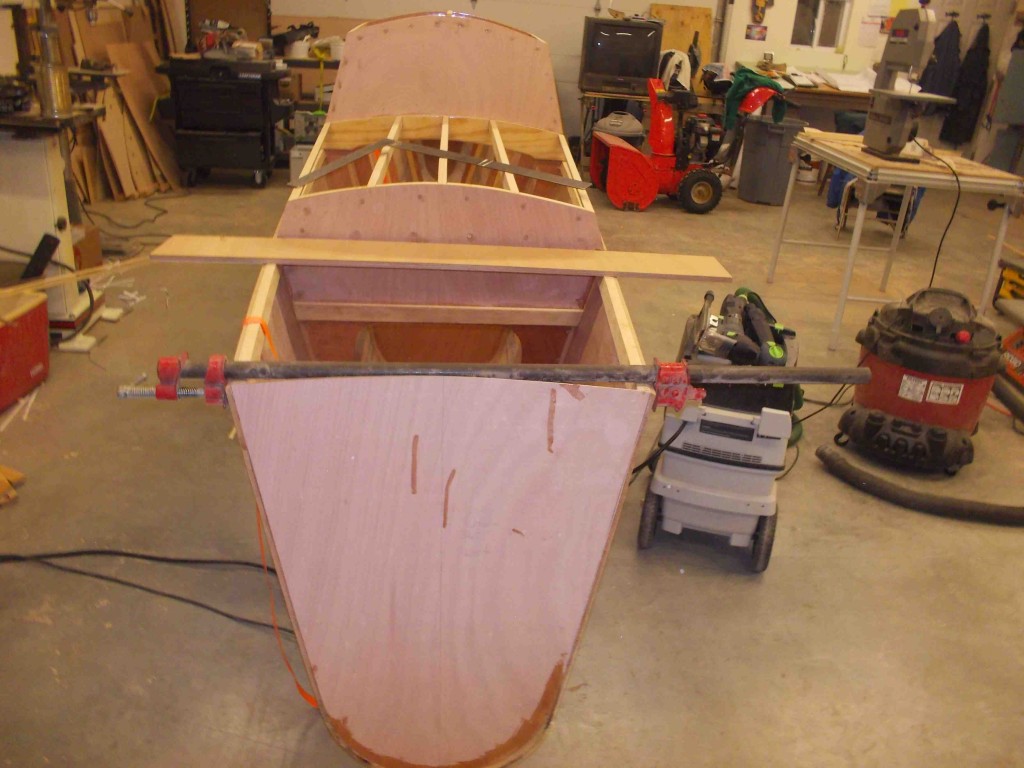
And finally the transom

closing the transom