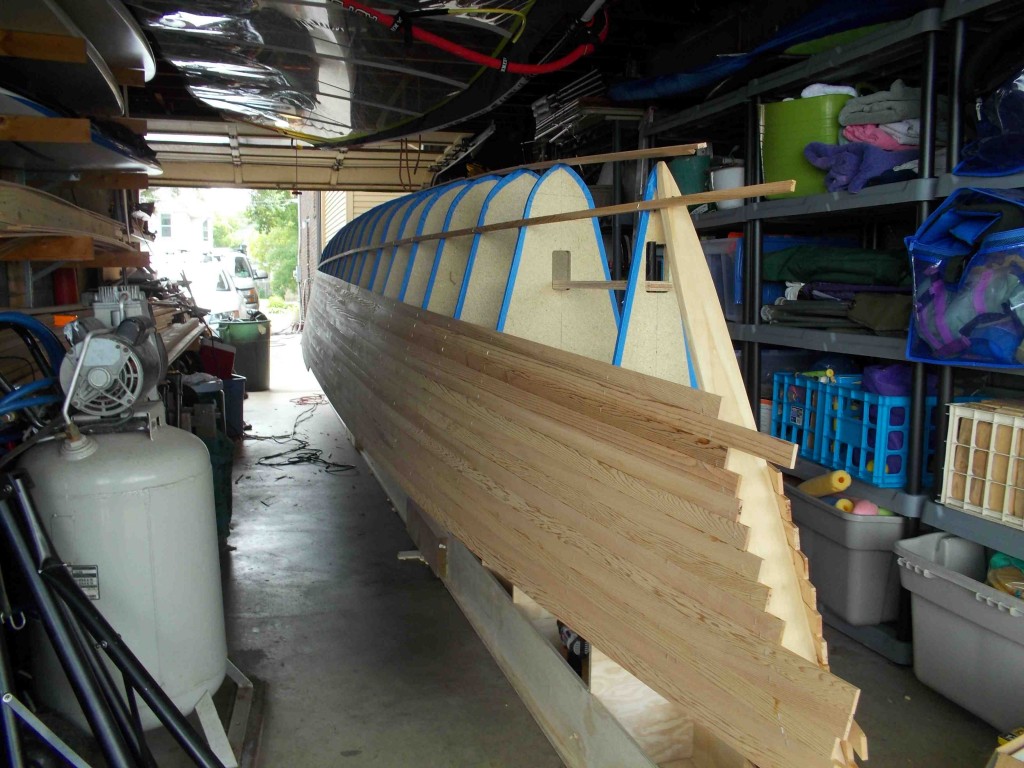
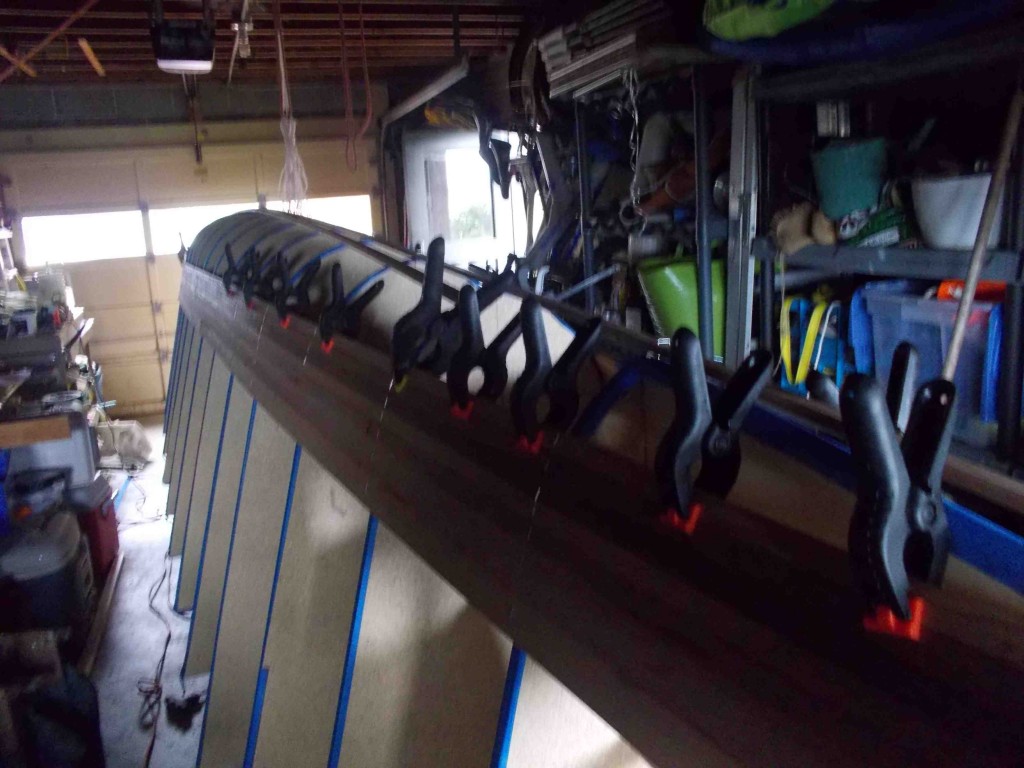
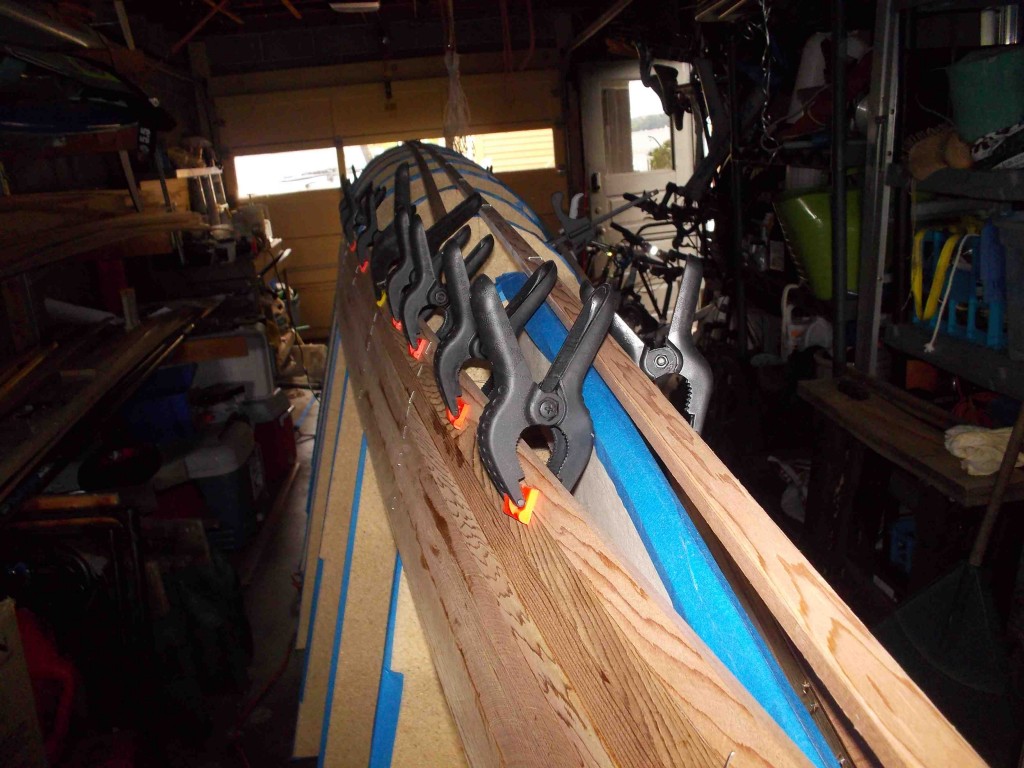
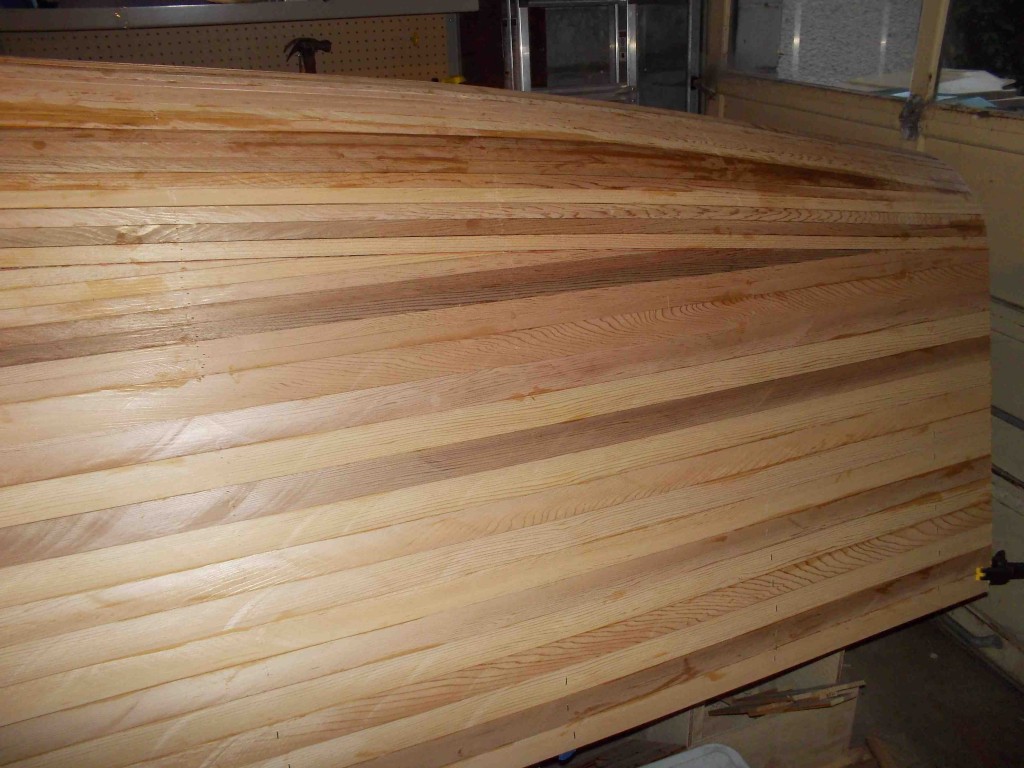
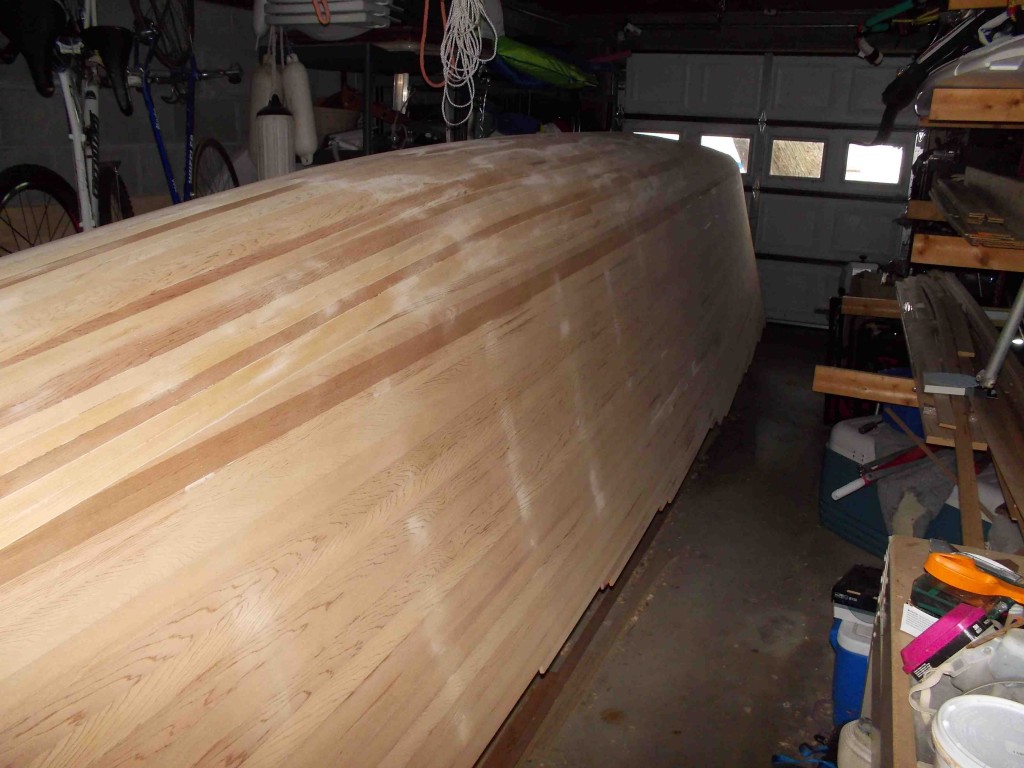
One by one, as you add your cedar strips to the boat it starts taking form. It is very tempting to rush through this rewarding phase, but we all pay the price later for this. Place each strip as accurately and tight as you can to its neighbor. Wipe all excess glue promptly especially on the inside. Use as many clamps as you have.
Stripping starts by selecting a place to start. On my first hull I started from the shear towards the keel. On the second I changed that since by the time I got to the bottom of the boat I could not reach inside to clean the excess glue and check the quality of my joints.
Hull #1 stared at shear line
Hull #2 started at curved section
Stripping goes rather quickly until you have t start closing the gaps. This is the point where the strips will either not want to lay down flat or they have to be tapered to fit.
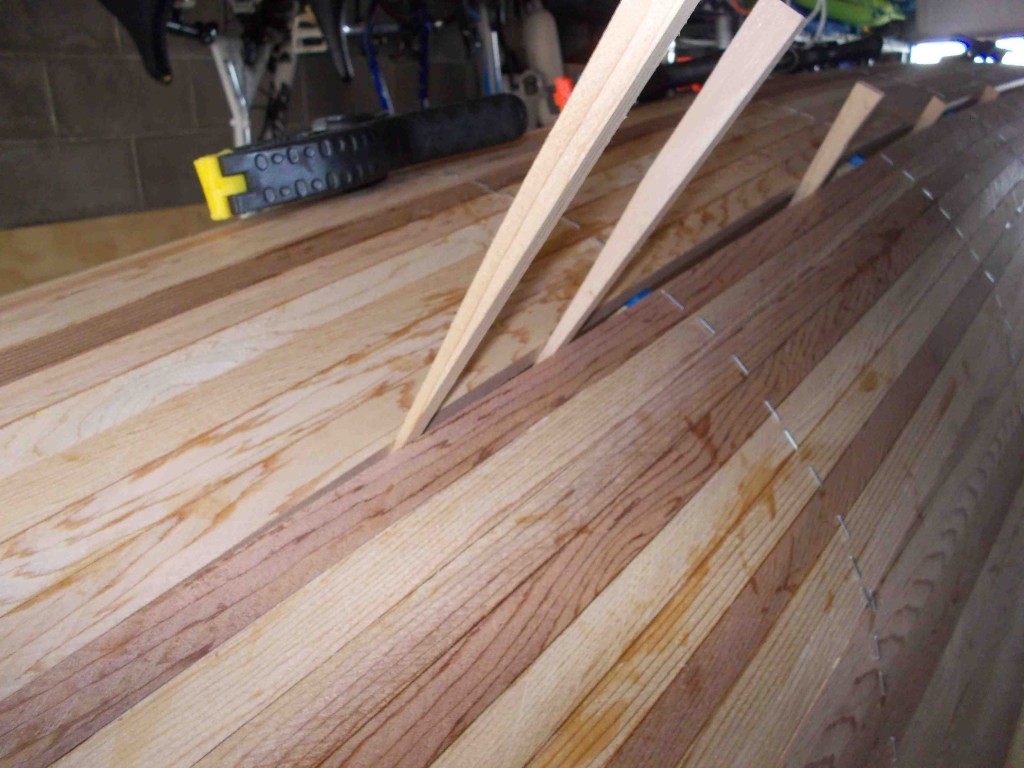
Measuring the last strip. You can see all the staples holding them in place while the glue dries. Wedges help press the strips in place.
Working to close the bow. As many clamps as you have. Notice I had to add a landing piece between the forward frames so that I could land the strips against something.
Details on closing the stern
The reward. Something that looks like a boat! Here the 1000+ staples have been removed and we started filling the staple wholes and other cracks between strips that we missed while glueing.
