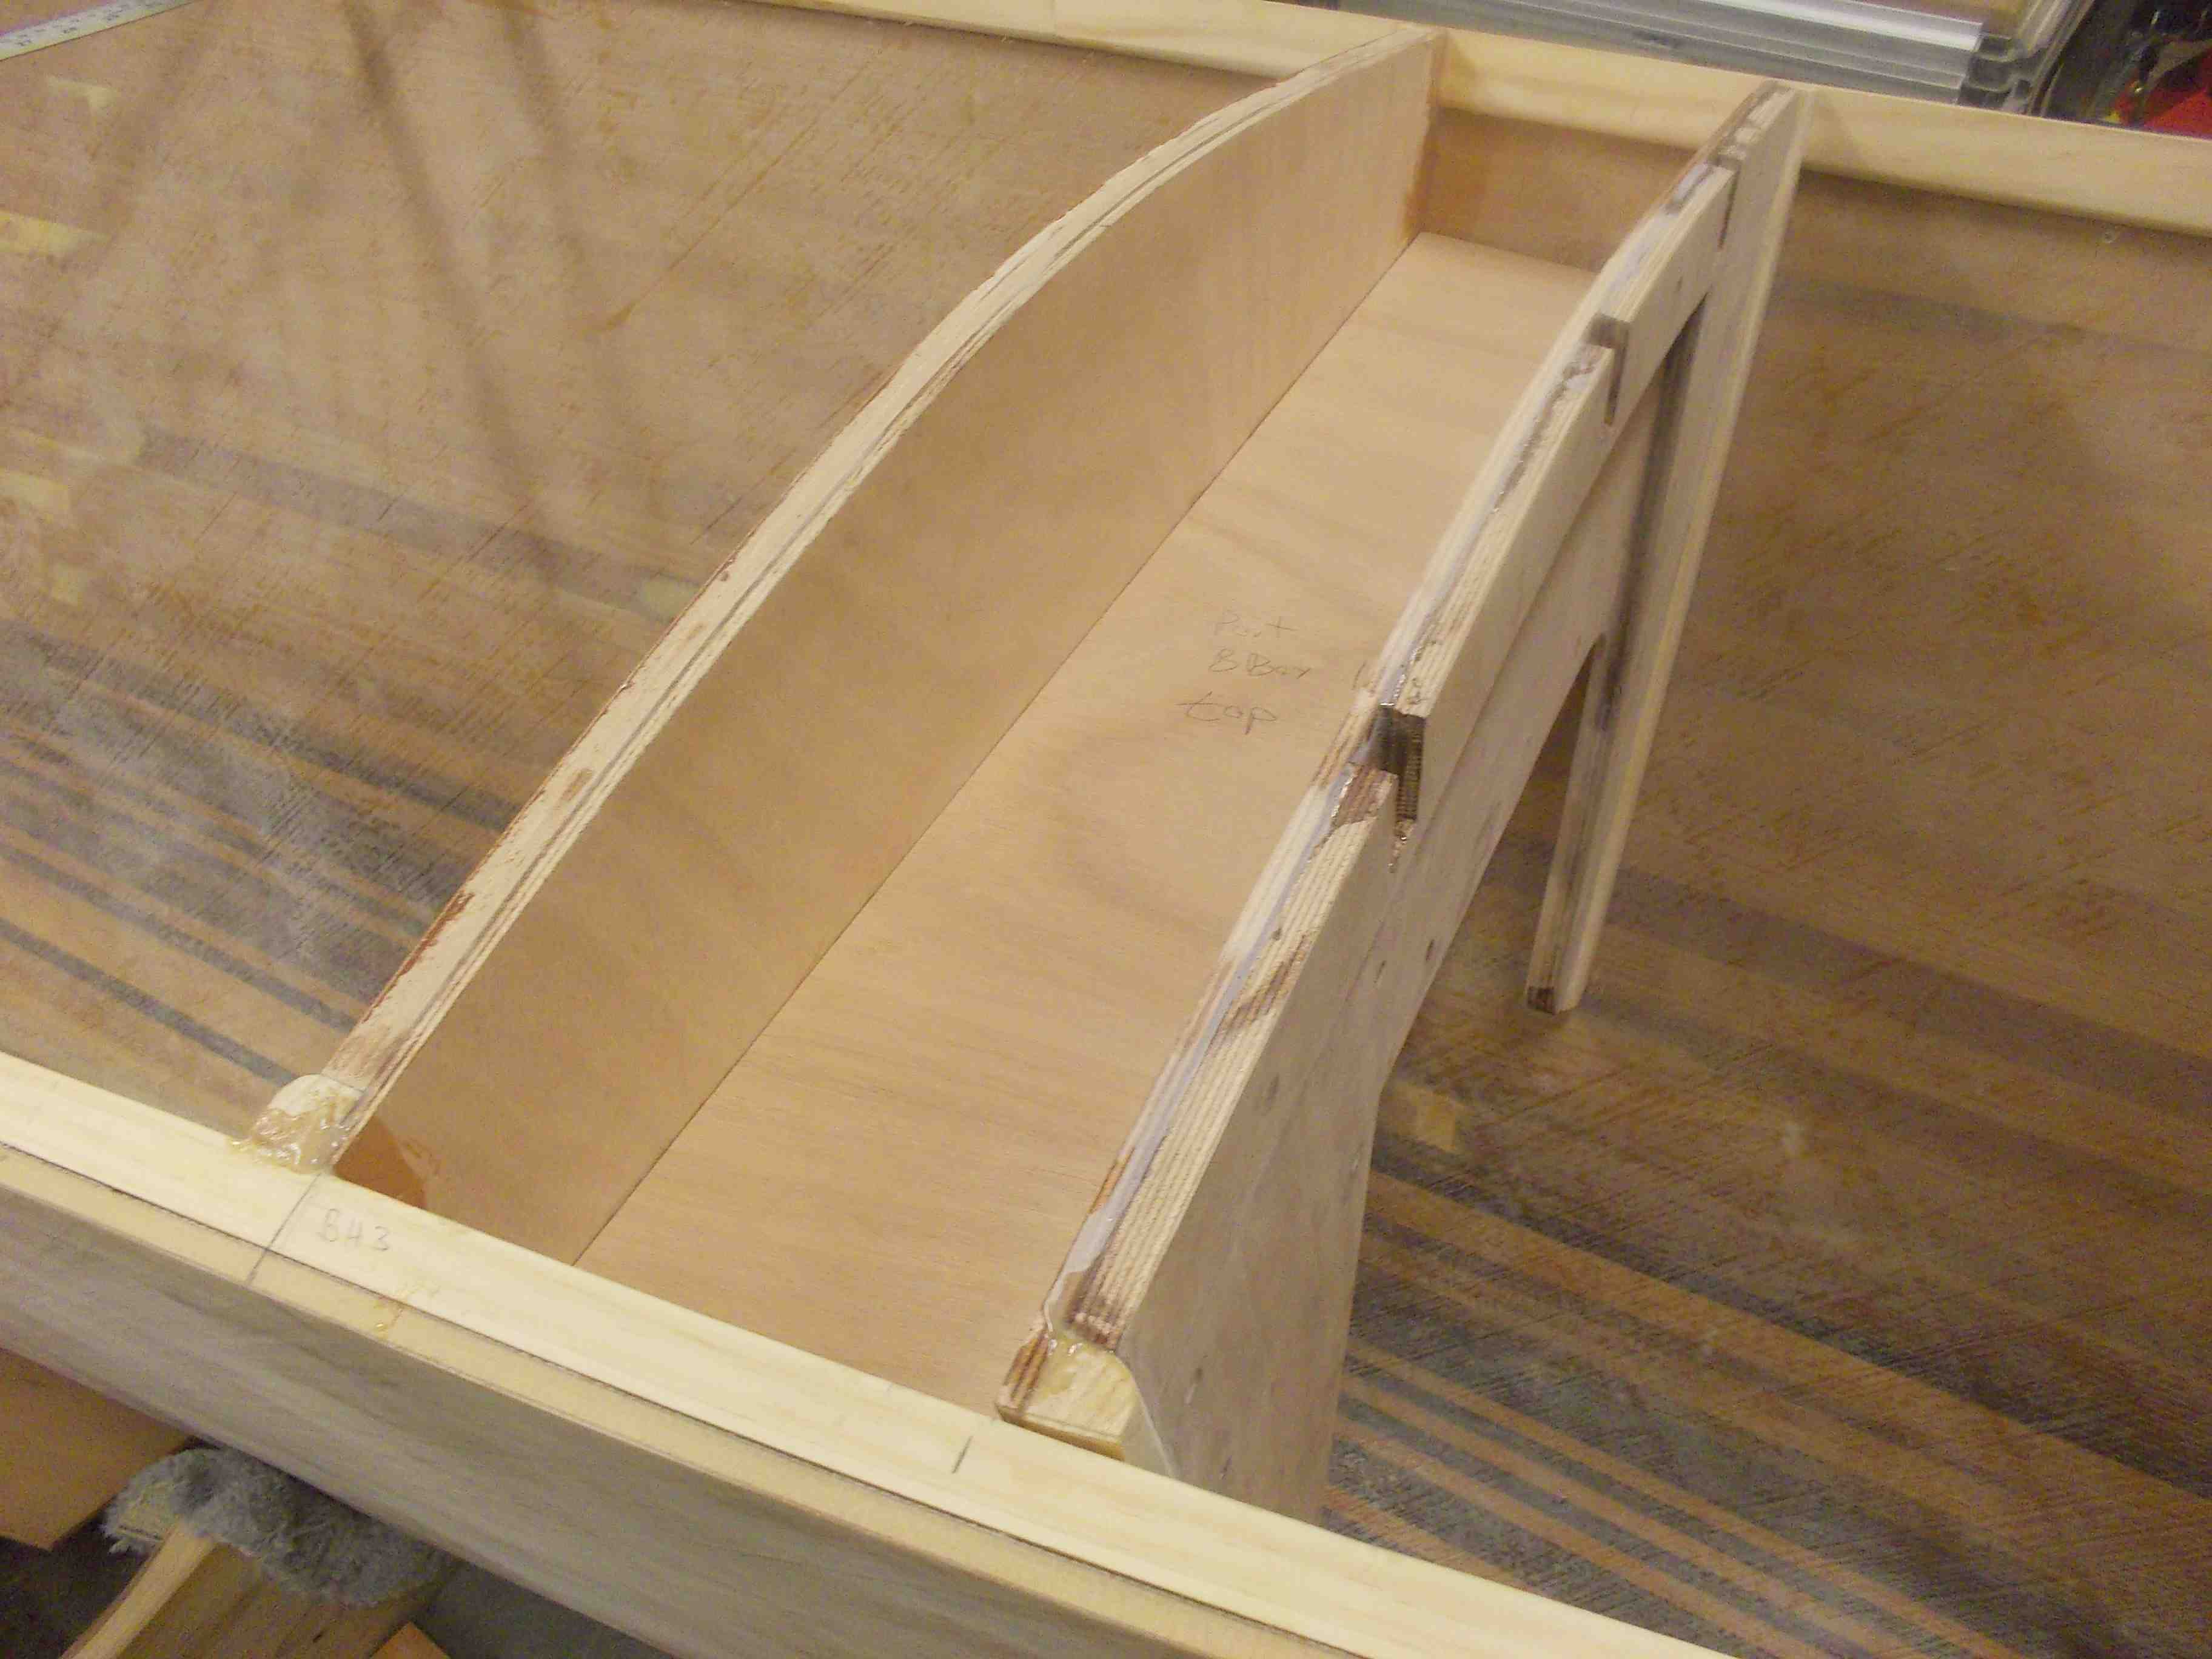
It looks simple, but it took a good part of a day to measure and cut the pieces that make up the fwd beam box. Luckily I has some help and things kept moving along.
The pieces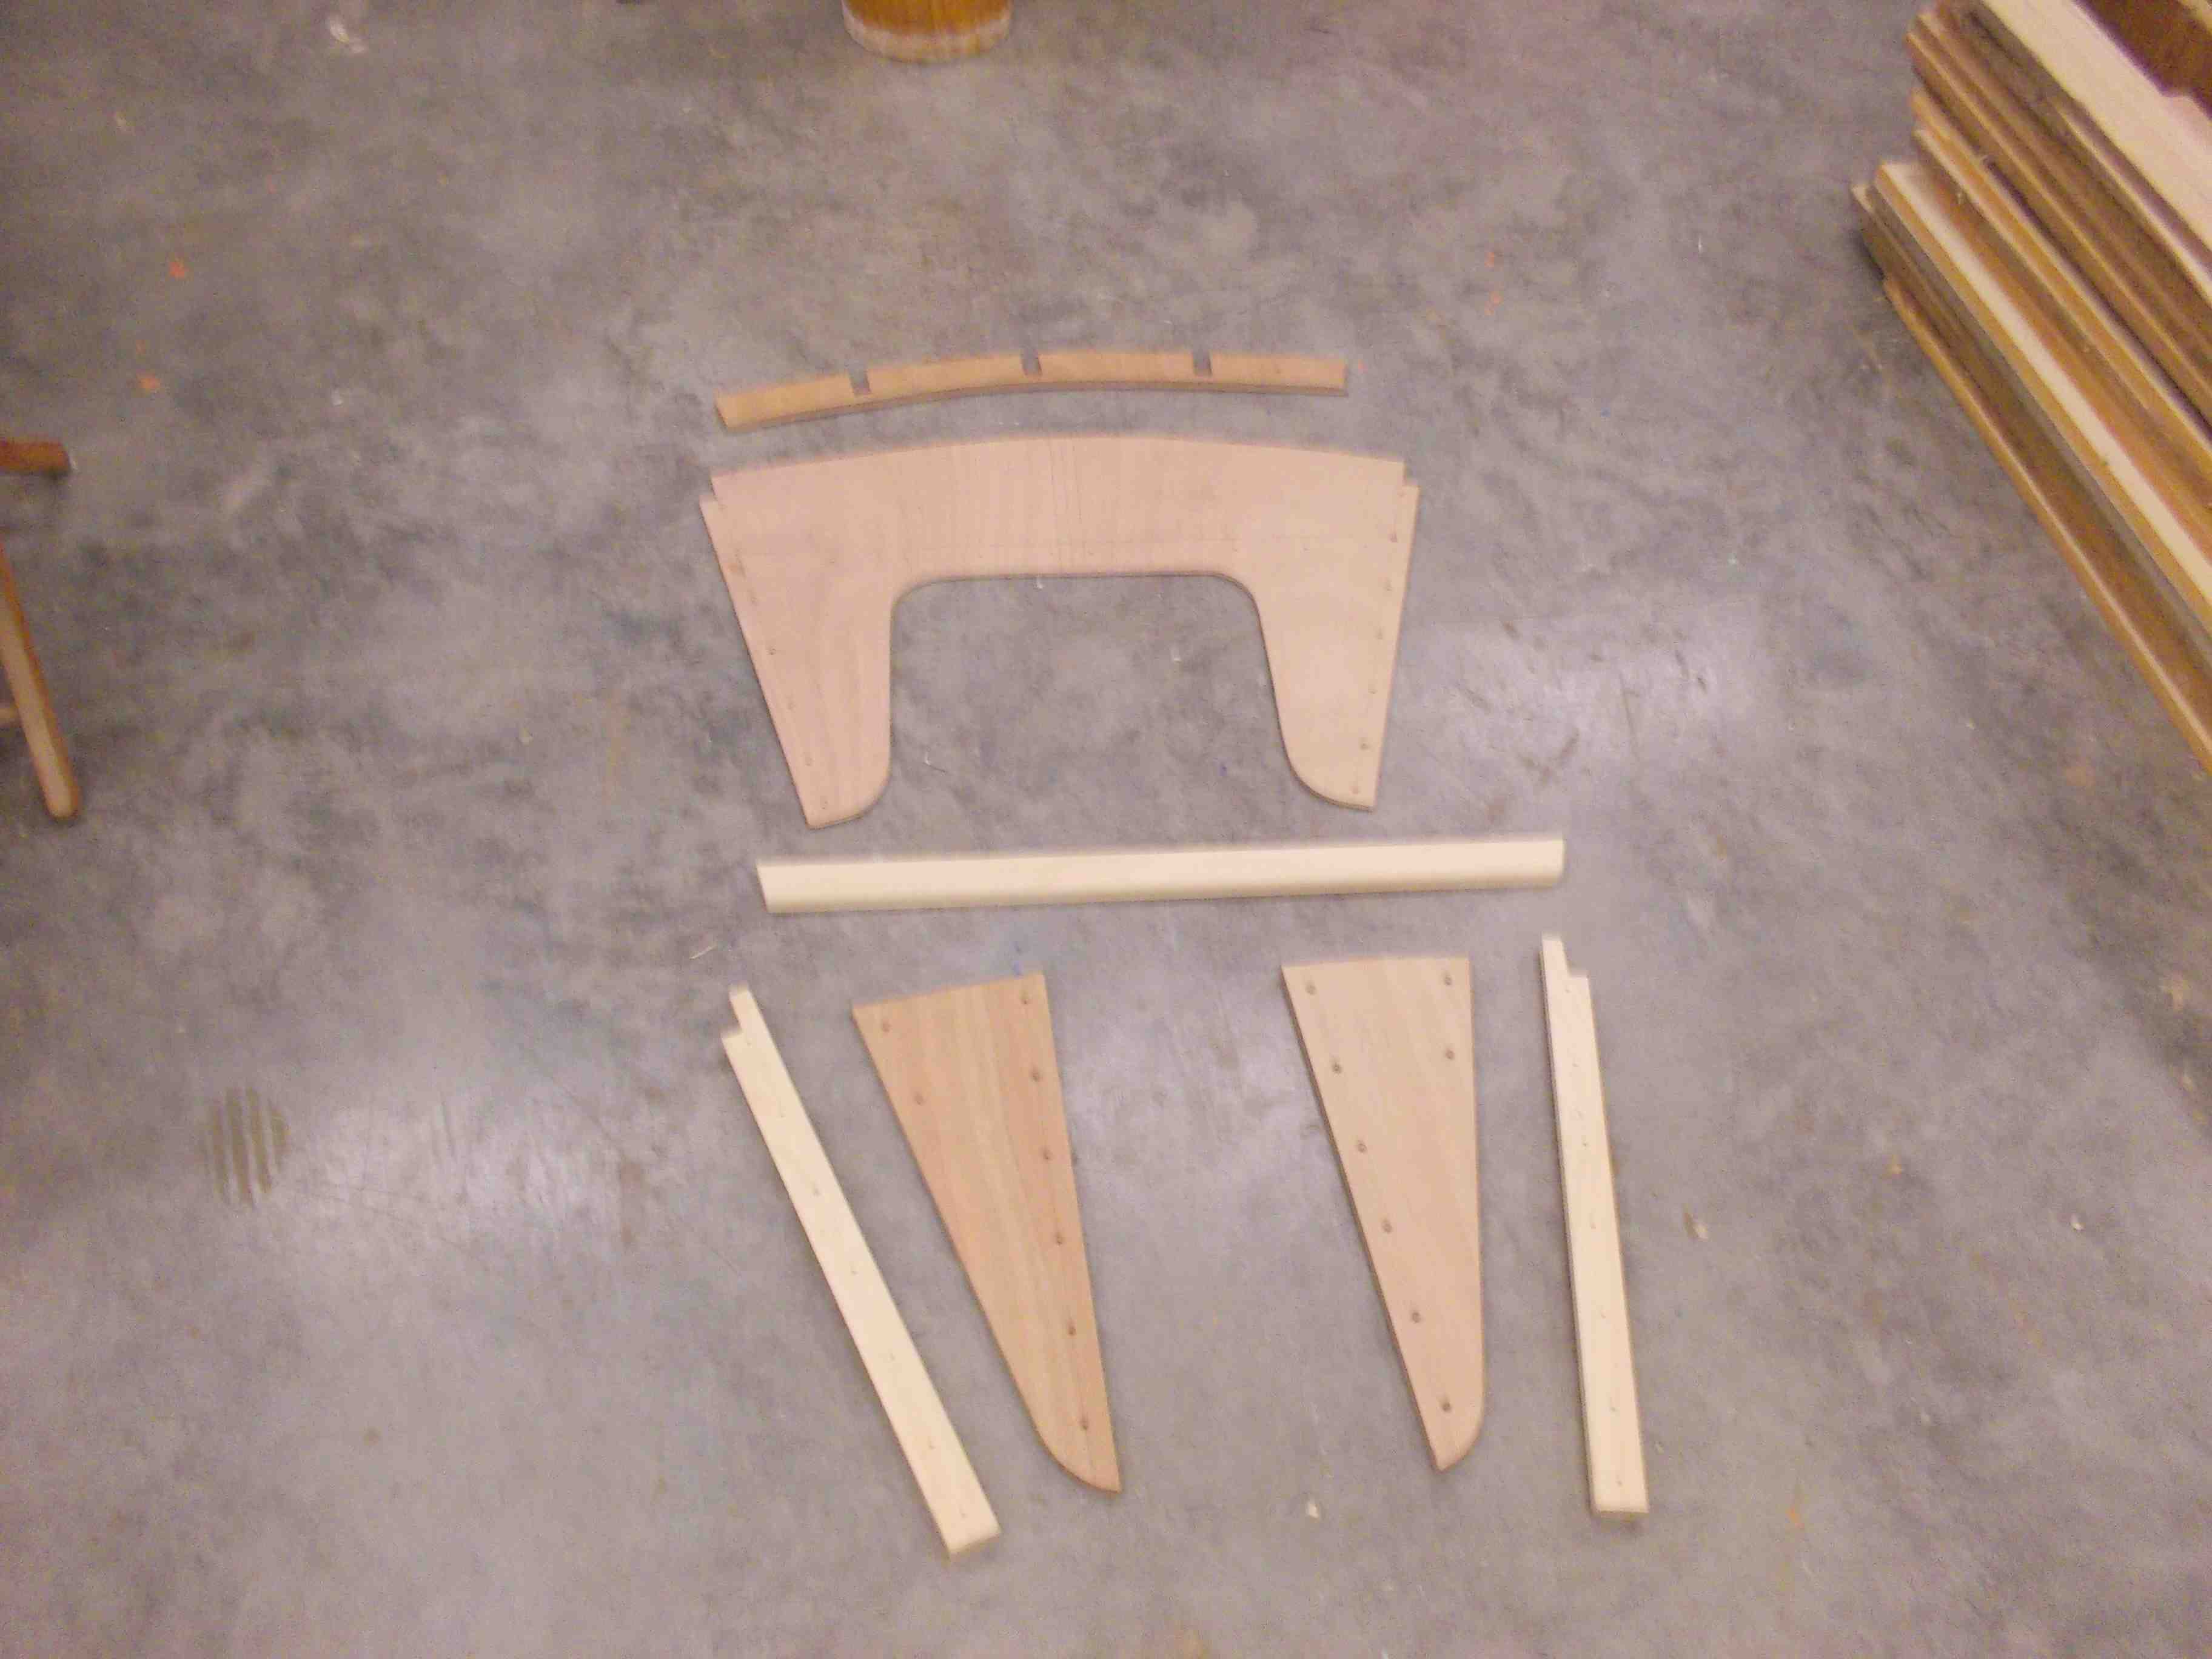
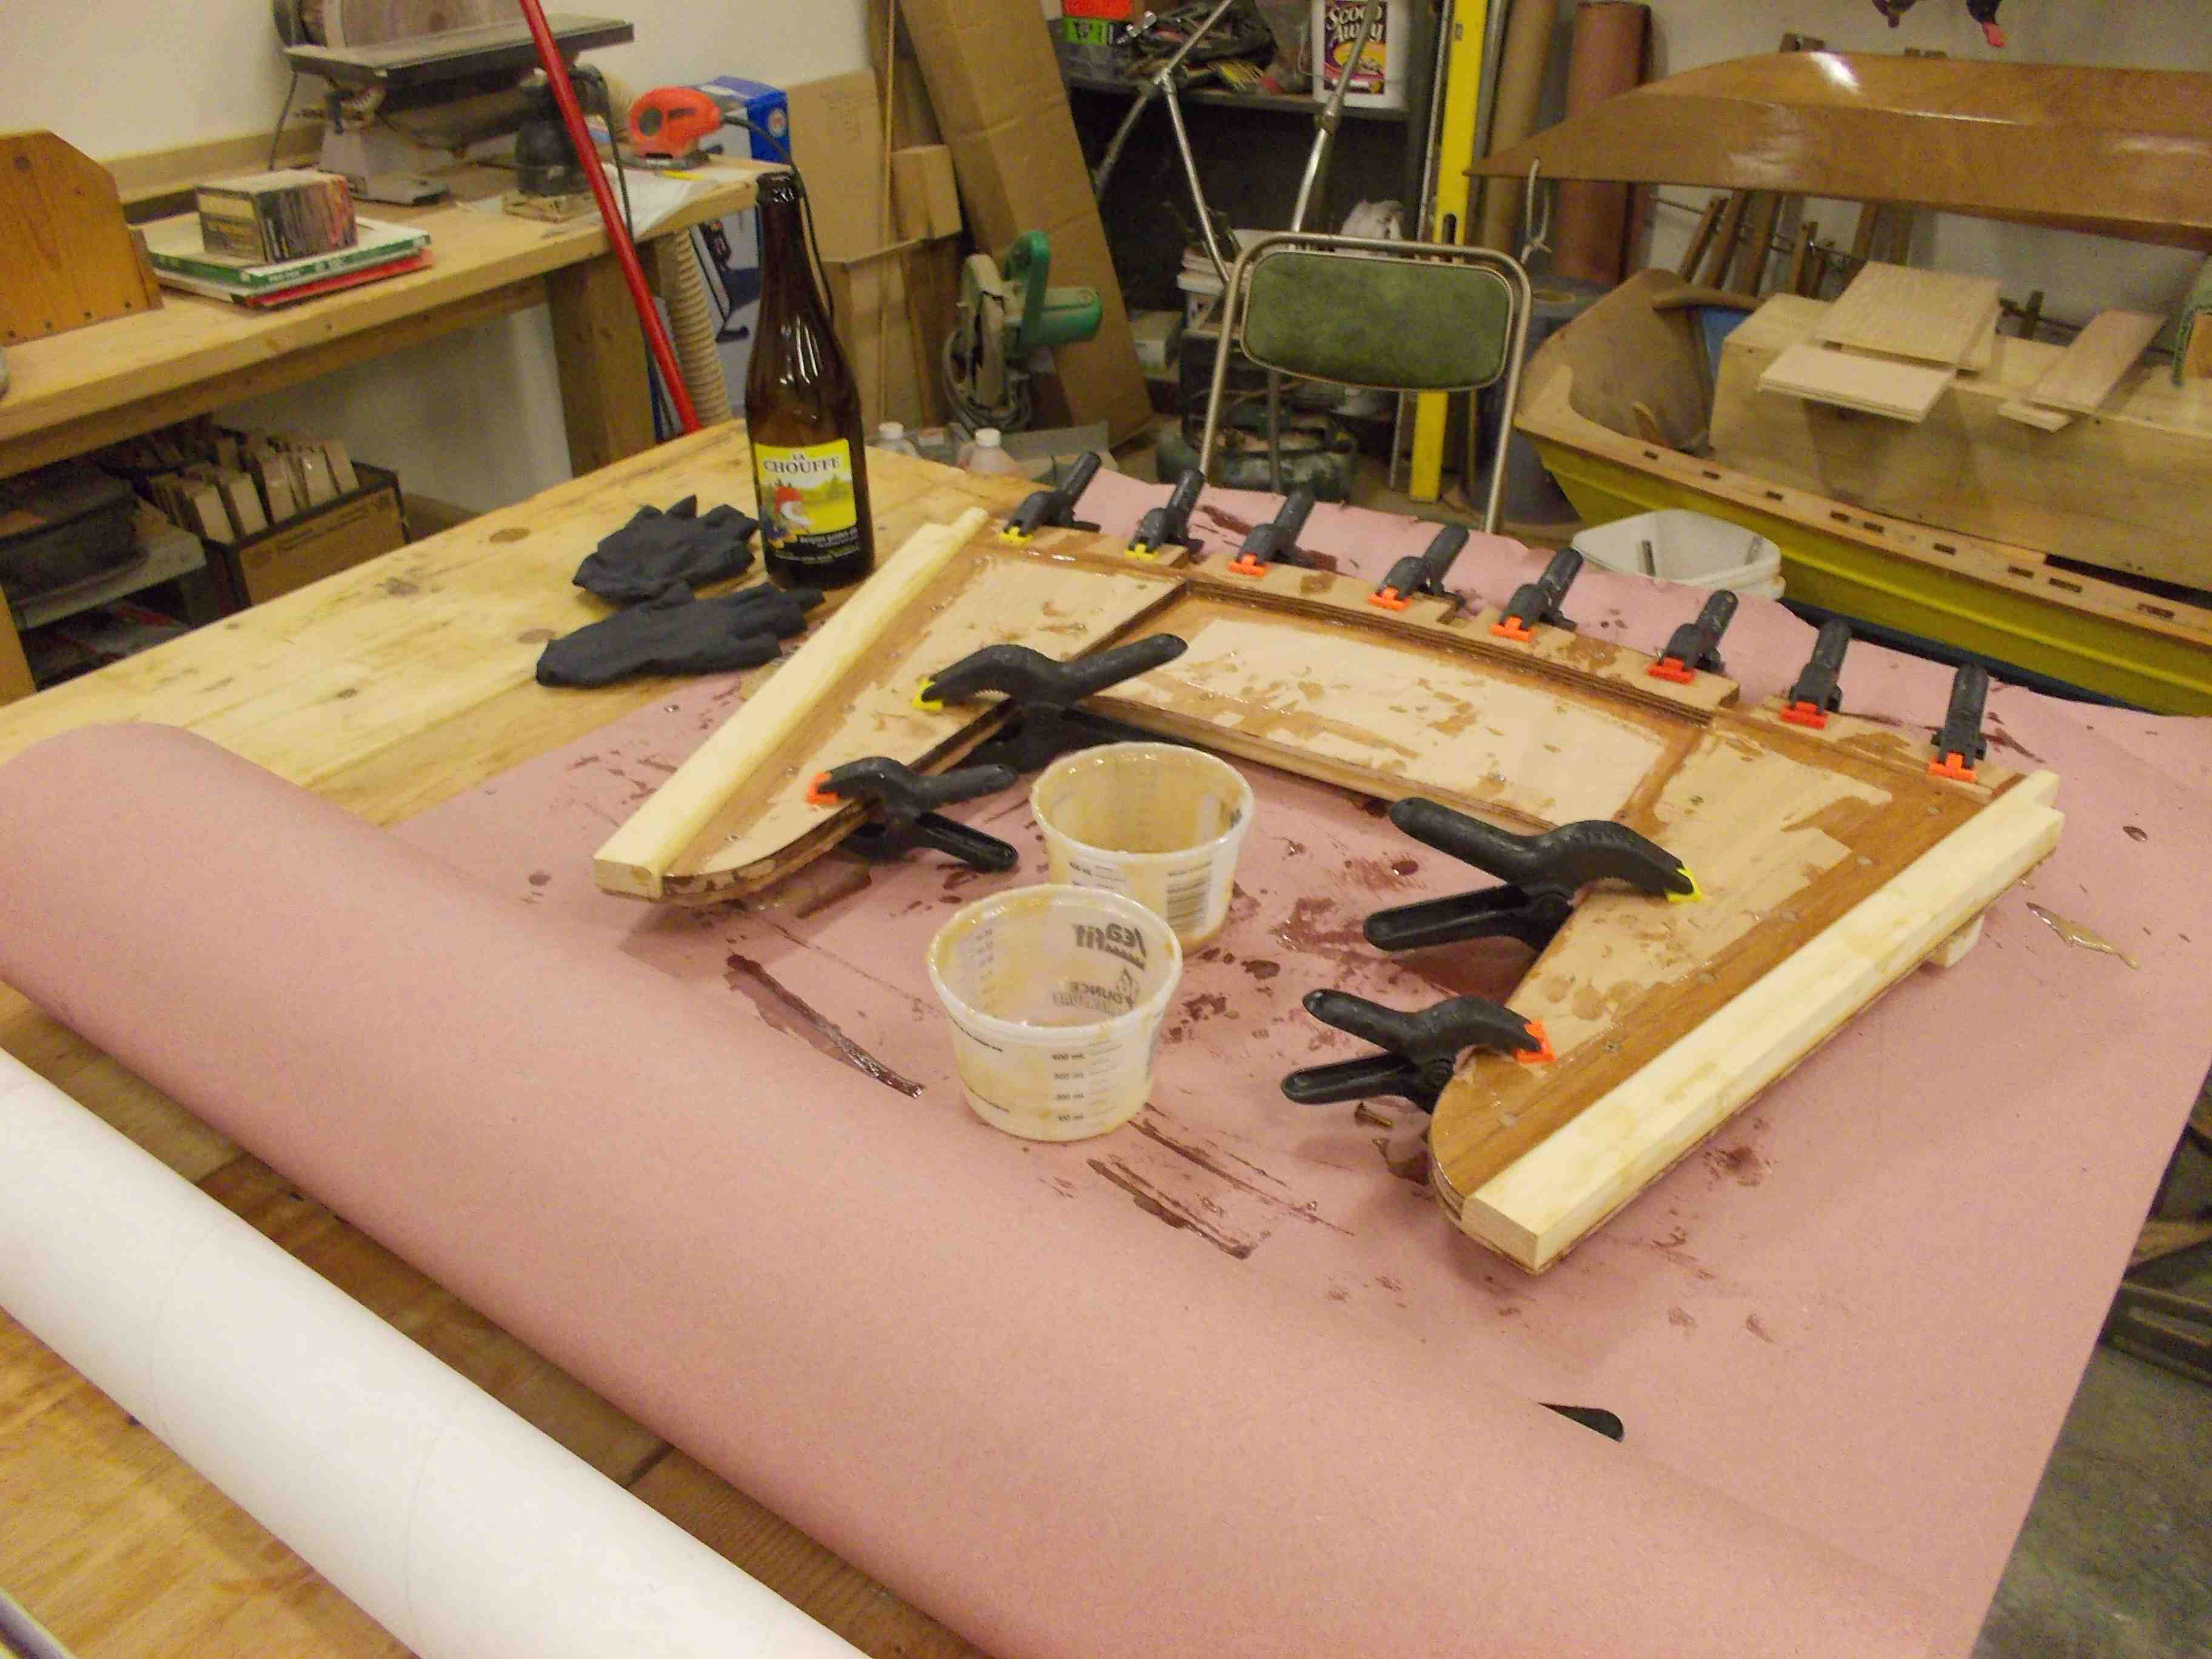
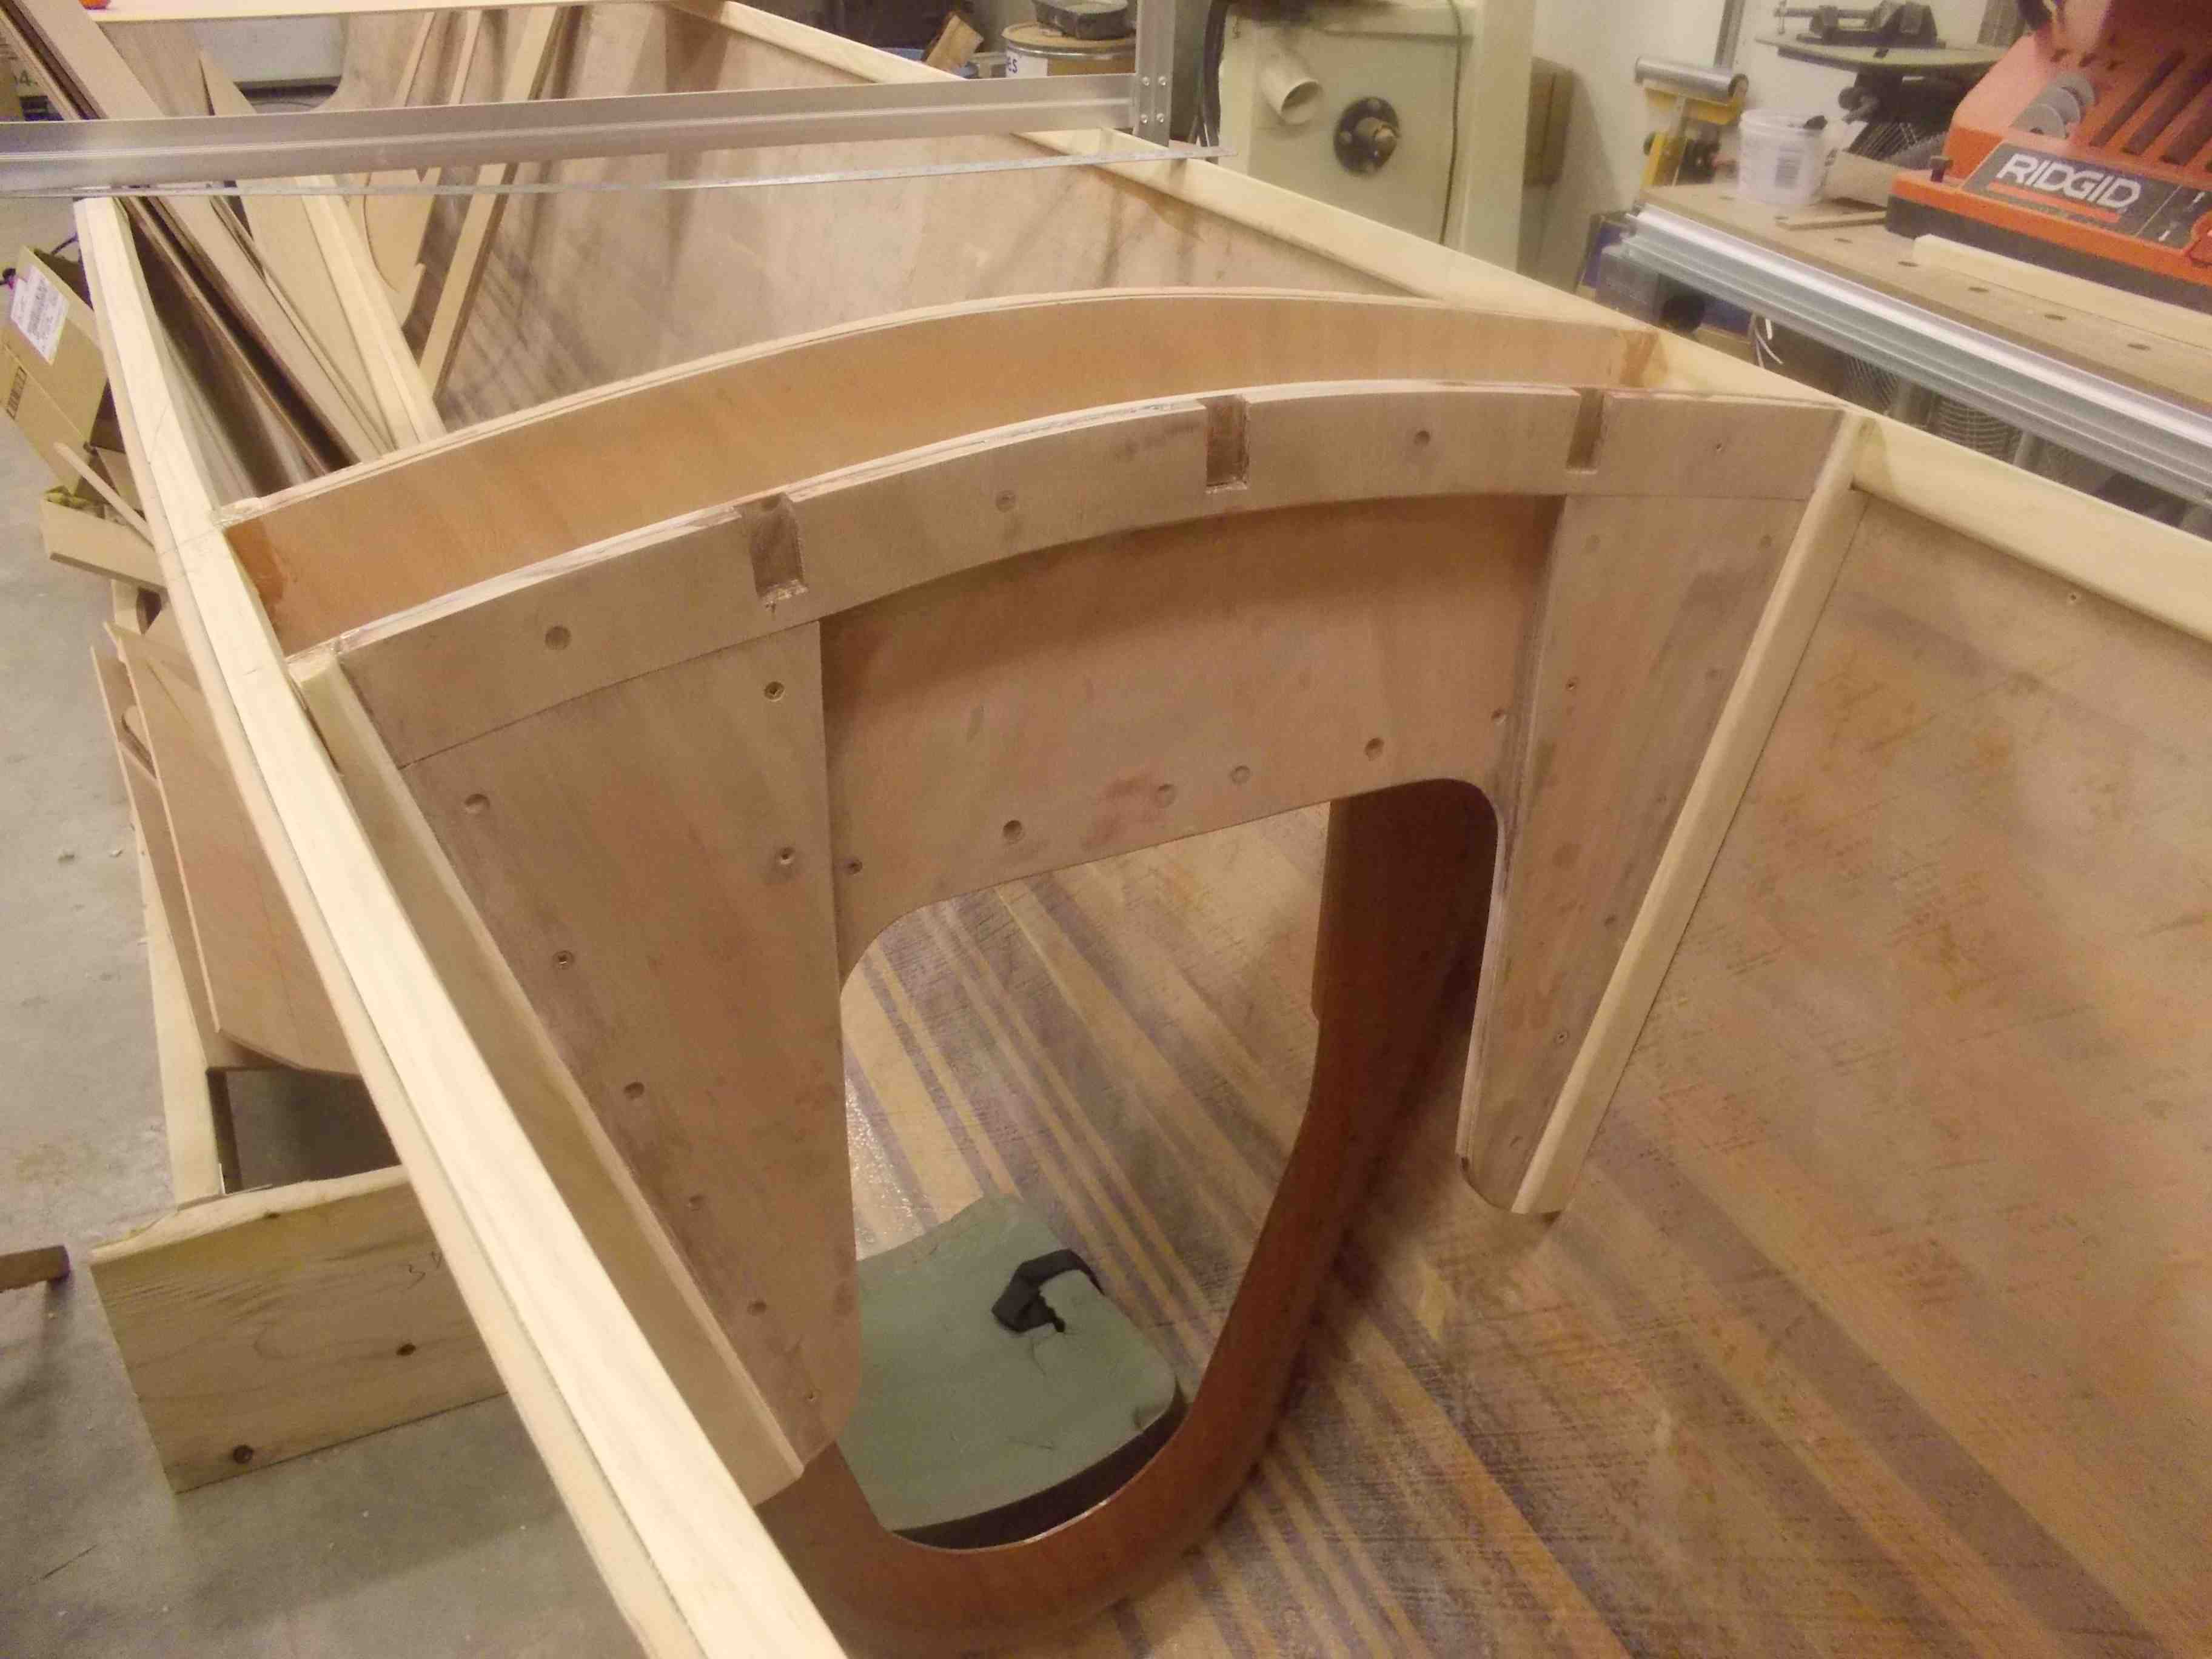
The glue up. Lots of epoxy oozing out and this baby is going to be solid! We used more screws this time, so less clamps.
After removing all the clamps and sanding the piece down, time to see how it fits. Perfect!
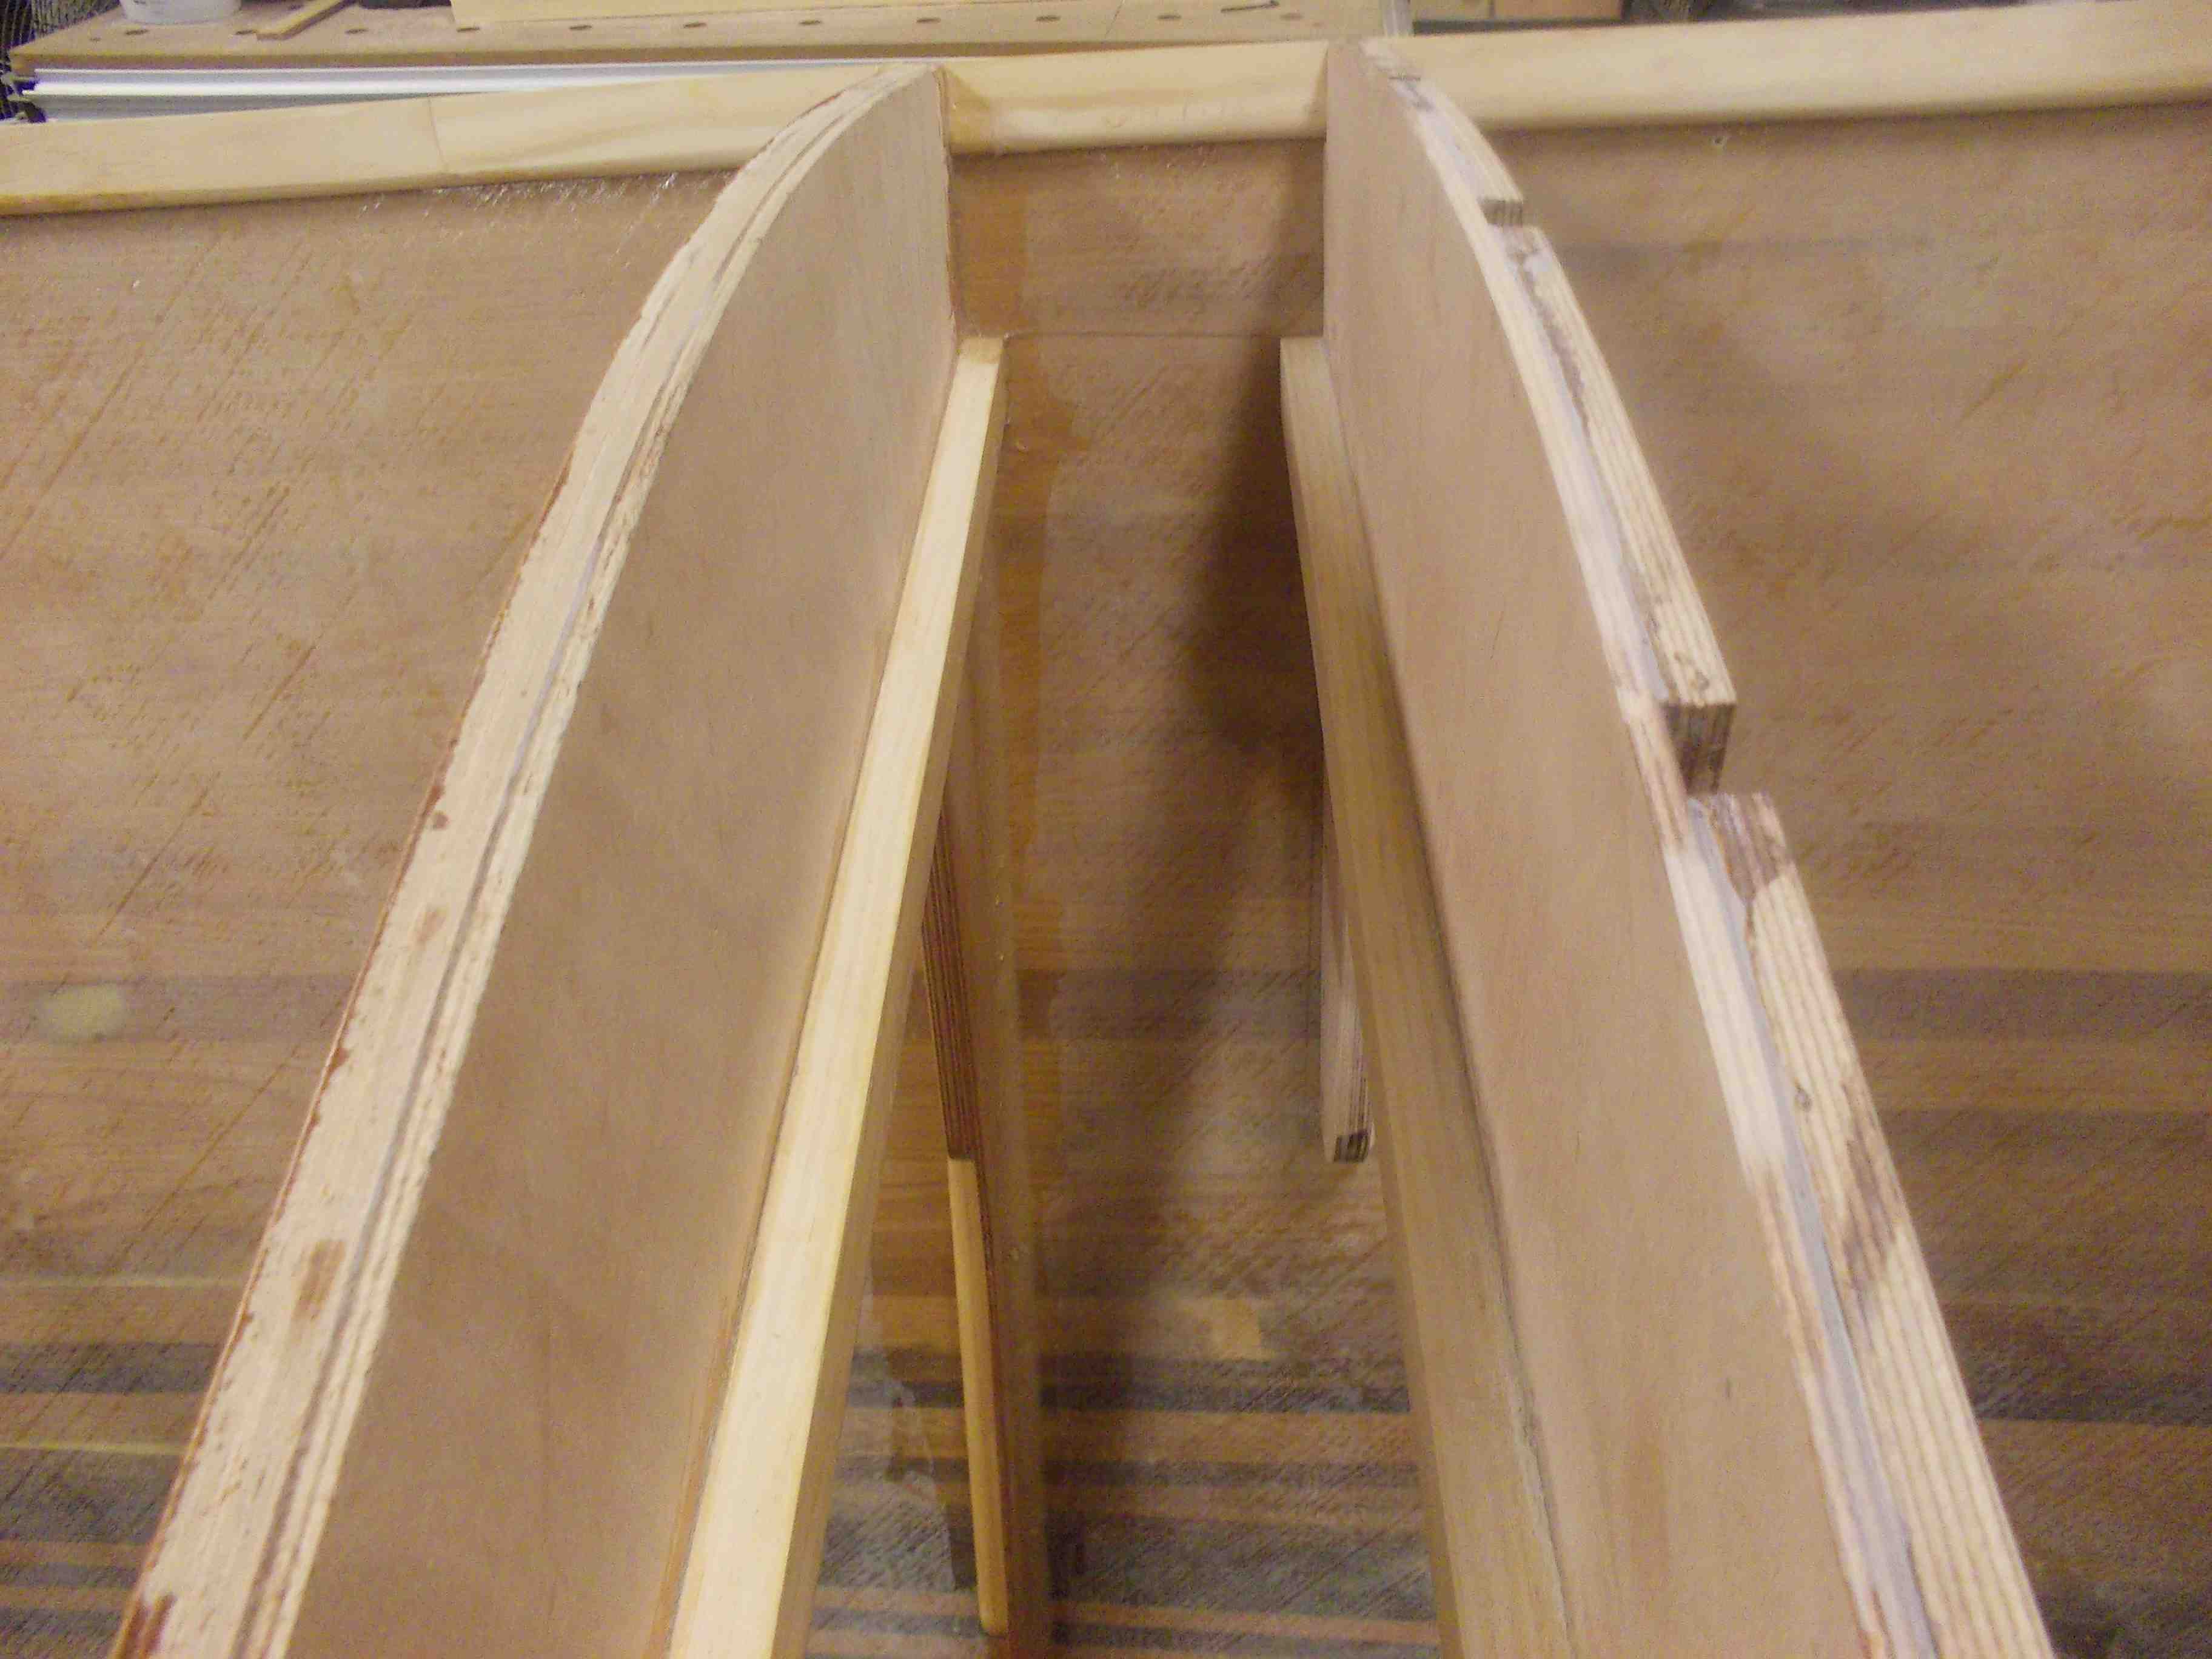
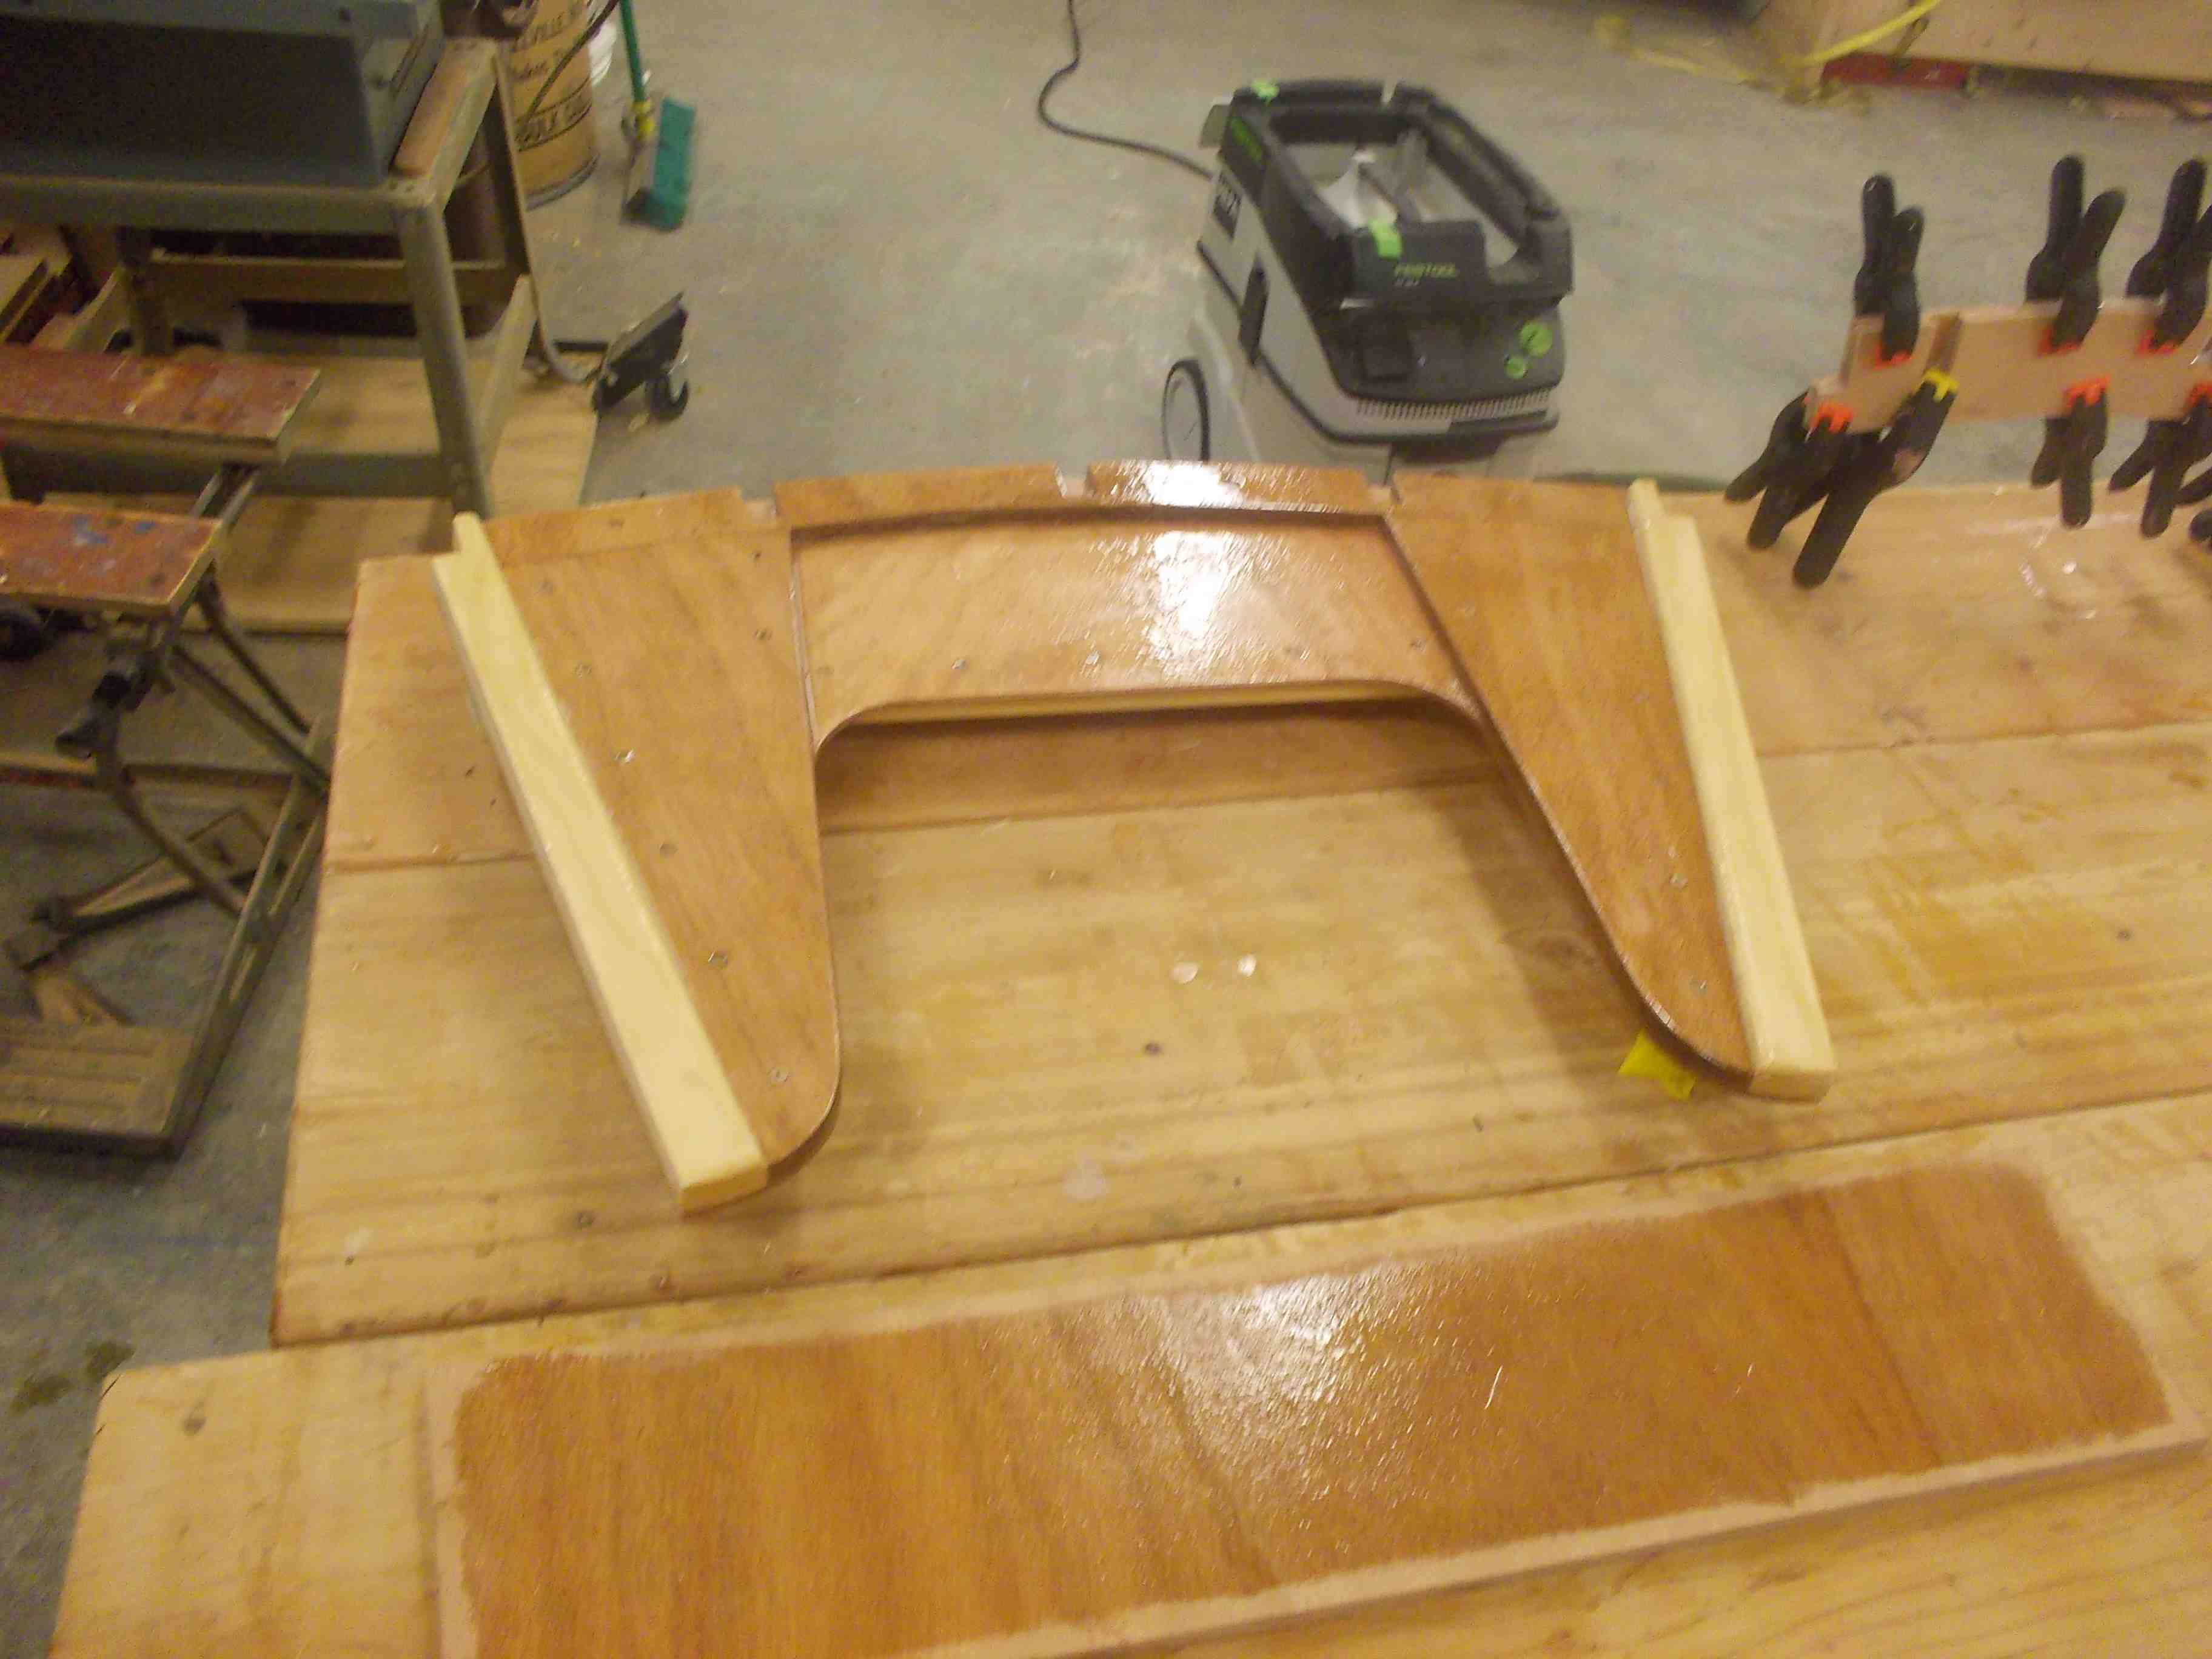
Now for the two coats of epoxy to seal all the plywood. Notice that I can’t bond this piece to the boat until I drill the holes for mounting the beam bolts. Those are being welded for me and should be done within the week.
You might notice that on the picture above you can see frame #1 being glued. A successful day in the shop means one of 3 things happen at the end of the day
- I bond a bulkhead or frame
- I glue up the additional parts required for a bulkhead or frame
- I am pre-fininshing a bulkhead before installation
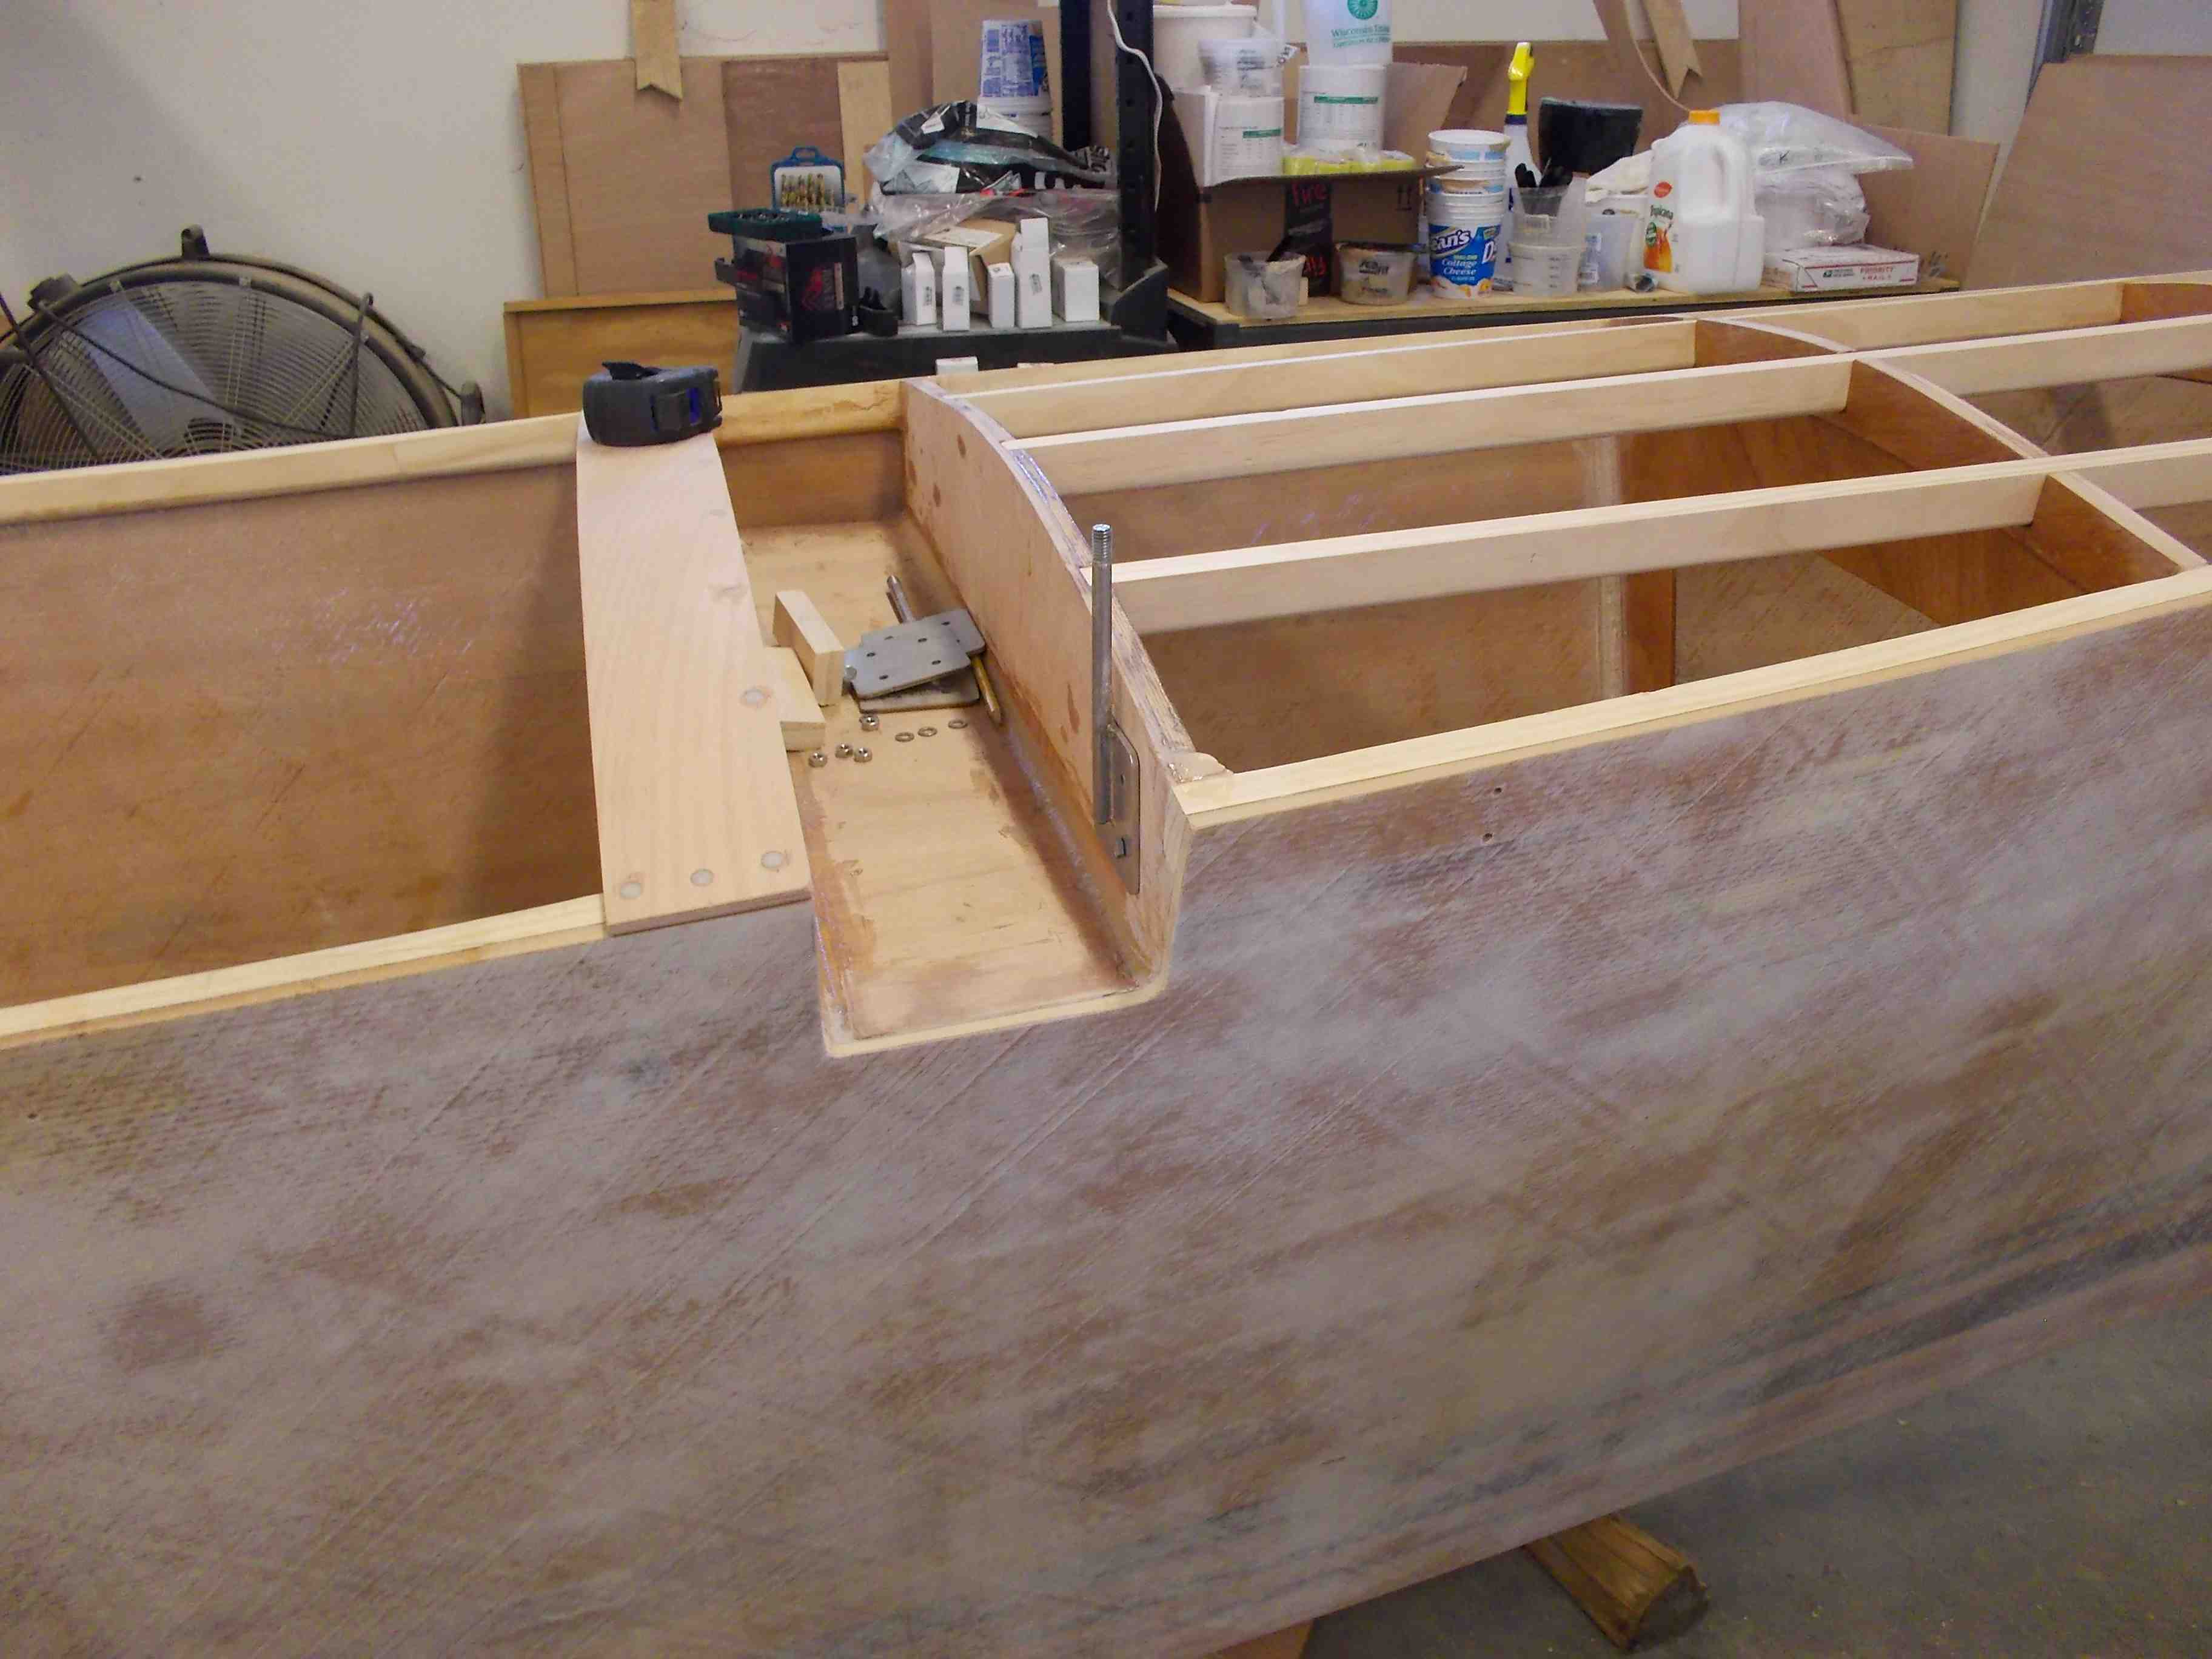
And right on time for Christmas my beam bolts were fabricated so I was able to drill the holes and bond the beam box to the hull

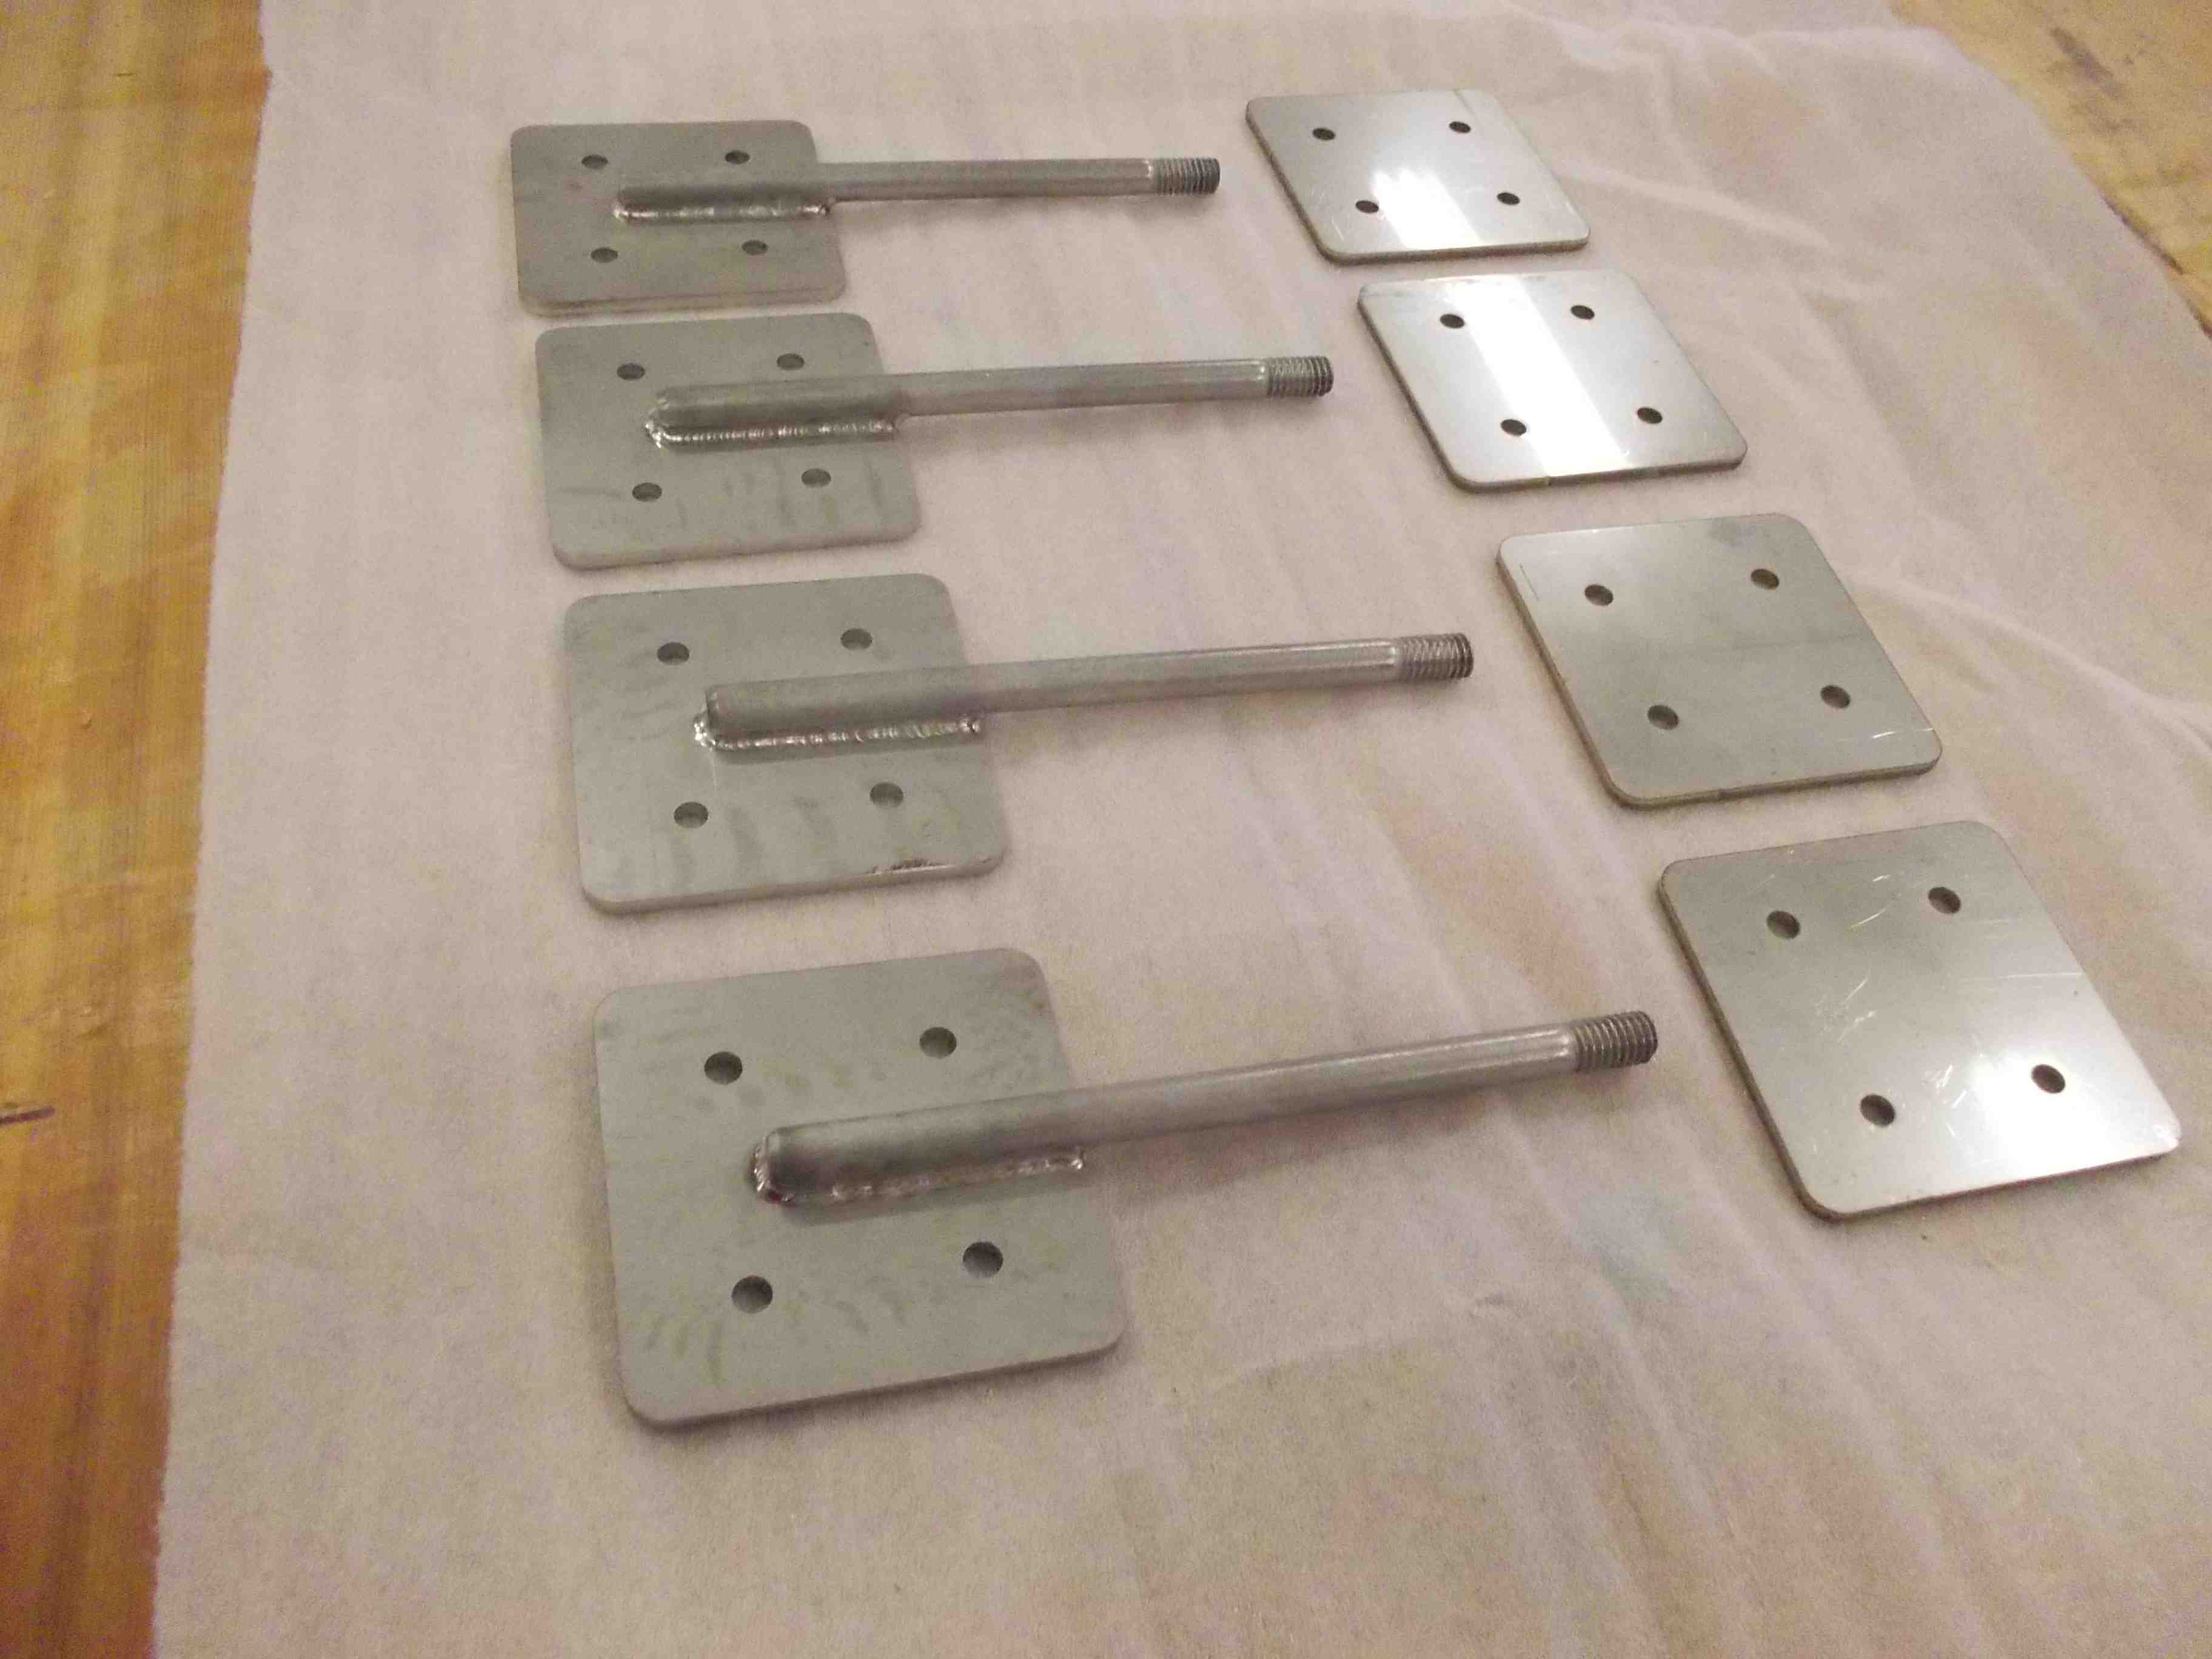
All together we need 16 pieces, and since I had them machine cut, I also made 16 backing plates.
The beam box with the hull cut out and a bracket in place