Stripping the hulls

One by one, as you add your cedar strips to the boat it starts taking form. It is very tempting to rush through this rewarding phase, but we all pay the price later for this. Place each strip as accurately and tight as you can to its neighbor. Wipe all excess glue promptly especially on  the inside. Use as many clamps as you have.

Stripping starts by selecting a place to start. On my first hull I started from the shear towards the keel. On the second I changed that since by the time I got to the bottom of the boat I could not reach inside to clean the excess glue and  check the quality of my joints.

Hull #1 stared at shear line

striiping from shear

Hull #2 started at curved section

stripping curved section first

Stripping goes rather quickly until you have t start closing the gaps. This is the point where the strips will either not want to lay down flat or they have to be tapered to fit.

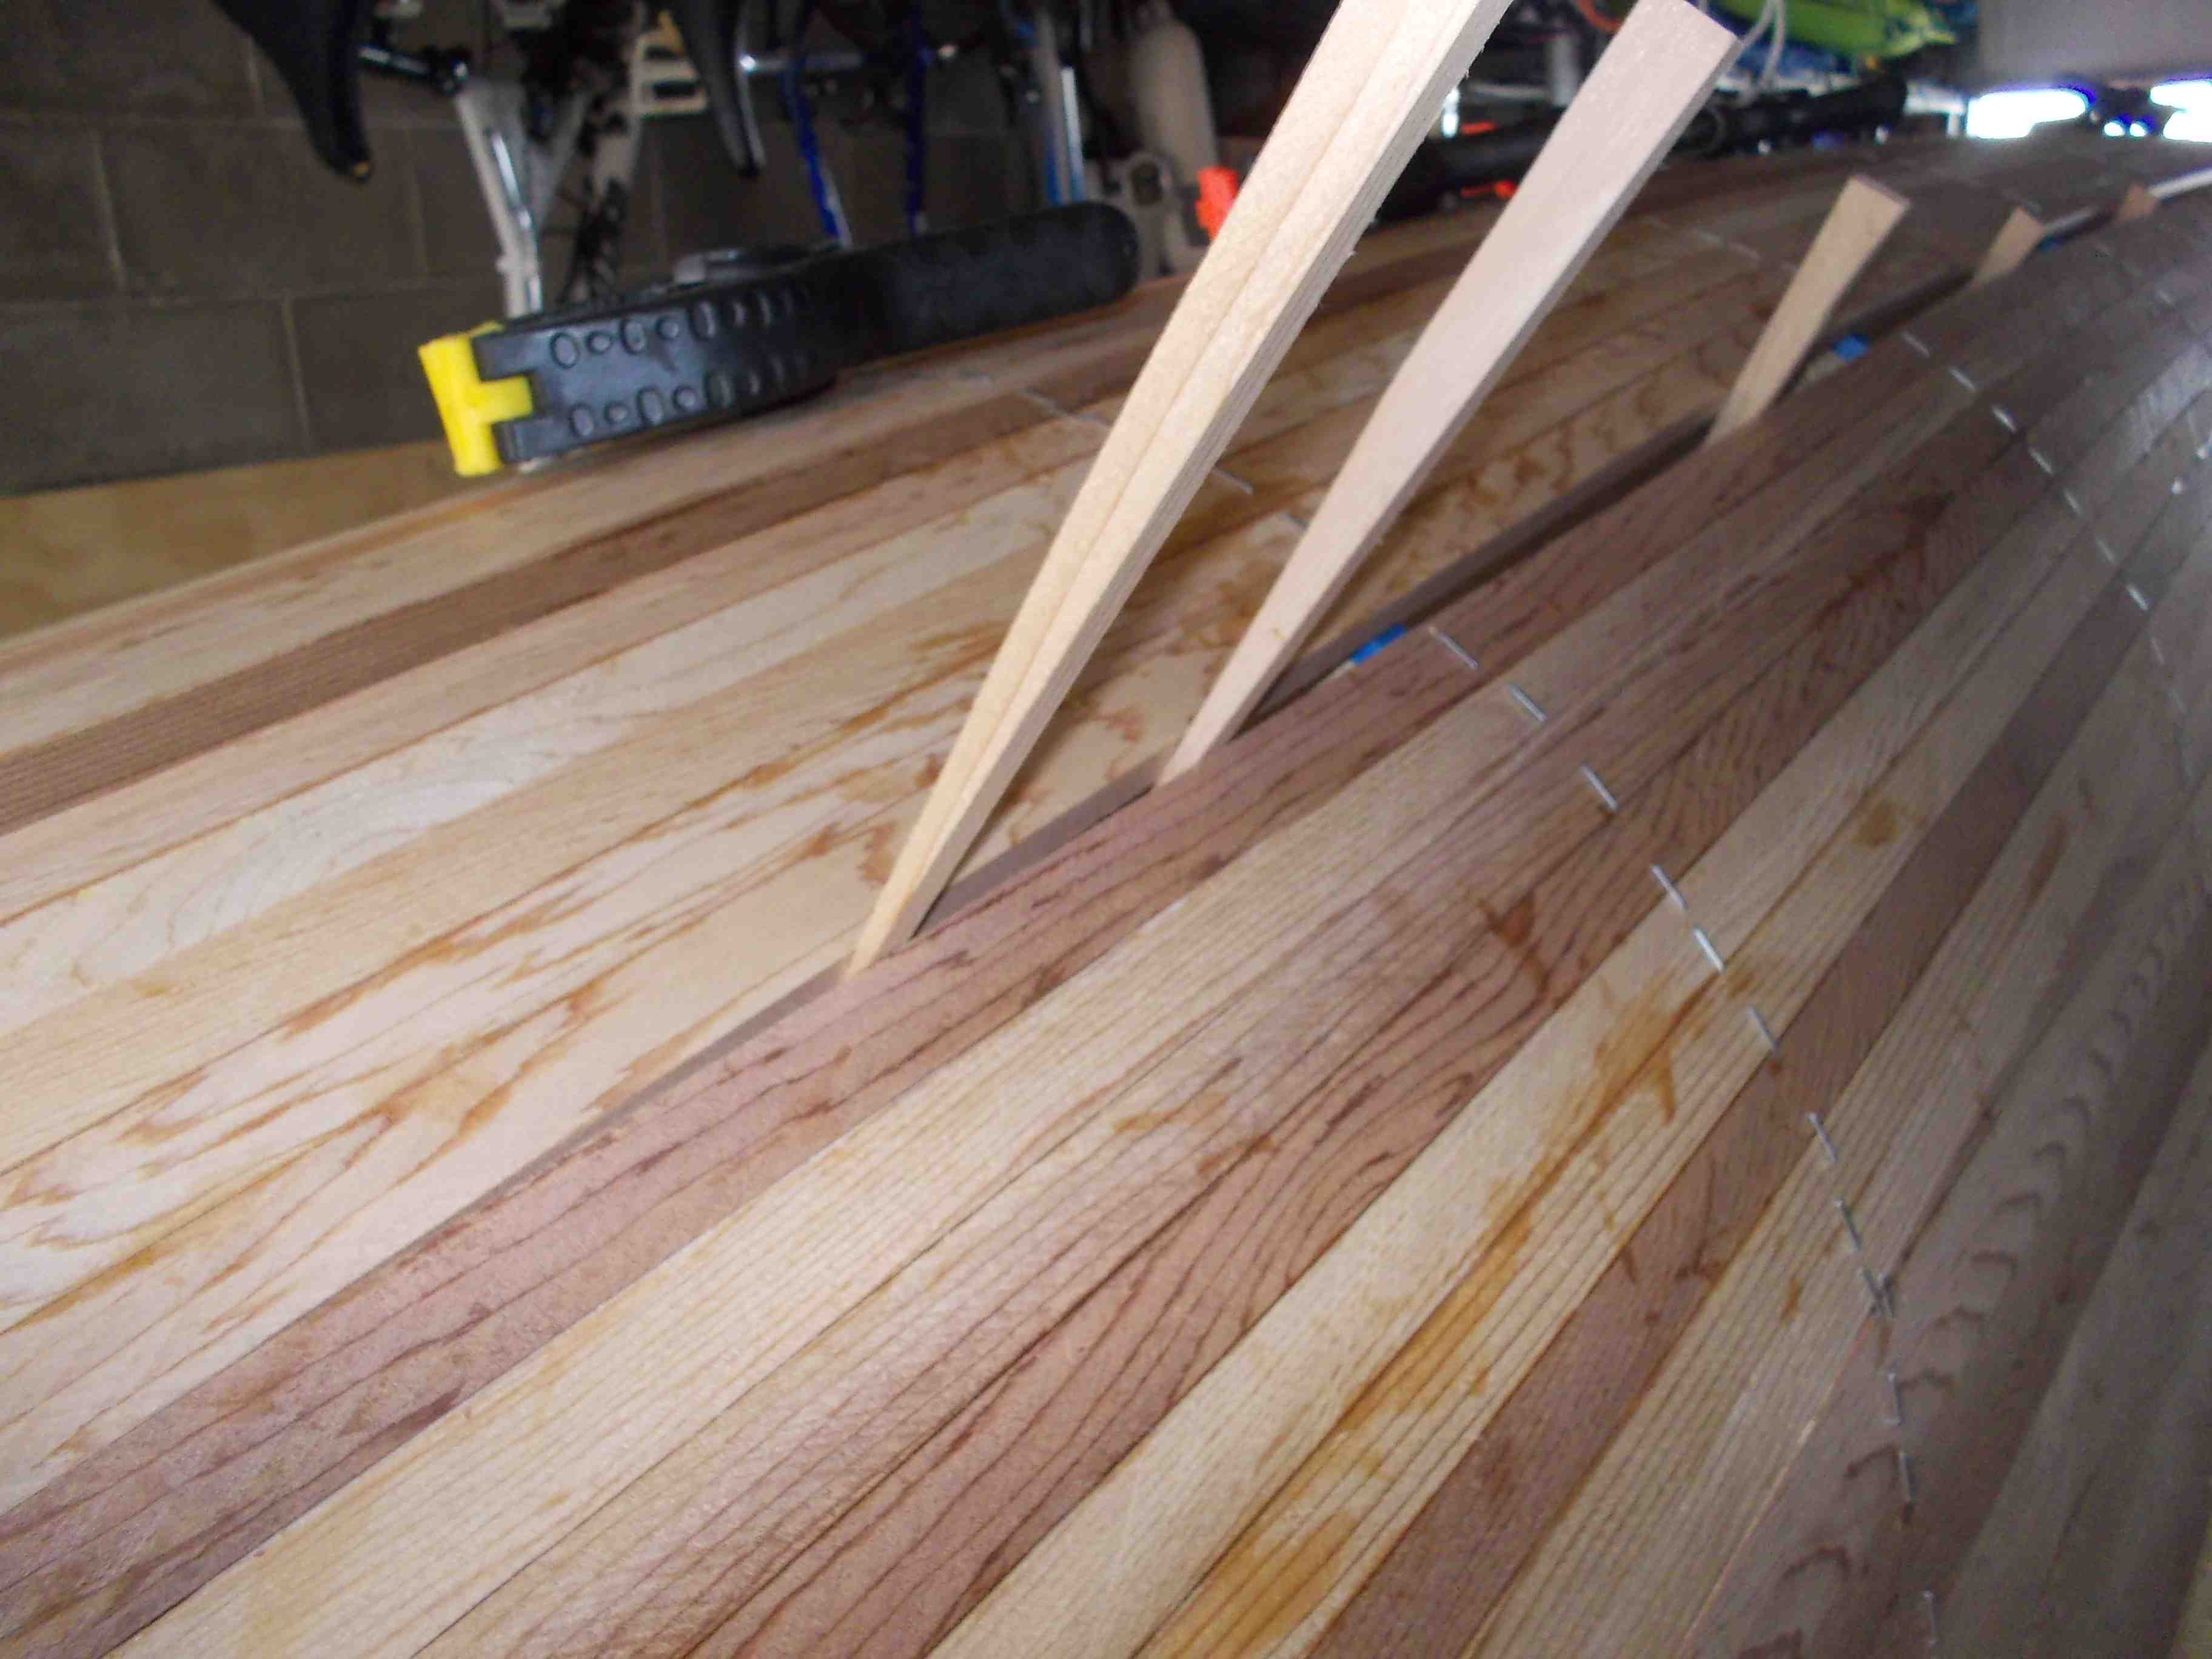
Measuring the last strip. You can see all the staples holding them in place while the glue dries. Wedges help press the strips in place.

the final strip

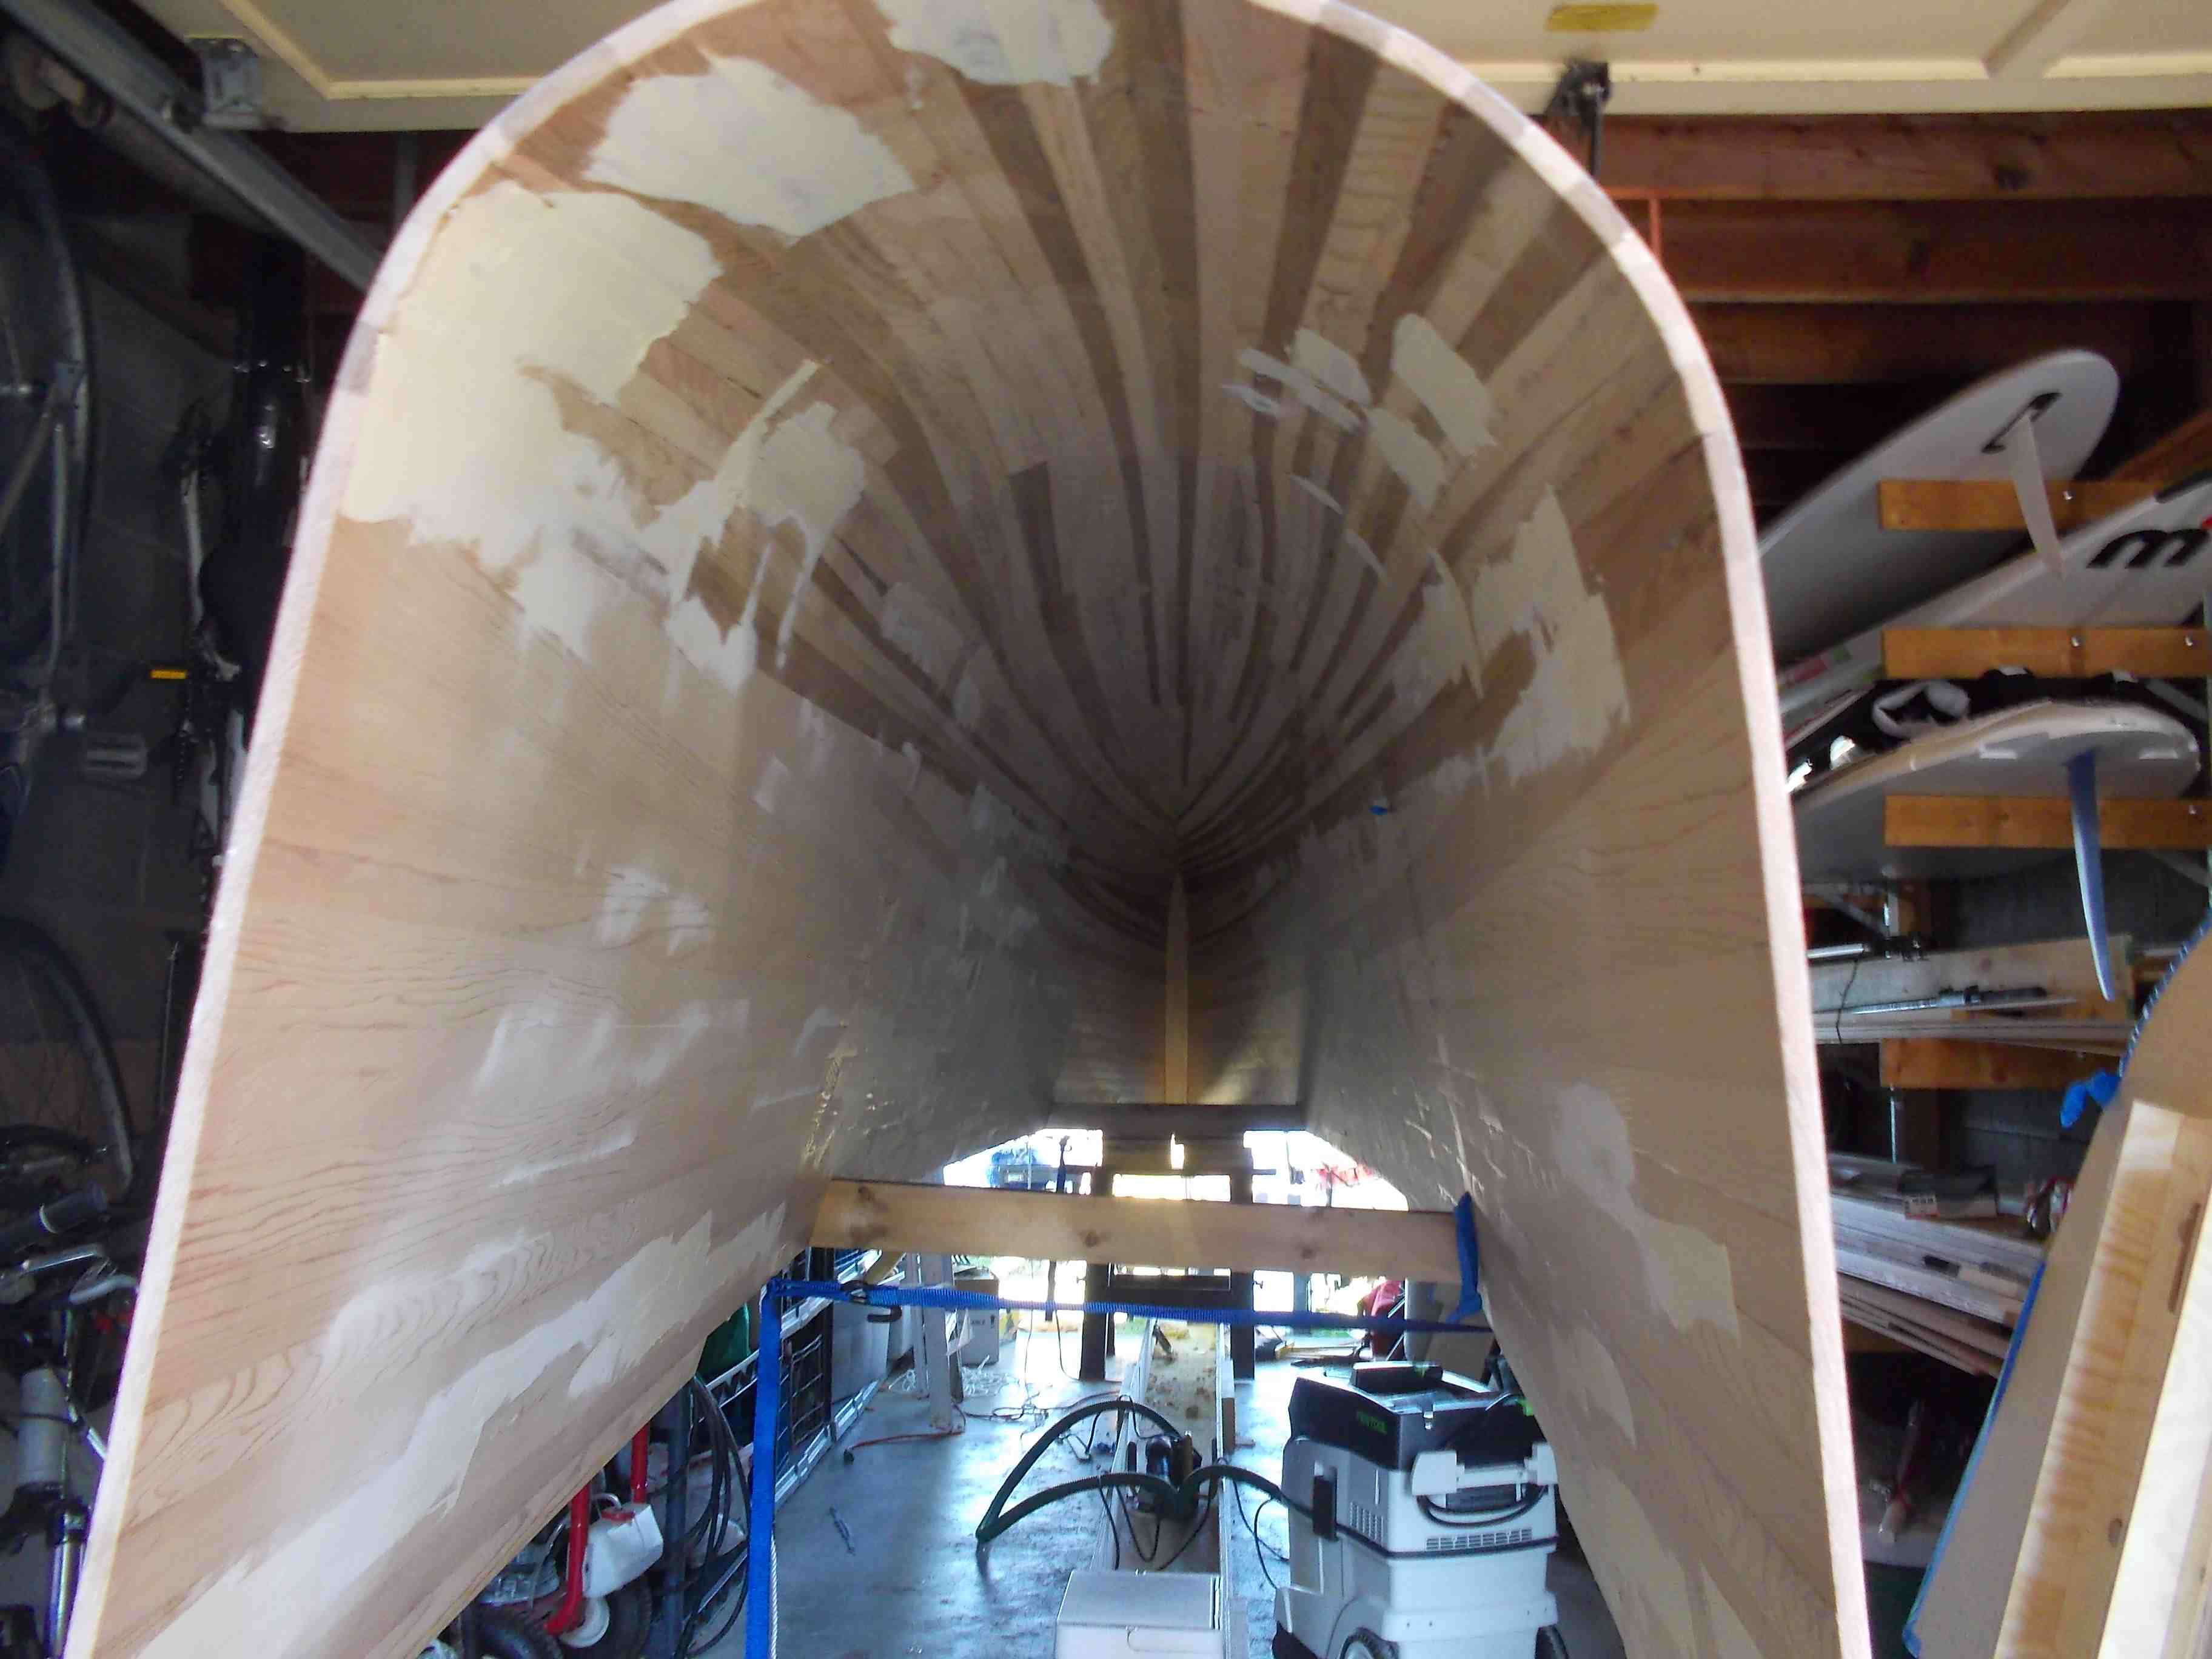
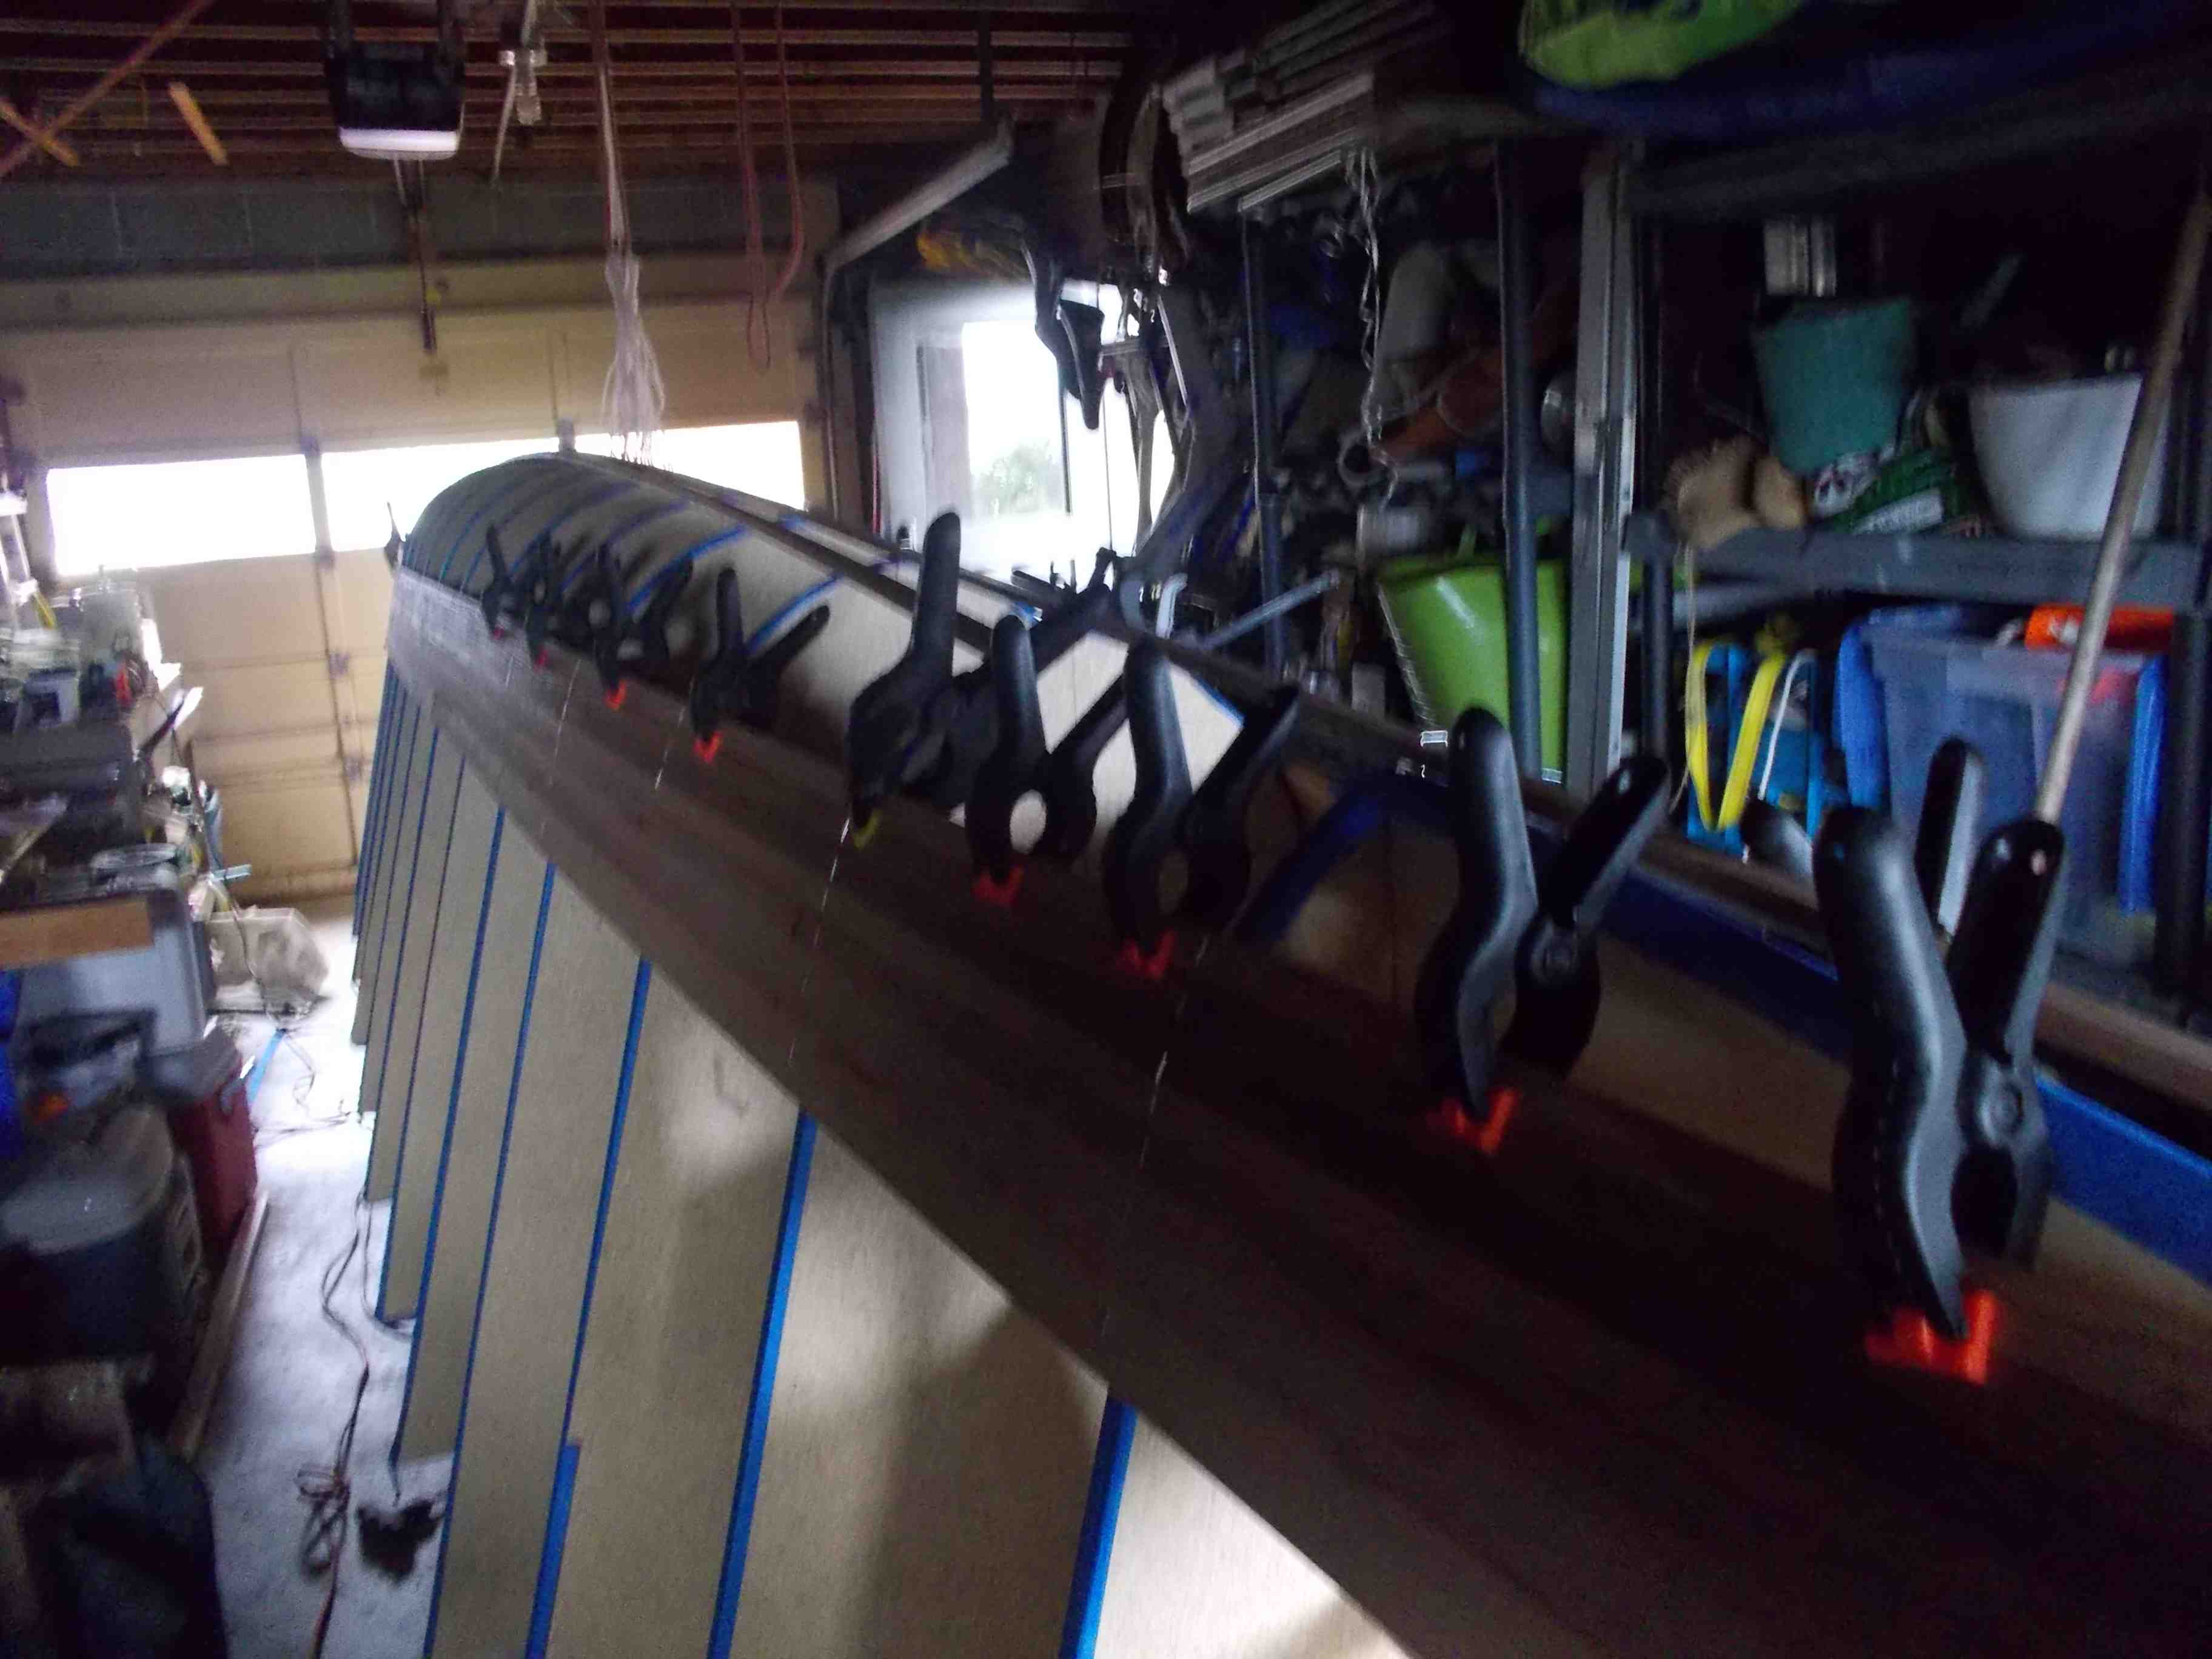
Working to close the bow. As many clamps as you have. Notice I had to add a landing piece between the forward frames so that I could land the strips against something.

closing the bow

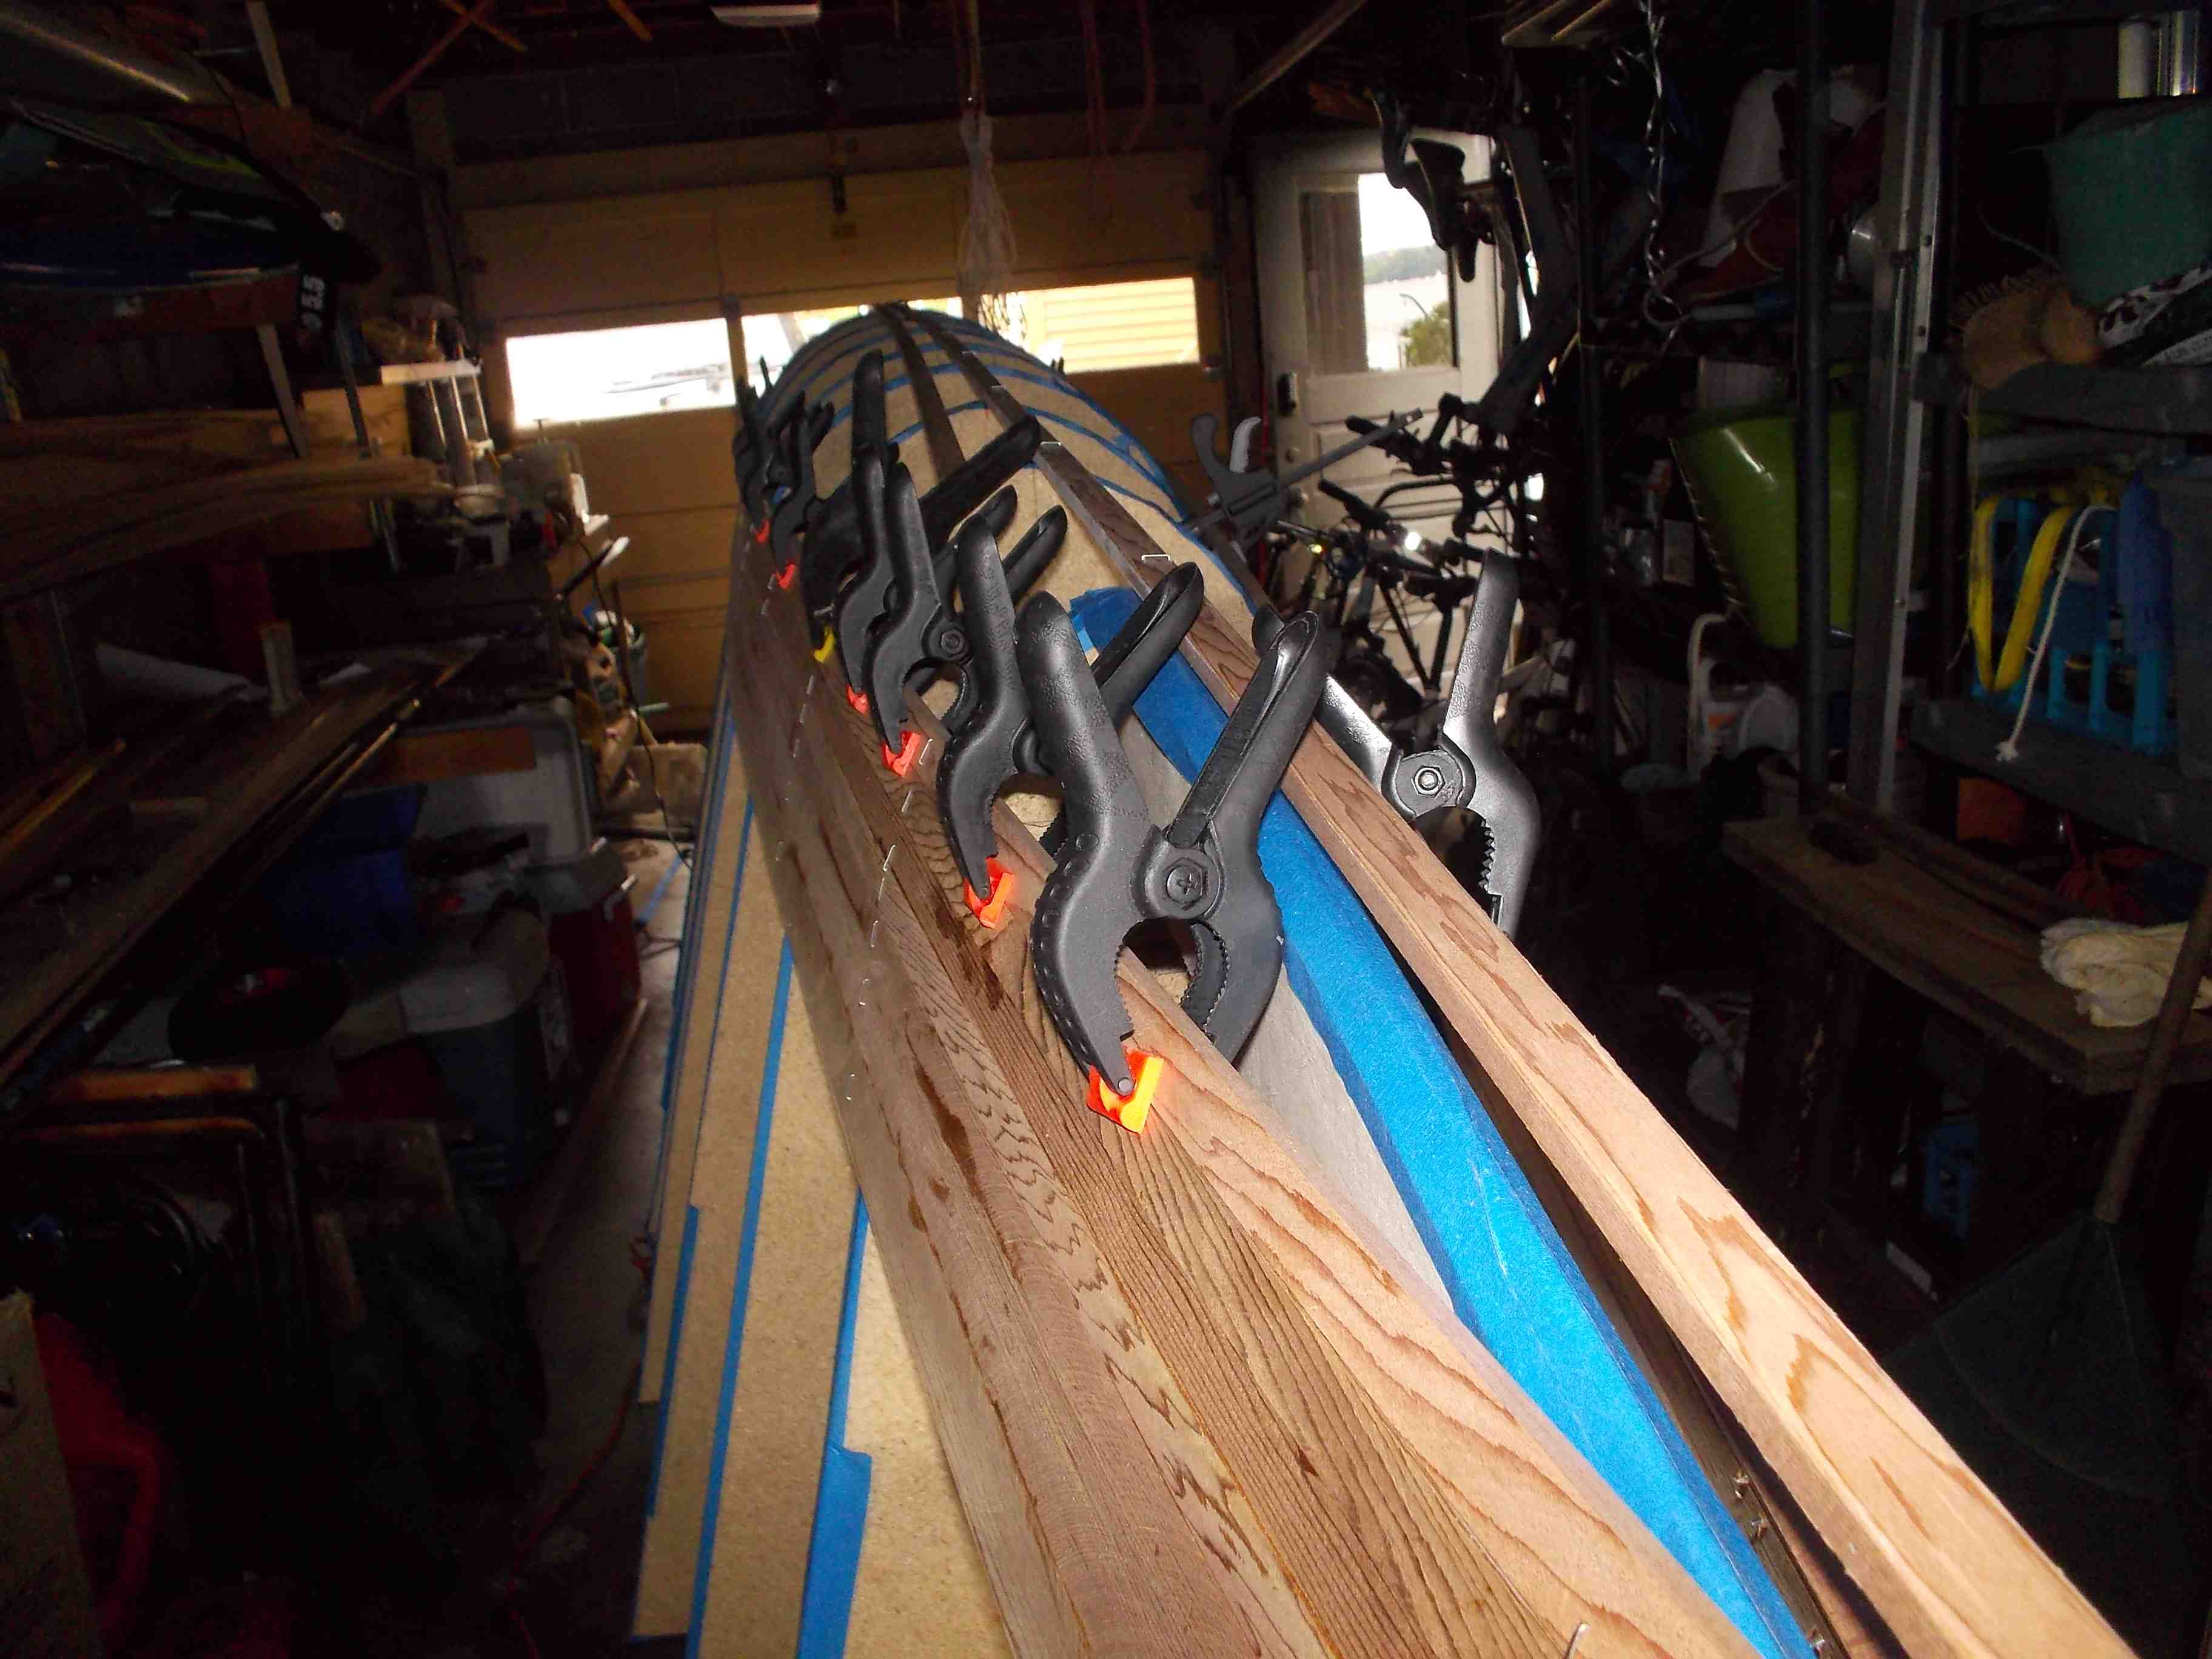
Details on closing the stern

details on transom taper

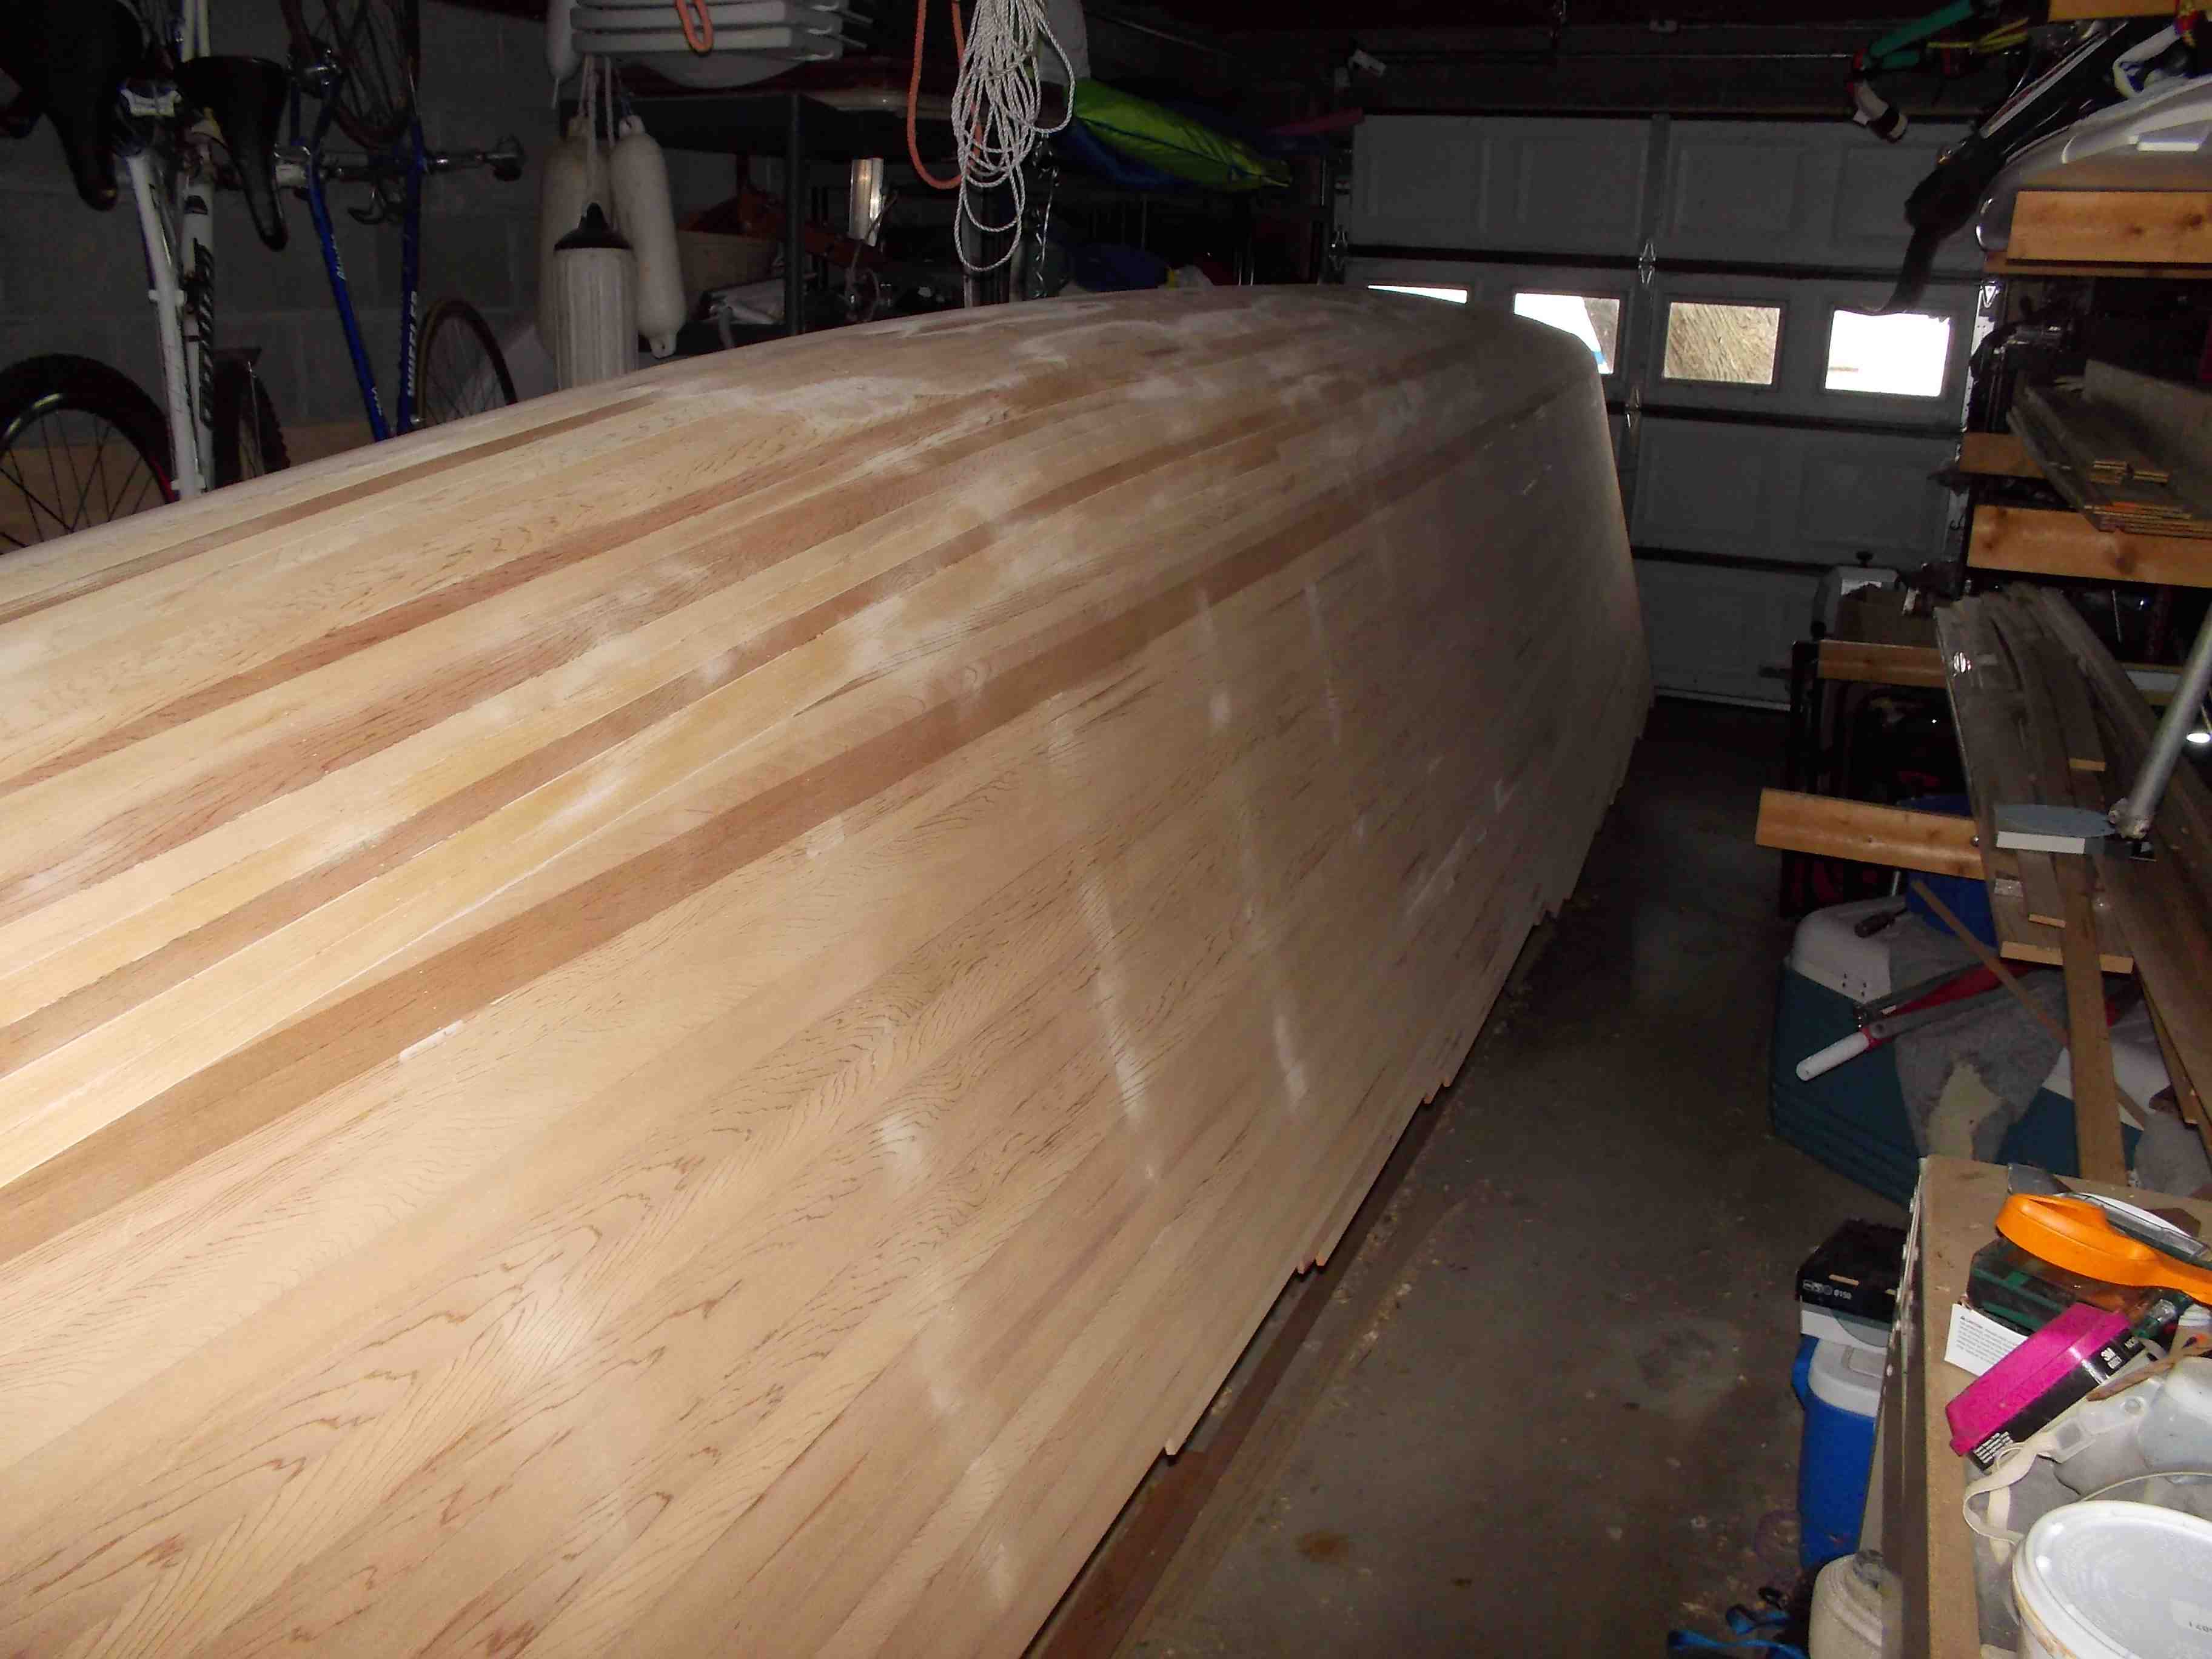
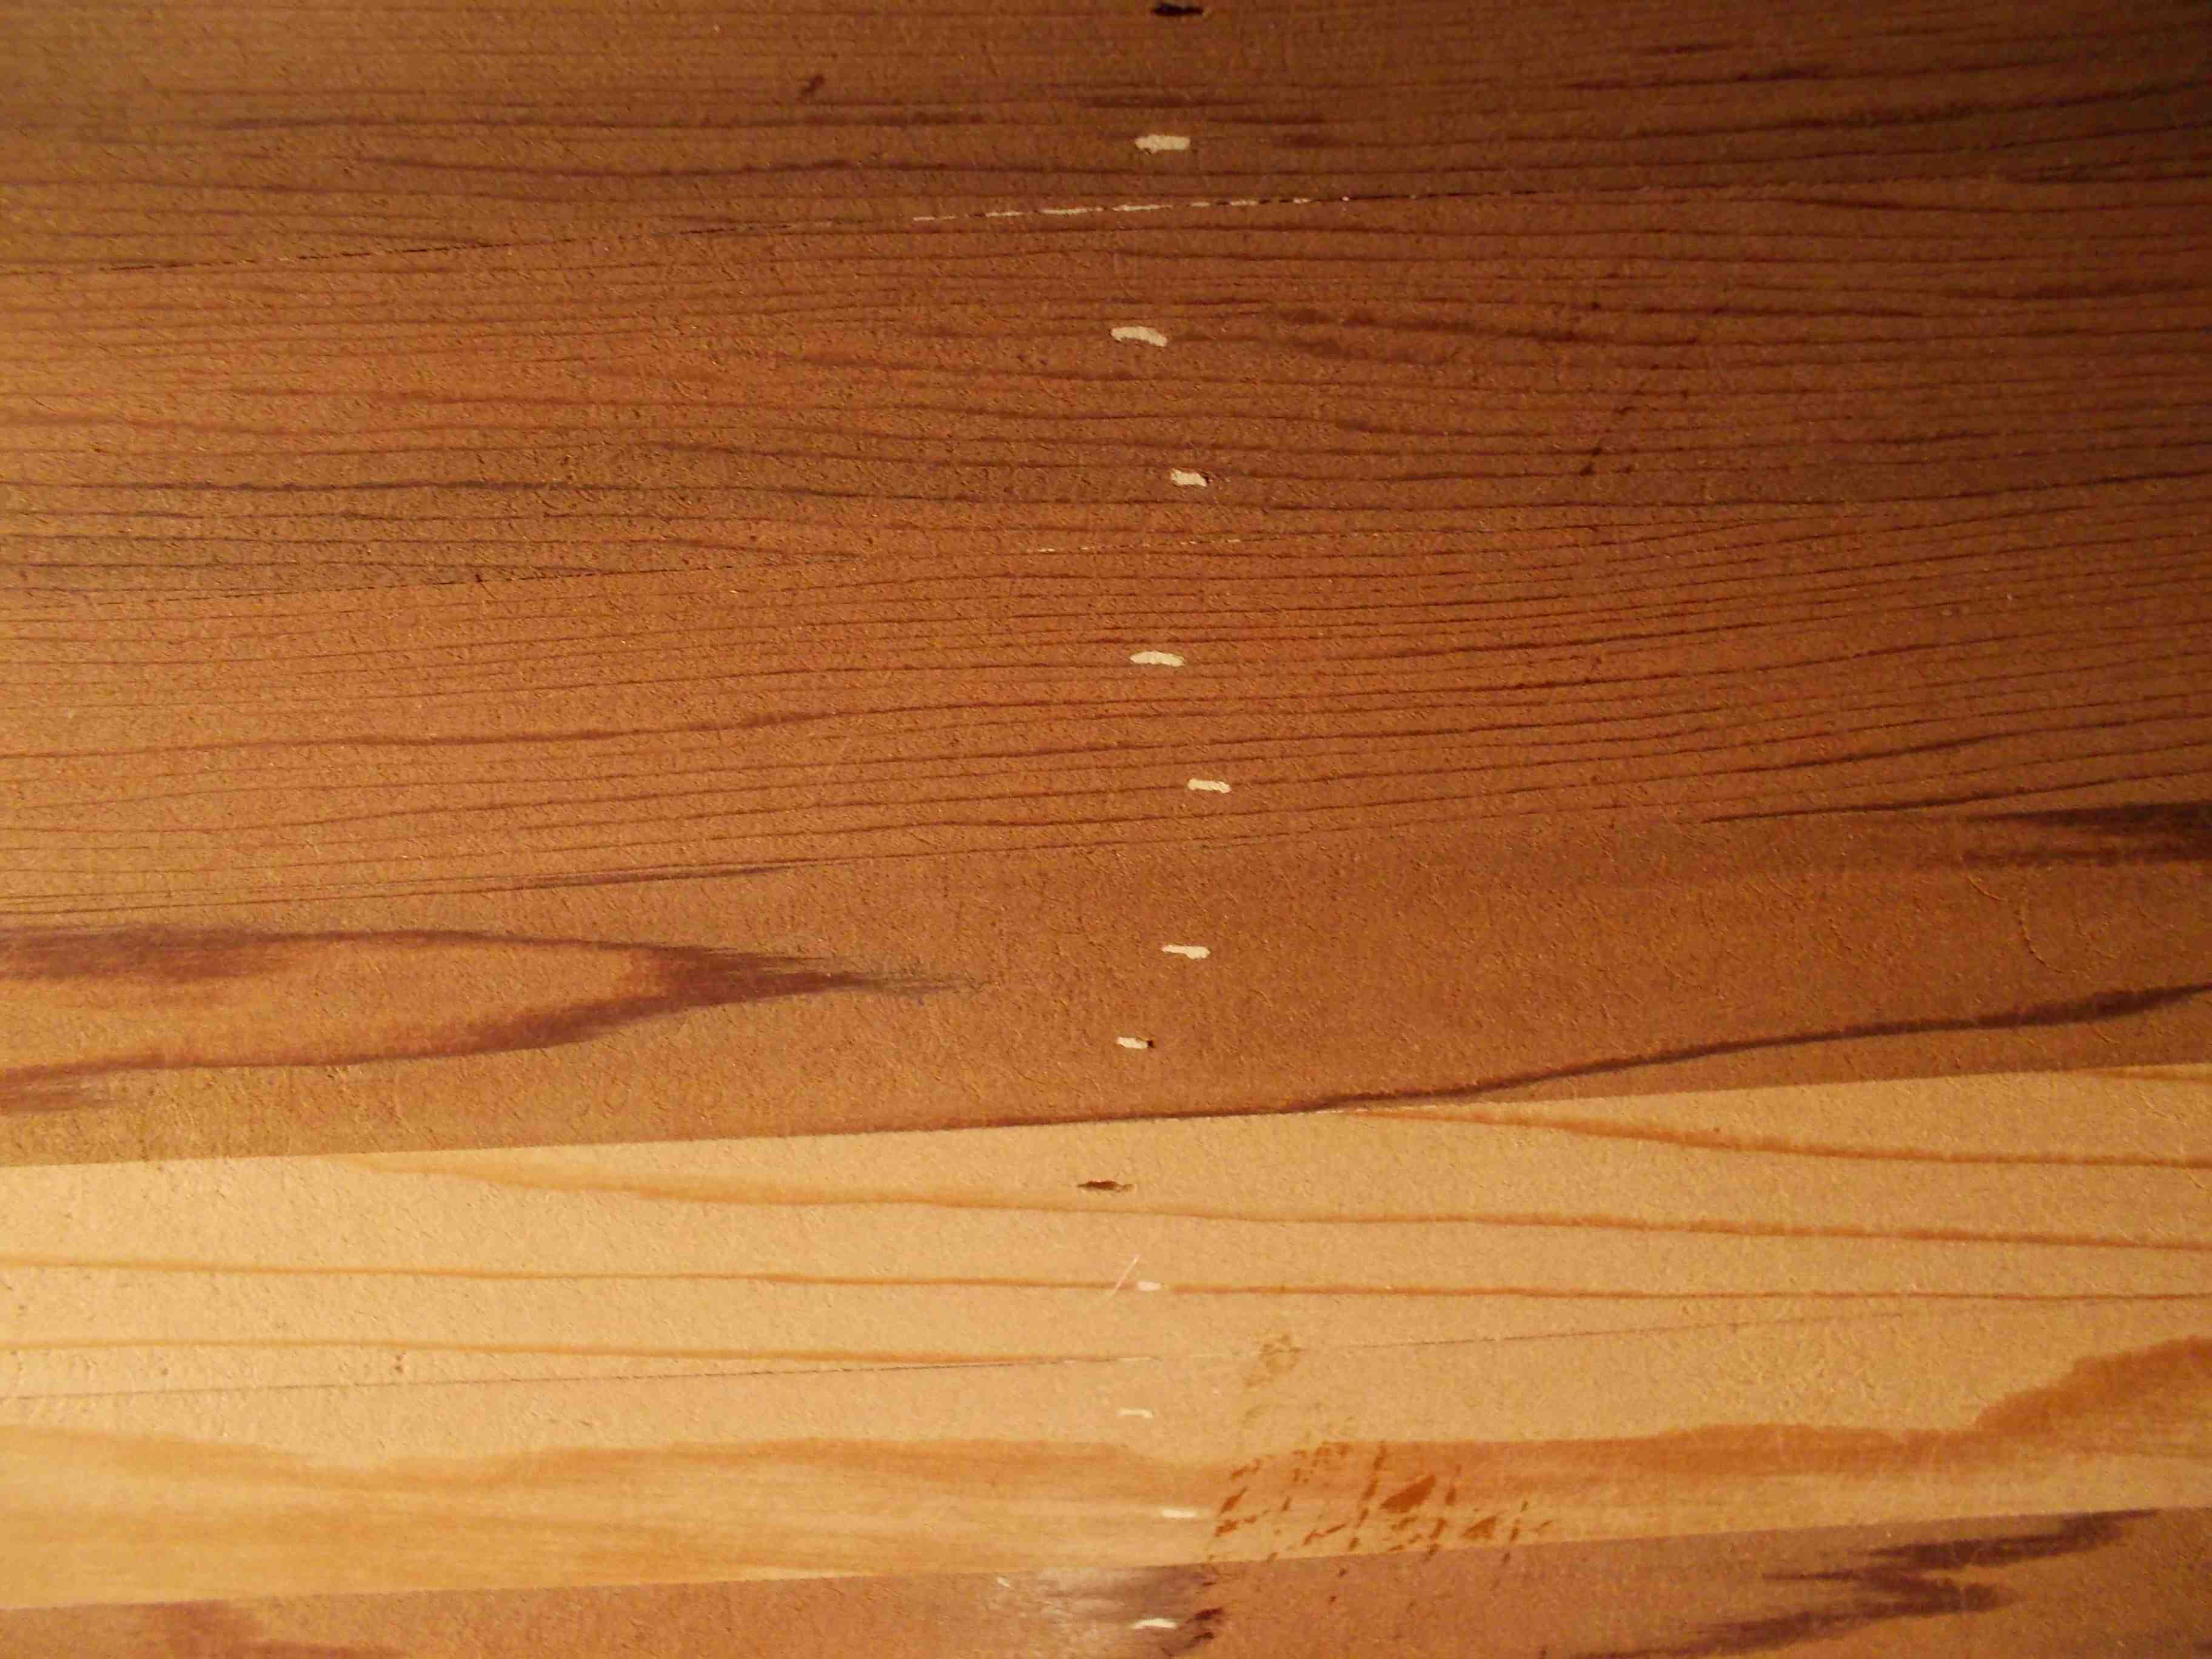
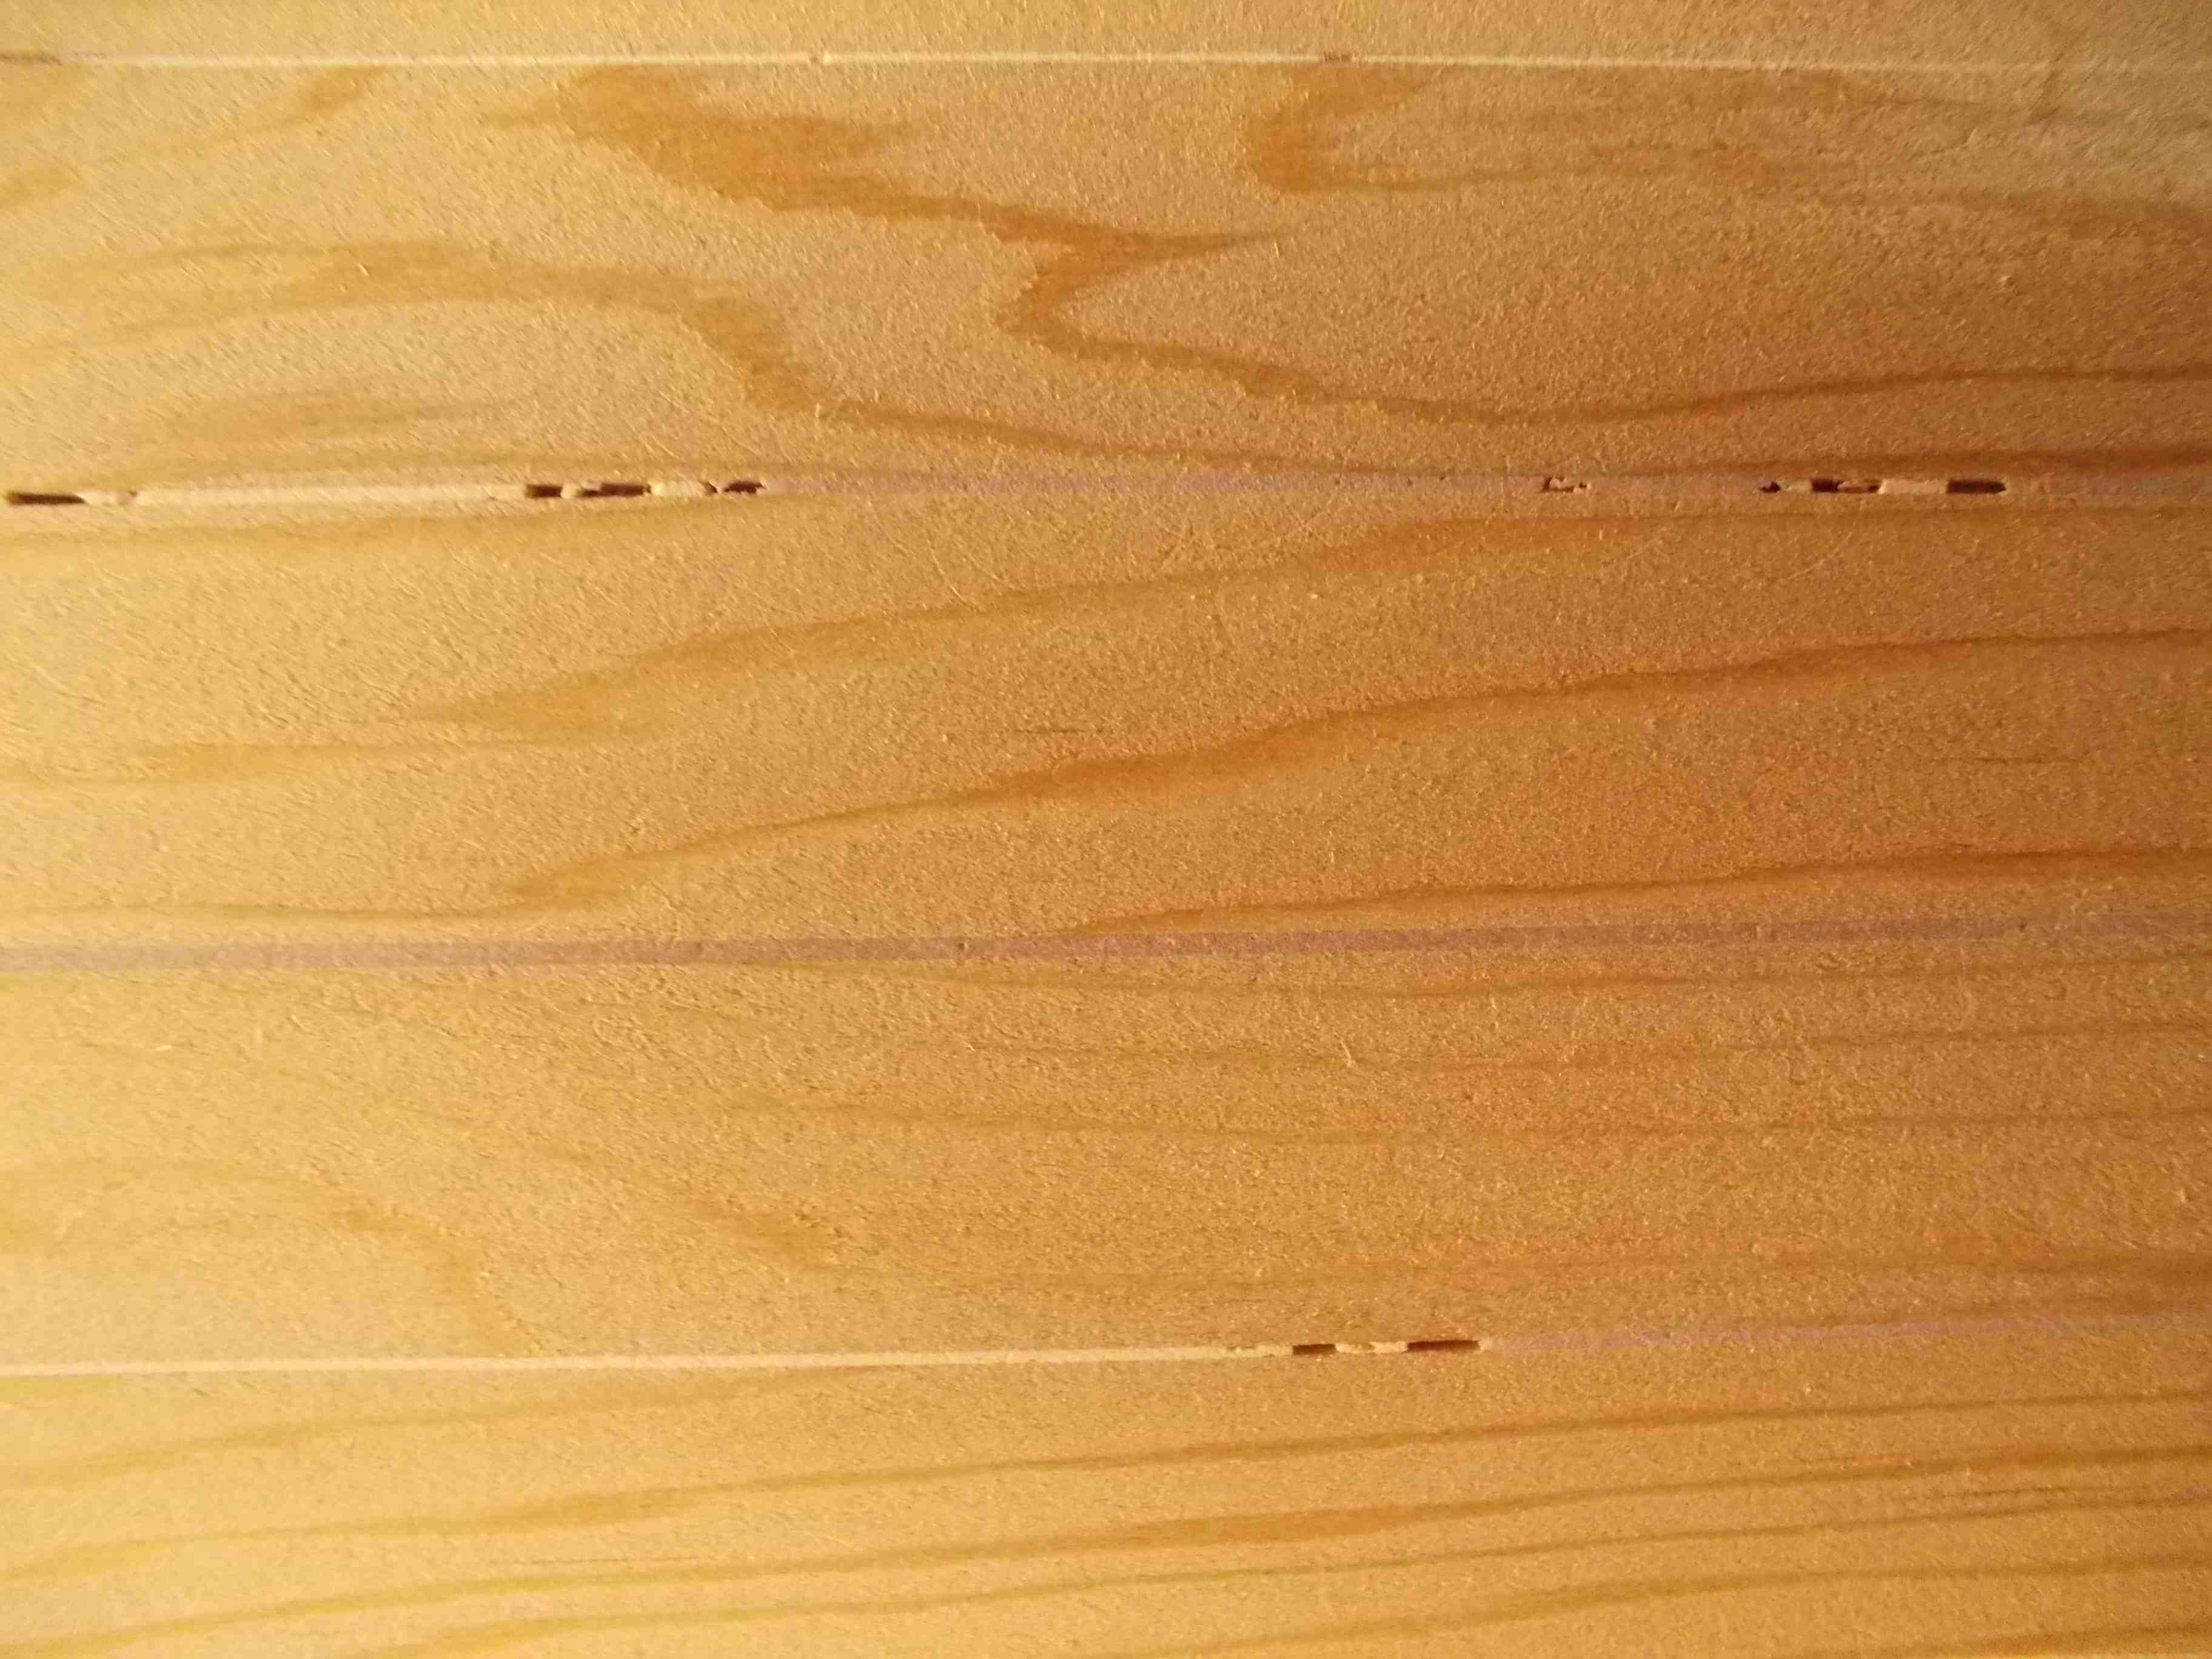
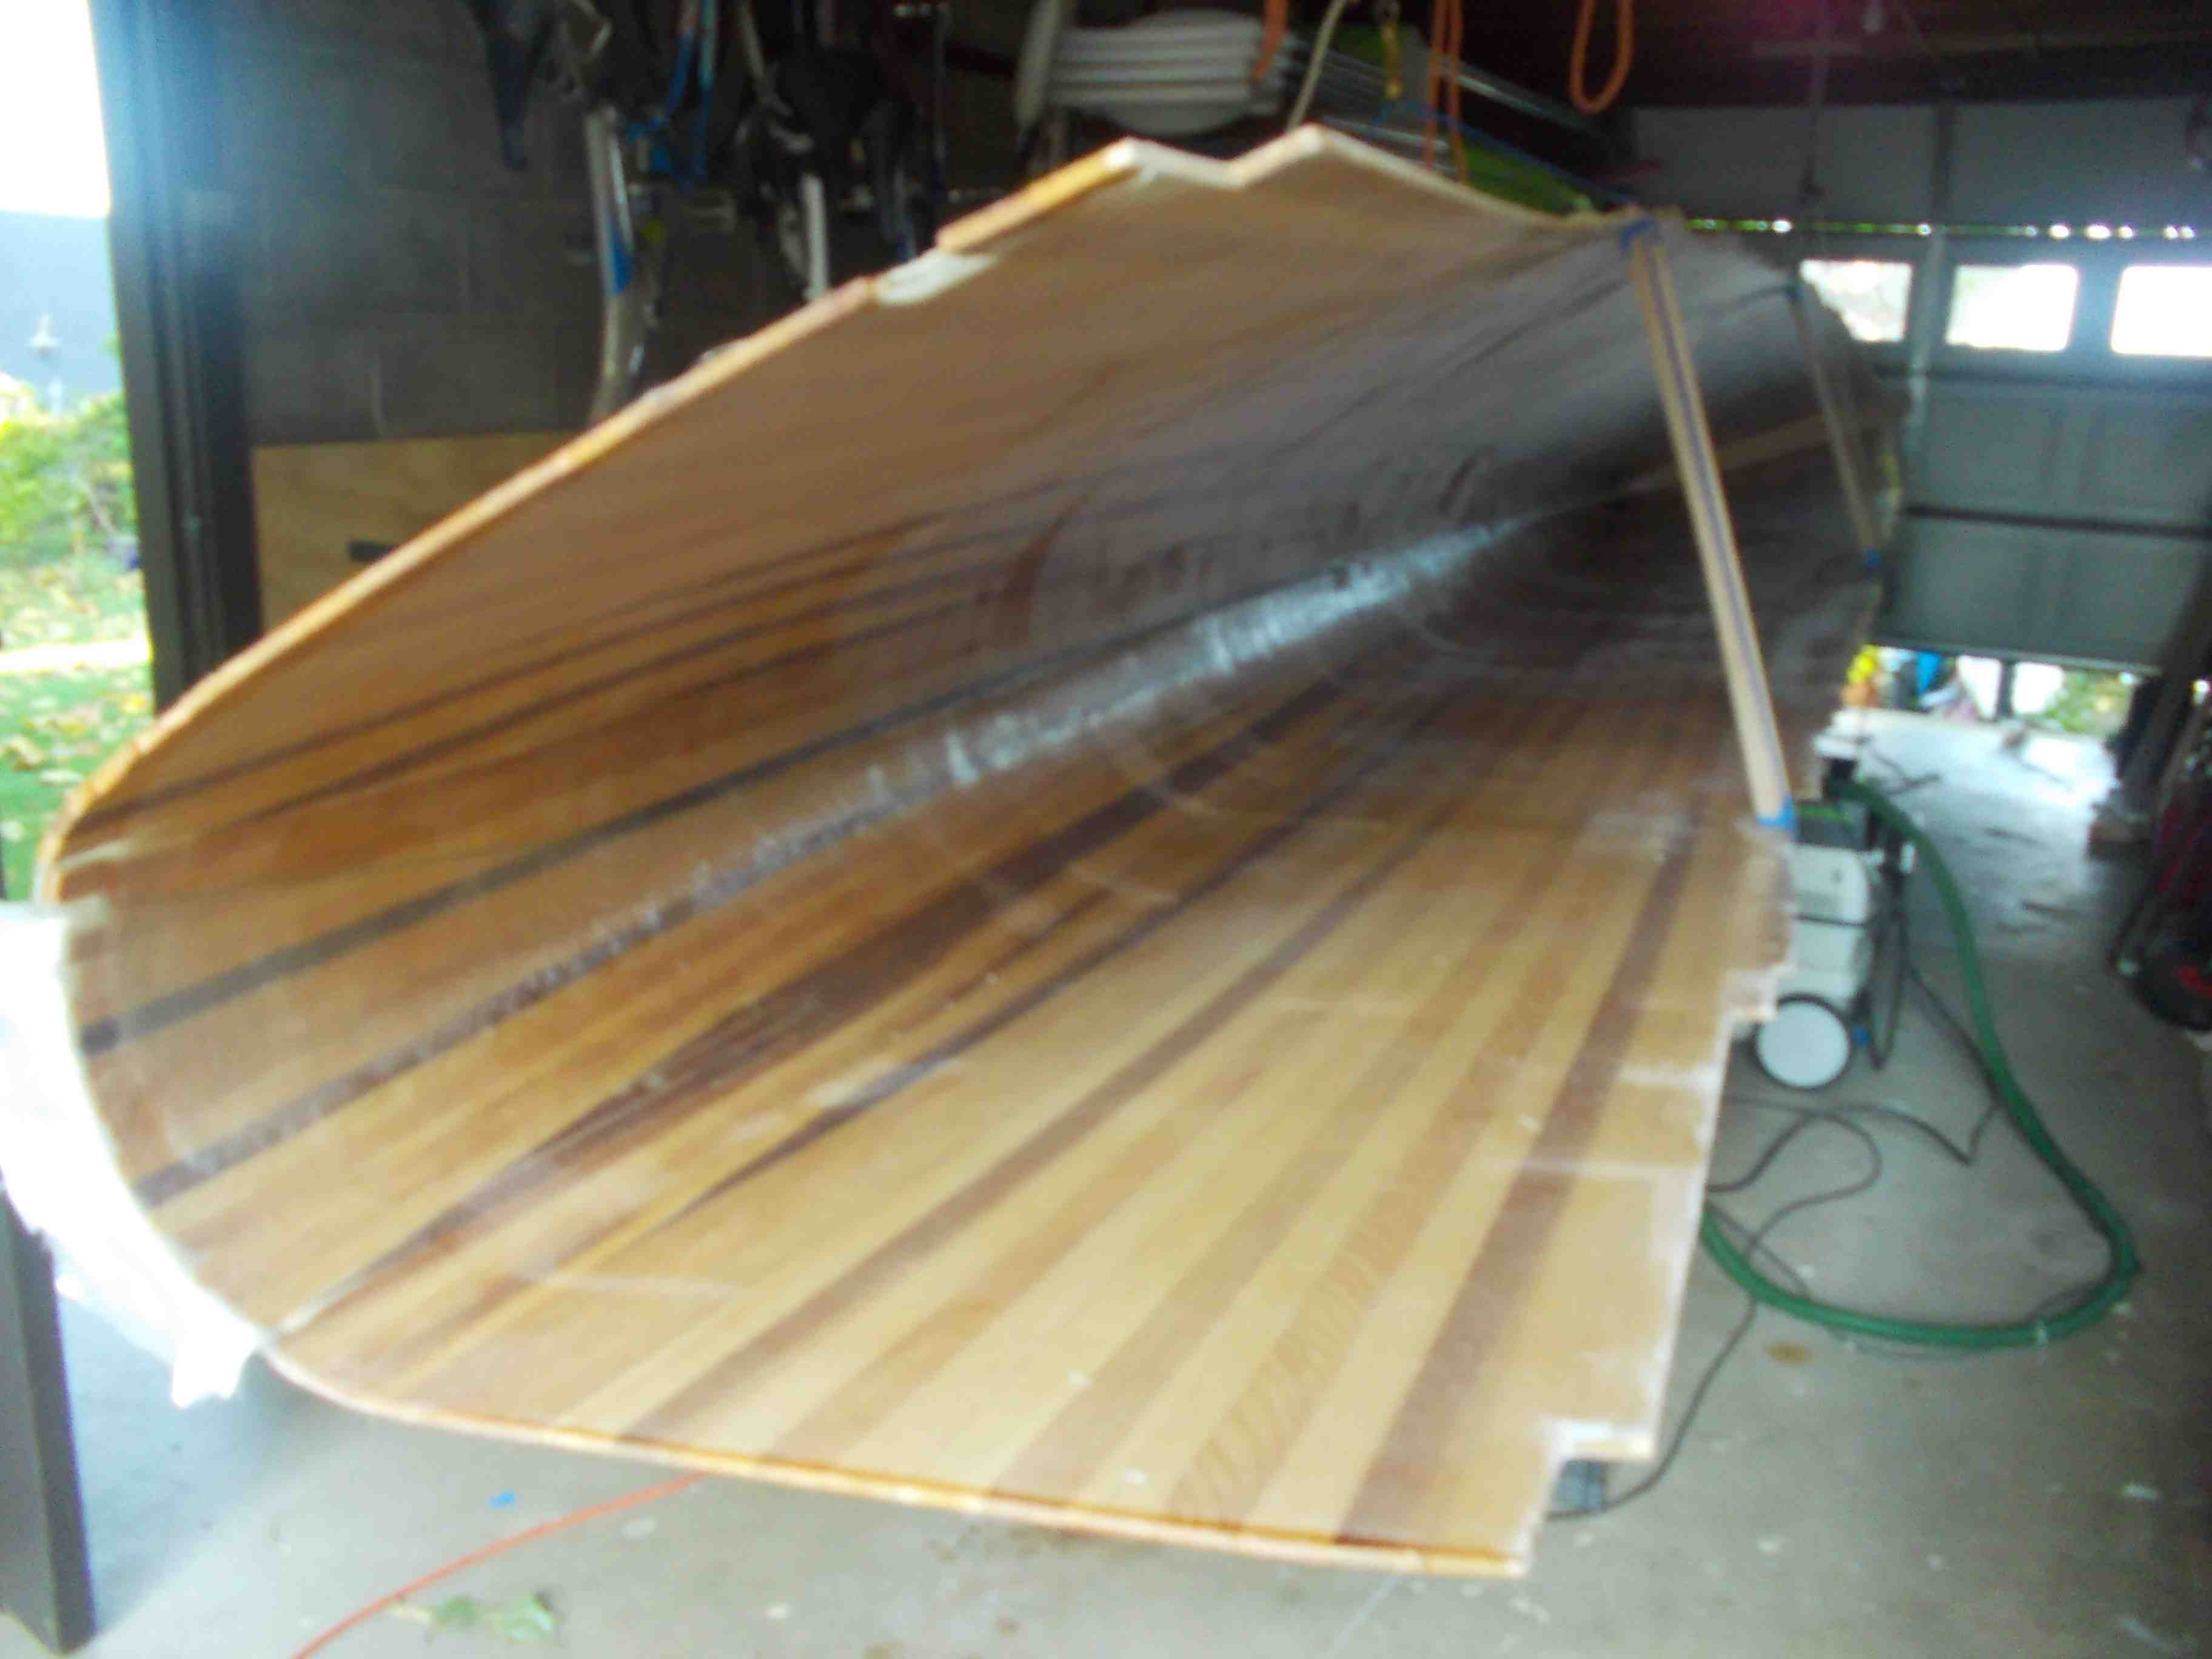
The reward. Something that looks like a boat! Here the 1000+ staples have been removed and we started filling the staple wholes and other  cracks between strips that we missed while glueing.

the reward


Preparing the hulls for fiber glassing

Before we can fiber glass a hull we need to do the following:

  • remove all the staples
  • sand and fair the hull
  • fill all the staple holes and visible cracks

This whole process is repeated on the inside once we fiberglass the outside and can pop the hull out of the mold. For the outside it took me about 5x2hour sessions to get the hull where I wanted it. The inside was more tedious since I had to flip the boat over every time I wanted to work on a particular side. Call it 5x3hour sessions

Here you can see the staple holes. I used  Elmers latex based wood filler and that proved to work well. If you don’t fill these cracks and pin holes, they all translate into bubbles as you lay the glass down.


filling staple holes


Cracks that need to be filled


filling cracks


Fairing the outside is much easier then the inside. One of my best investments for boat building has been the festool line of sanders with their vacuum cleaners. These sander worked as advertised and the dust inside the garage was minimal. For the outside the  ETS 150/5 EQ Random Orbital Finish Sander with 80 grit sandpaper worked great.

bow details

The inside can be a real challenge if you did not clean the glue as you stripped. We started by trying to work under the boat. We quickly realized this wasn’t healthy… For sanding the interior, another festool sander came to the rescue. Rotex RO 90 DX Multi-Mode Sander. With its small profile, light weight and polishing soft pad it did a great job of cleaning and smoothing the insidie radius.

fairing the interios

Working on the inside got a lot easier once we figure out that once the outside was fiberglassed we could rotate the hull safely by adding a few cross braces


hull on its side