So when you are installing a production hatch, two things are critical.
- Making sure you won’t adversely affect the structure of the deck
- Making sure the hatch will be placed on a level square surface
These pictures show how I went about installing a Lewmar Size 44 Medium-Profile Deck Hatch on a very curved deck.
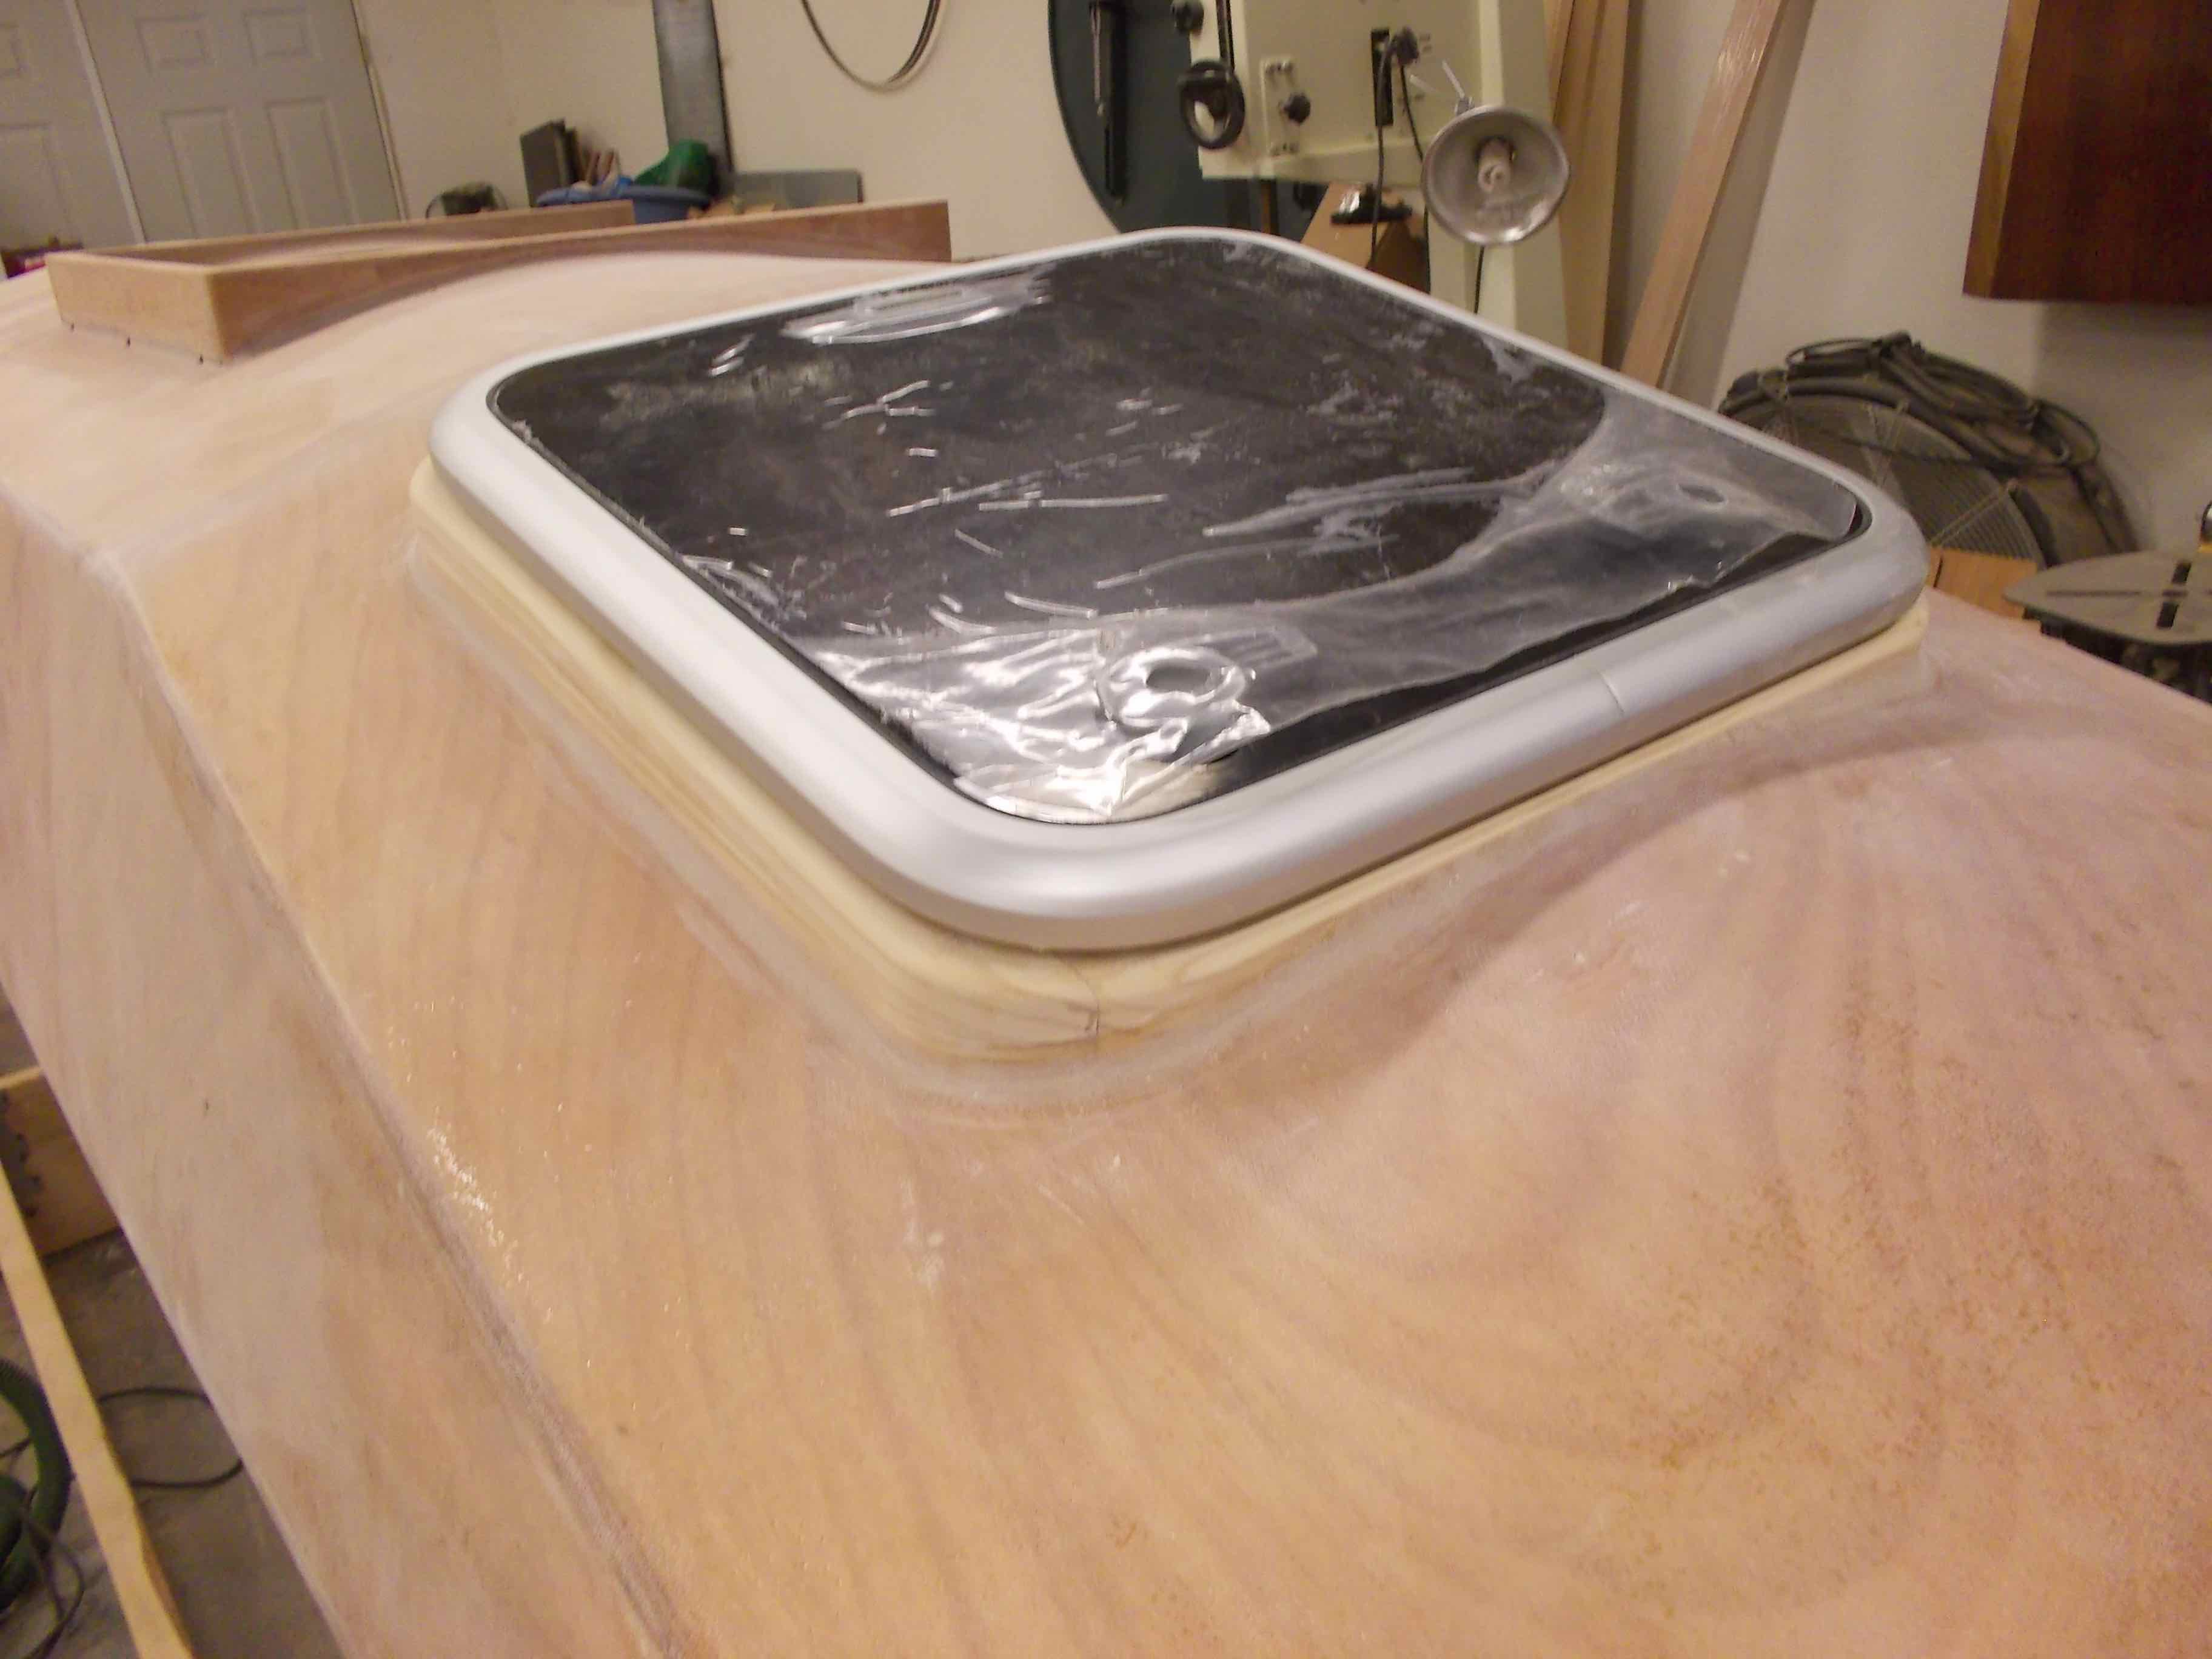
Luckily the hatch fits nicely in between two of my frames under the deck, so I did not have to worry too much about adversely impacting the deck structure.
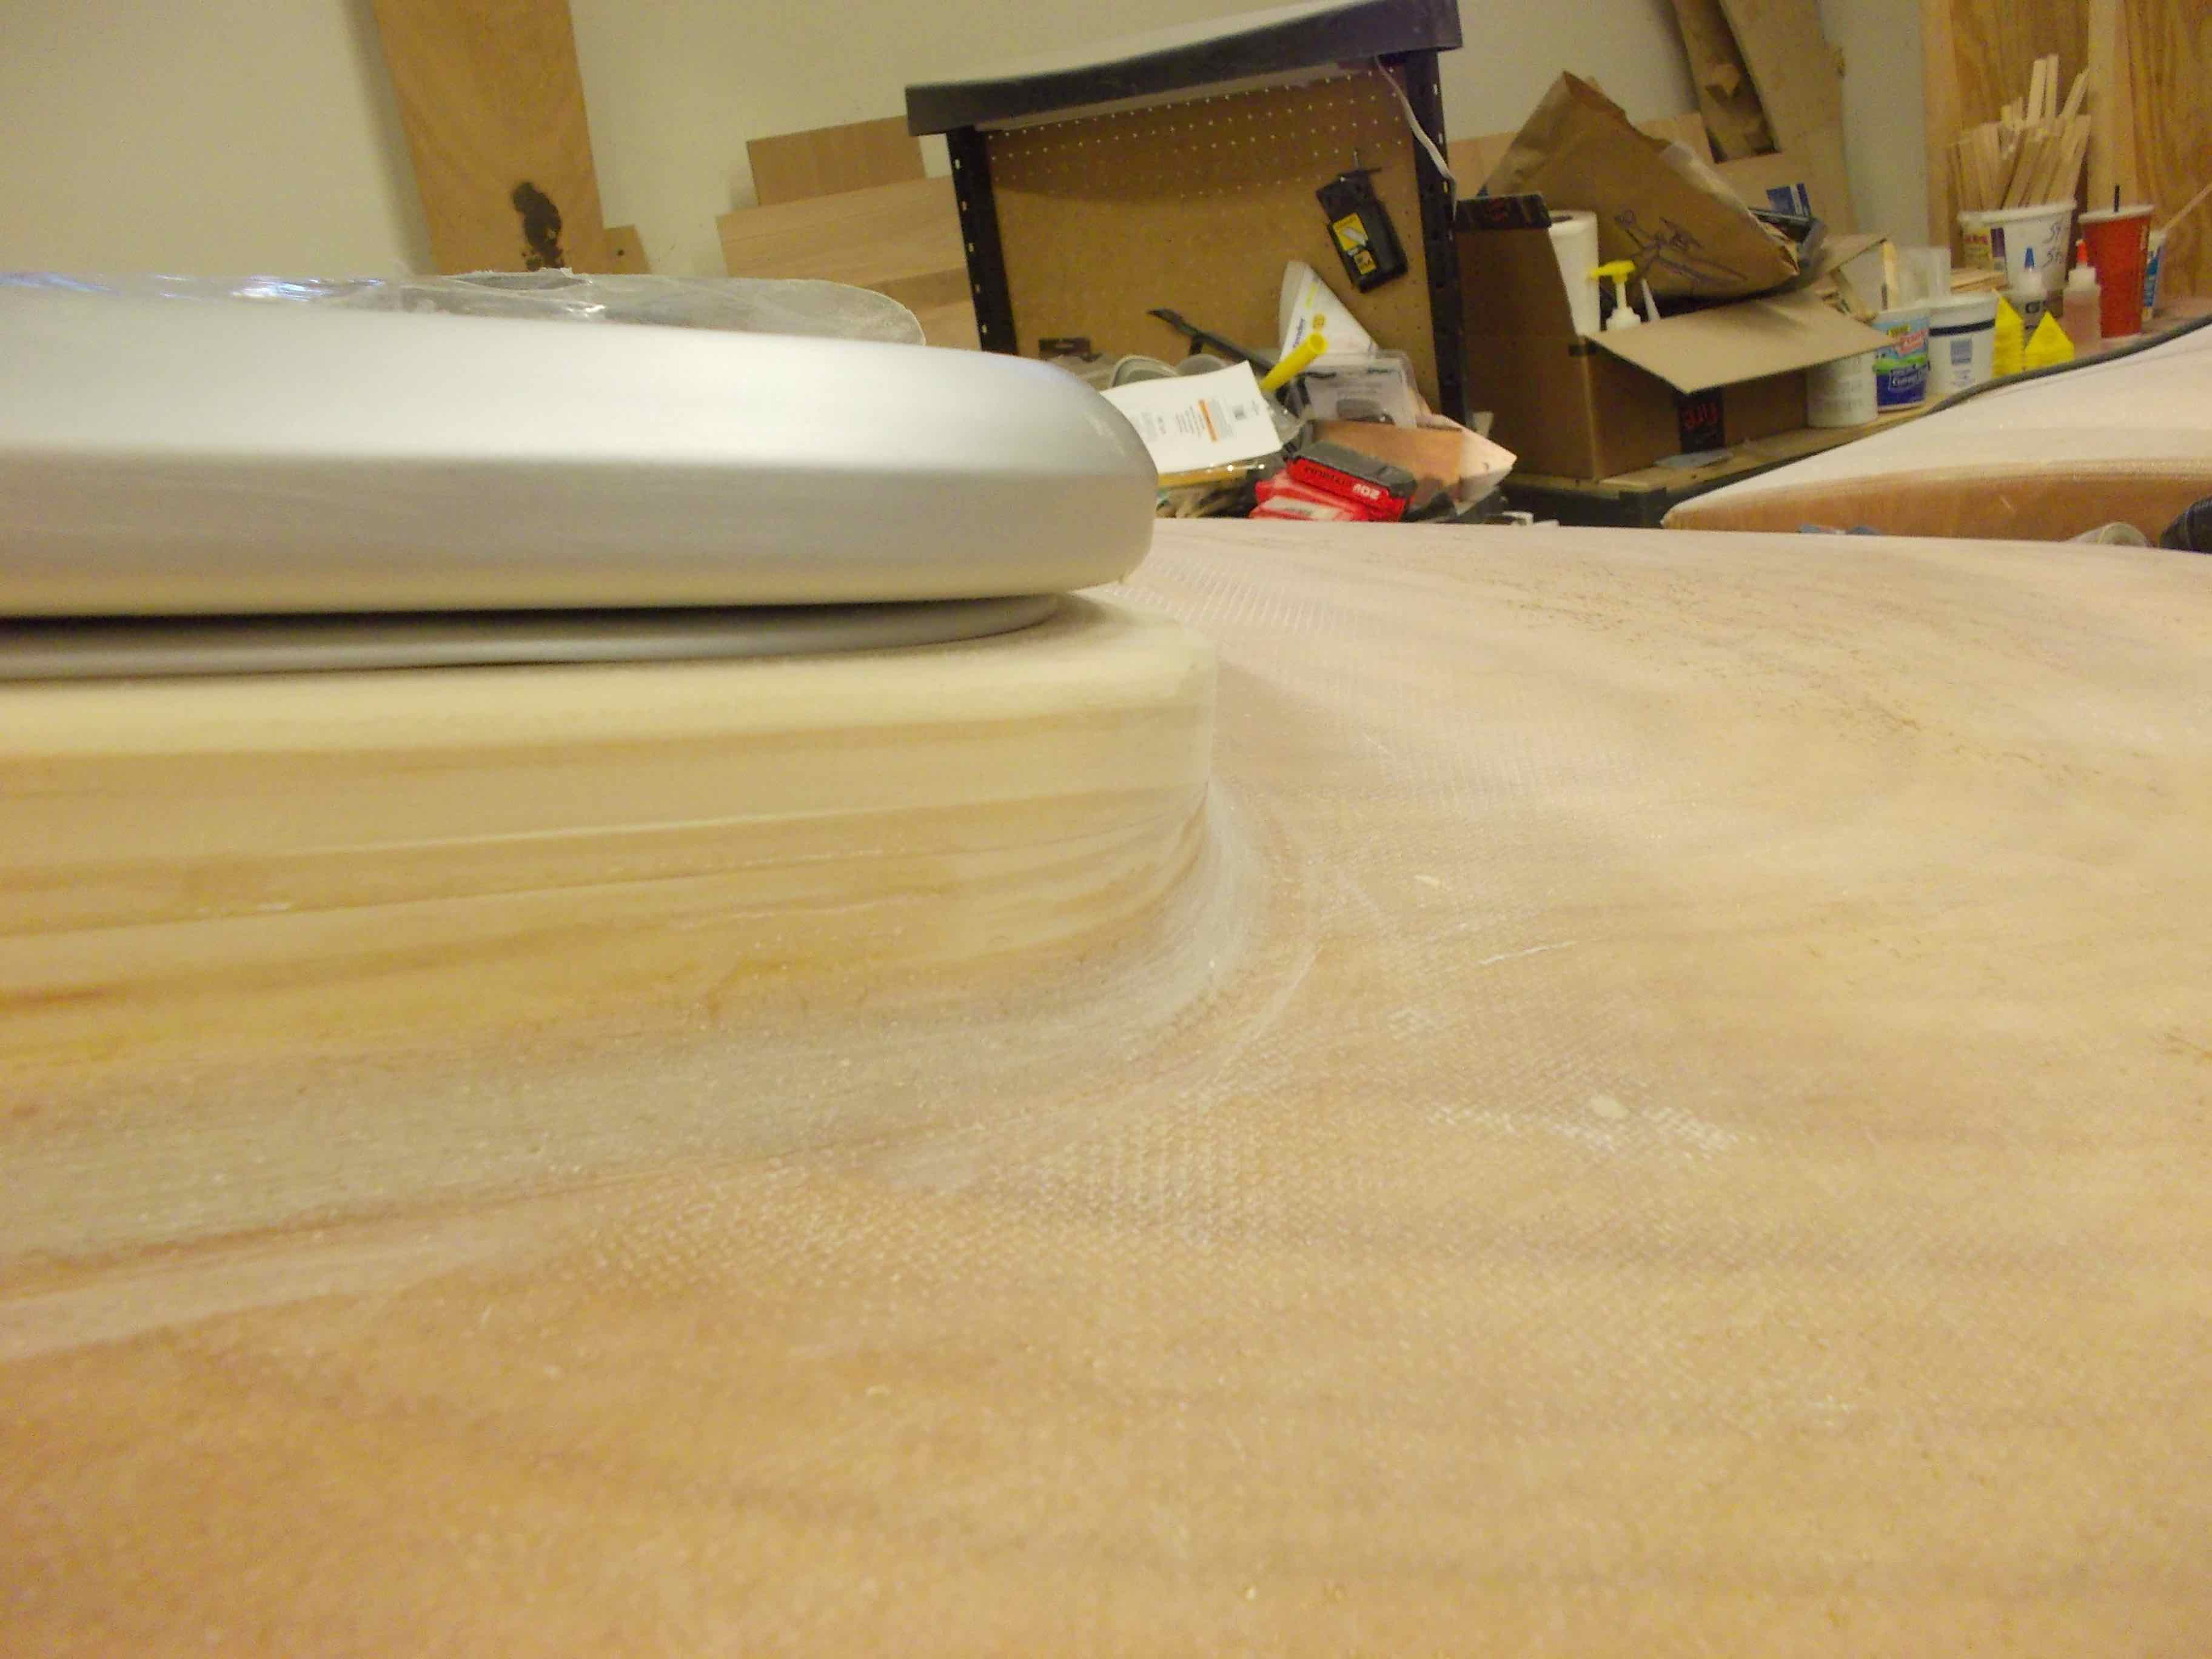
Let us start by drawing a very accurate profile of the hatch opening into a nice 3/4″ plywood pattern. You can do this easily by setting your hatch on top of the plywood and lining it with 1×2″, pushing it against the hatch coaming and using those lines as reference.
 My frame is also made of 1×2″ so things line up nicely.
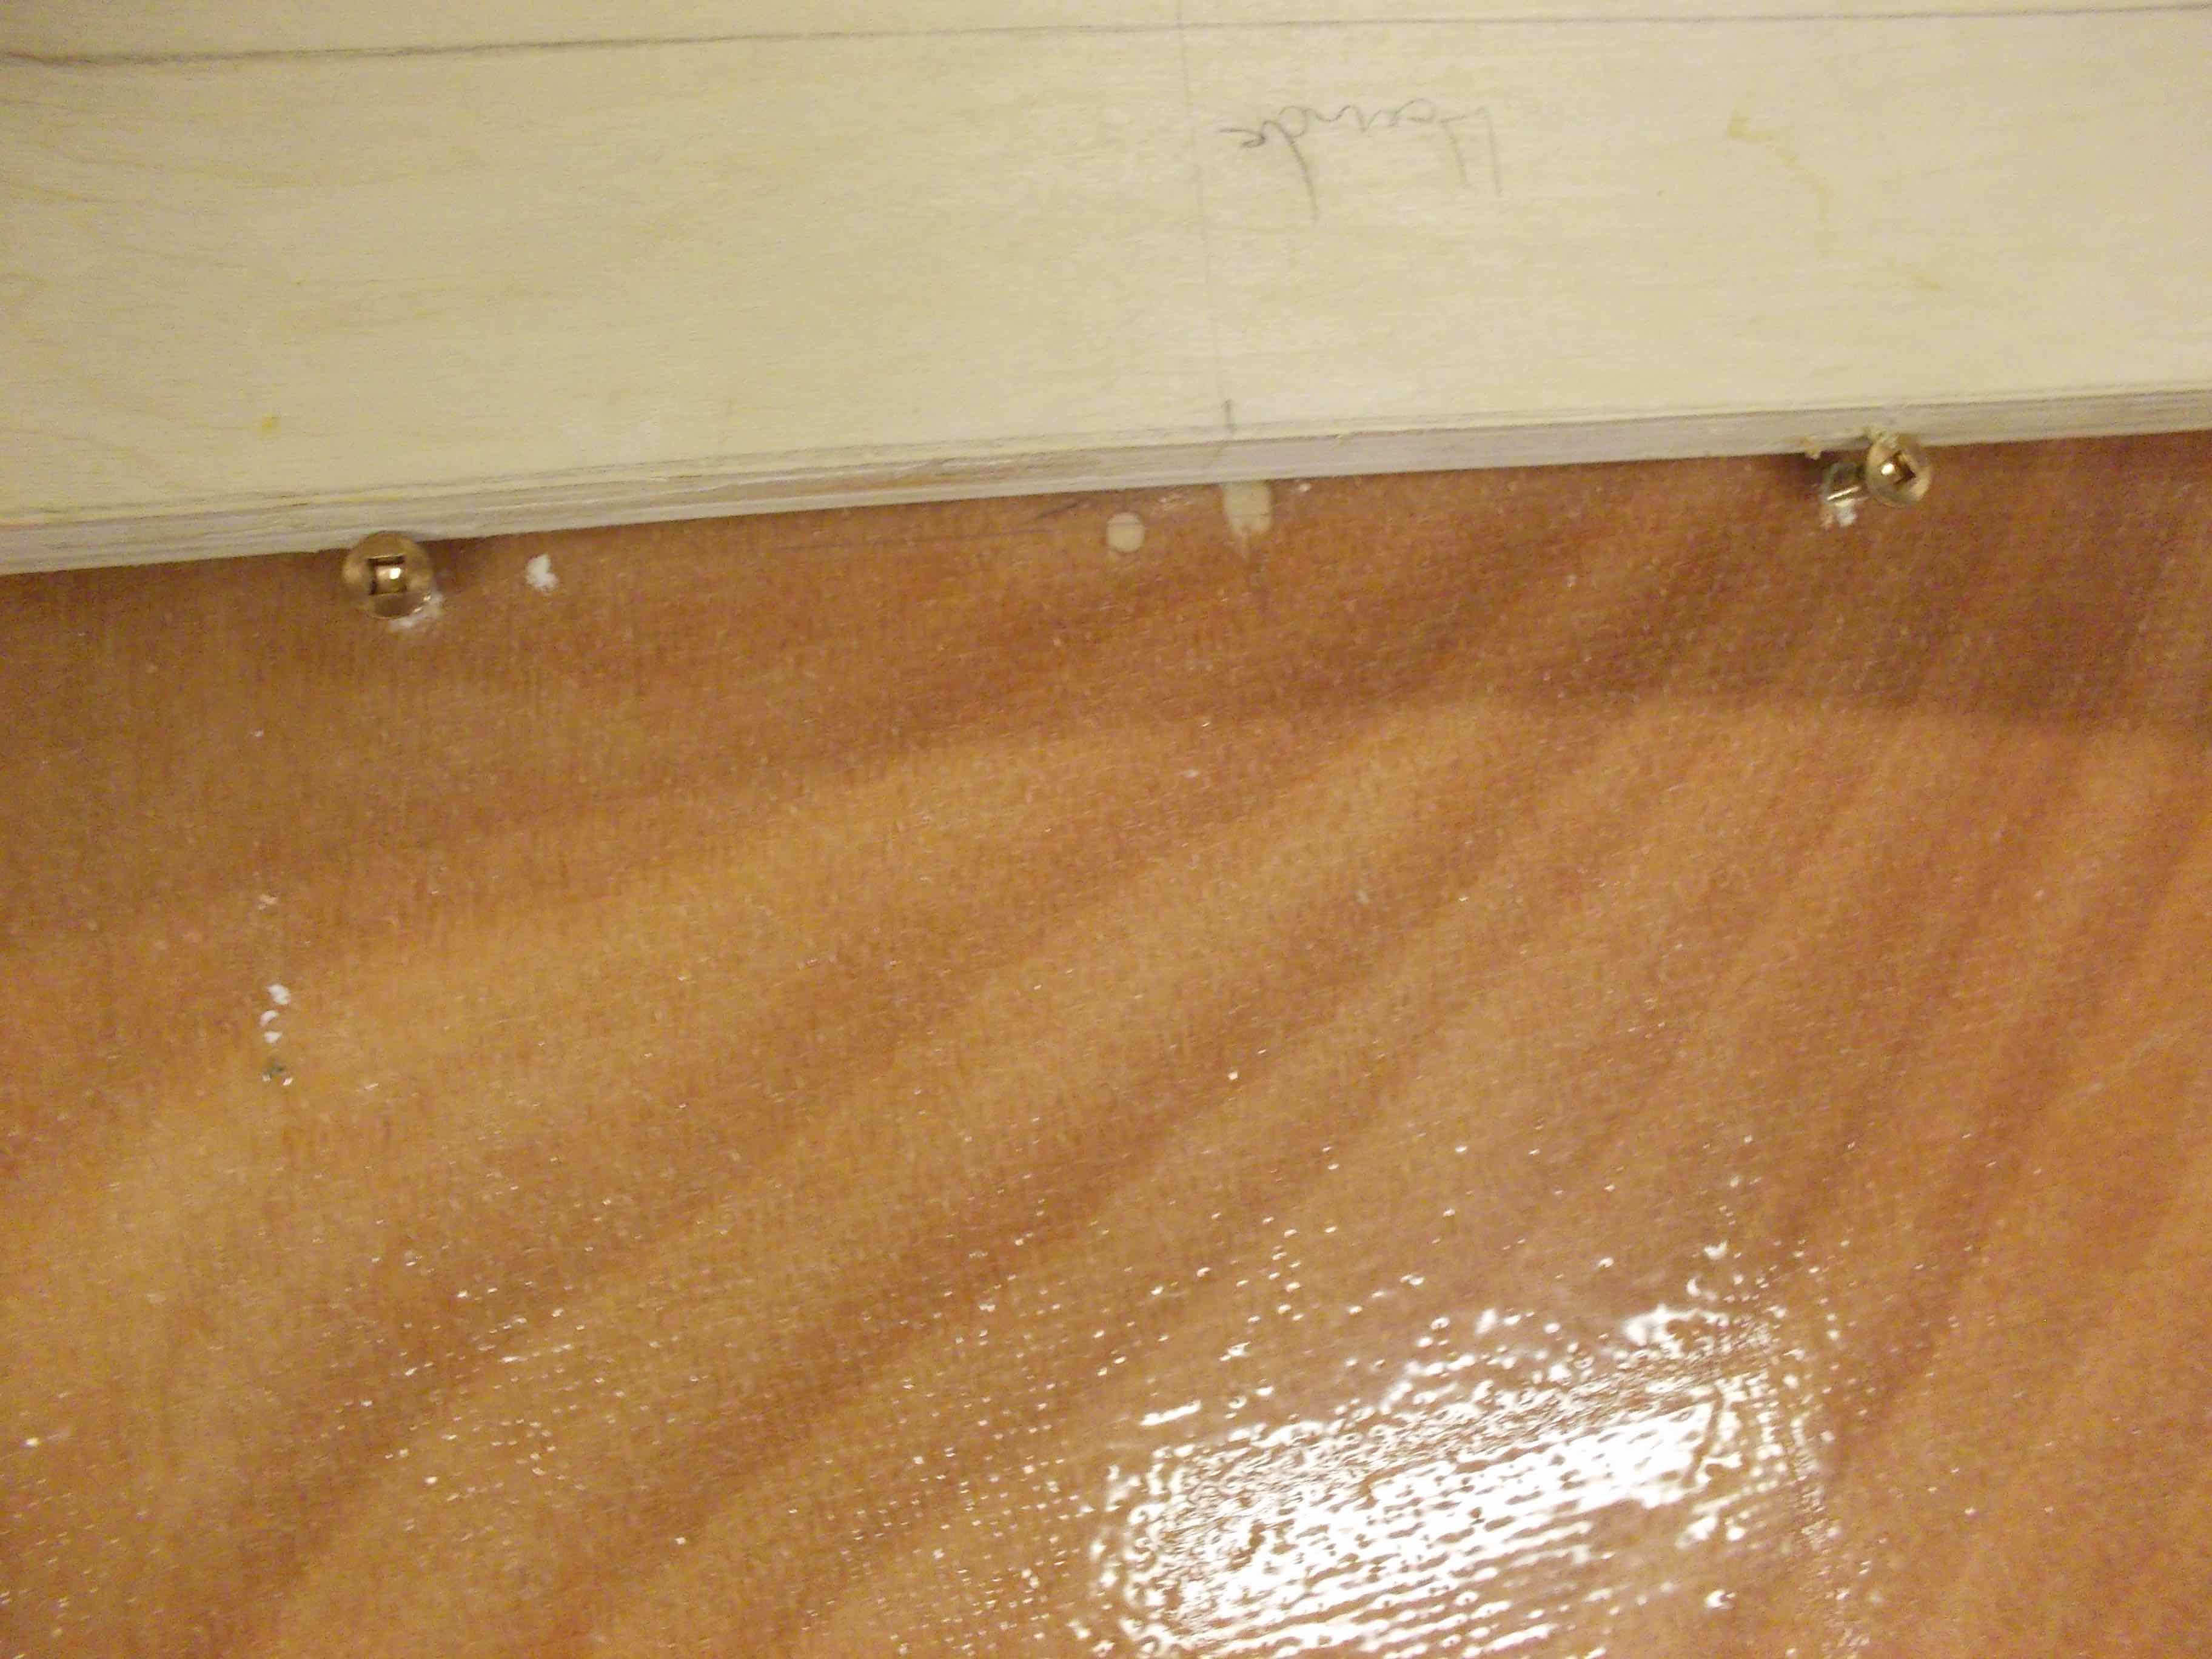
Measure where you are going to set the hatch on the boat. I added two temporary screws to prevent the hatch from sliding and also to help shore thing up.
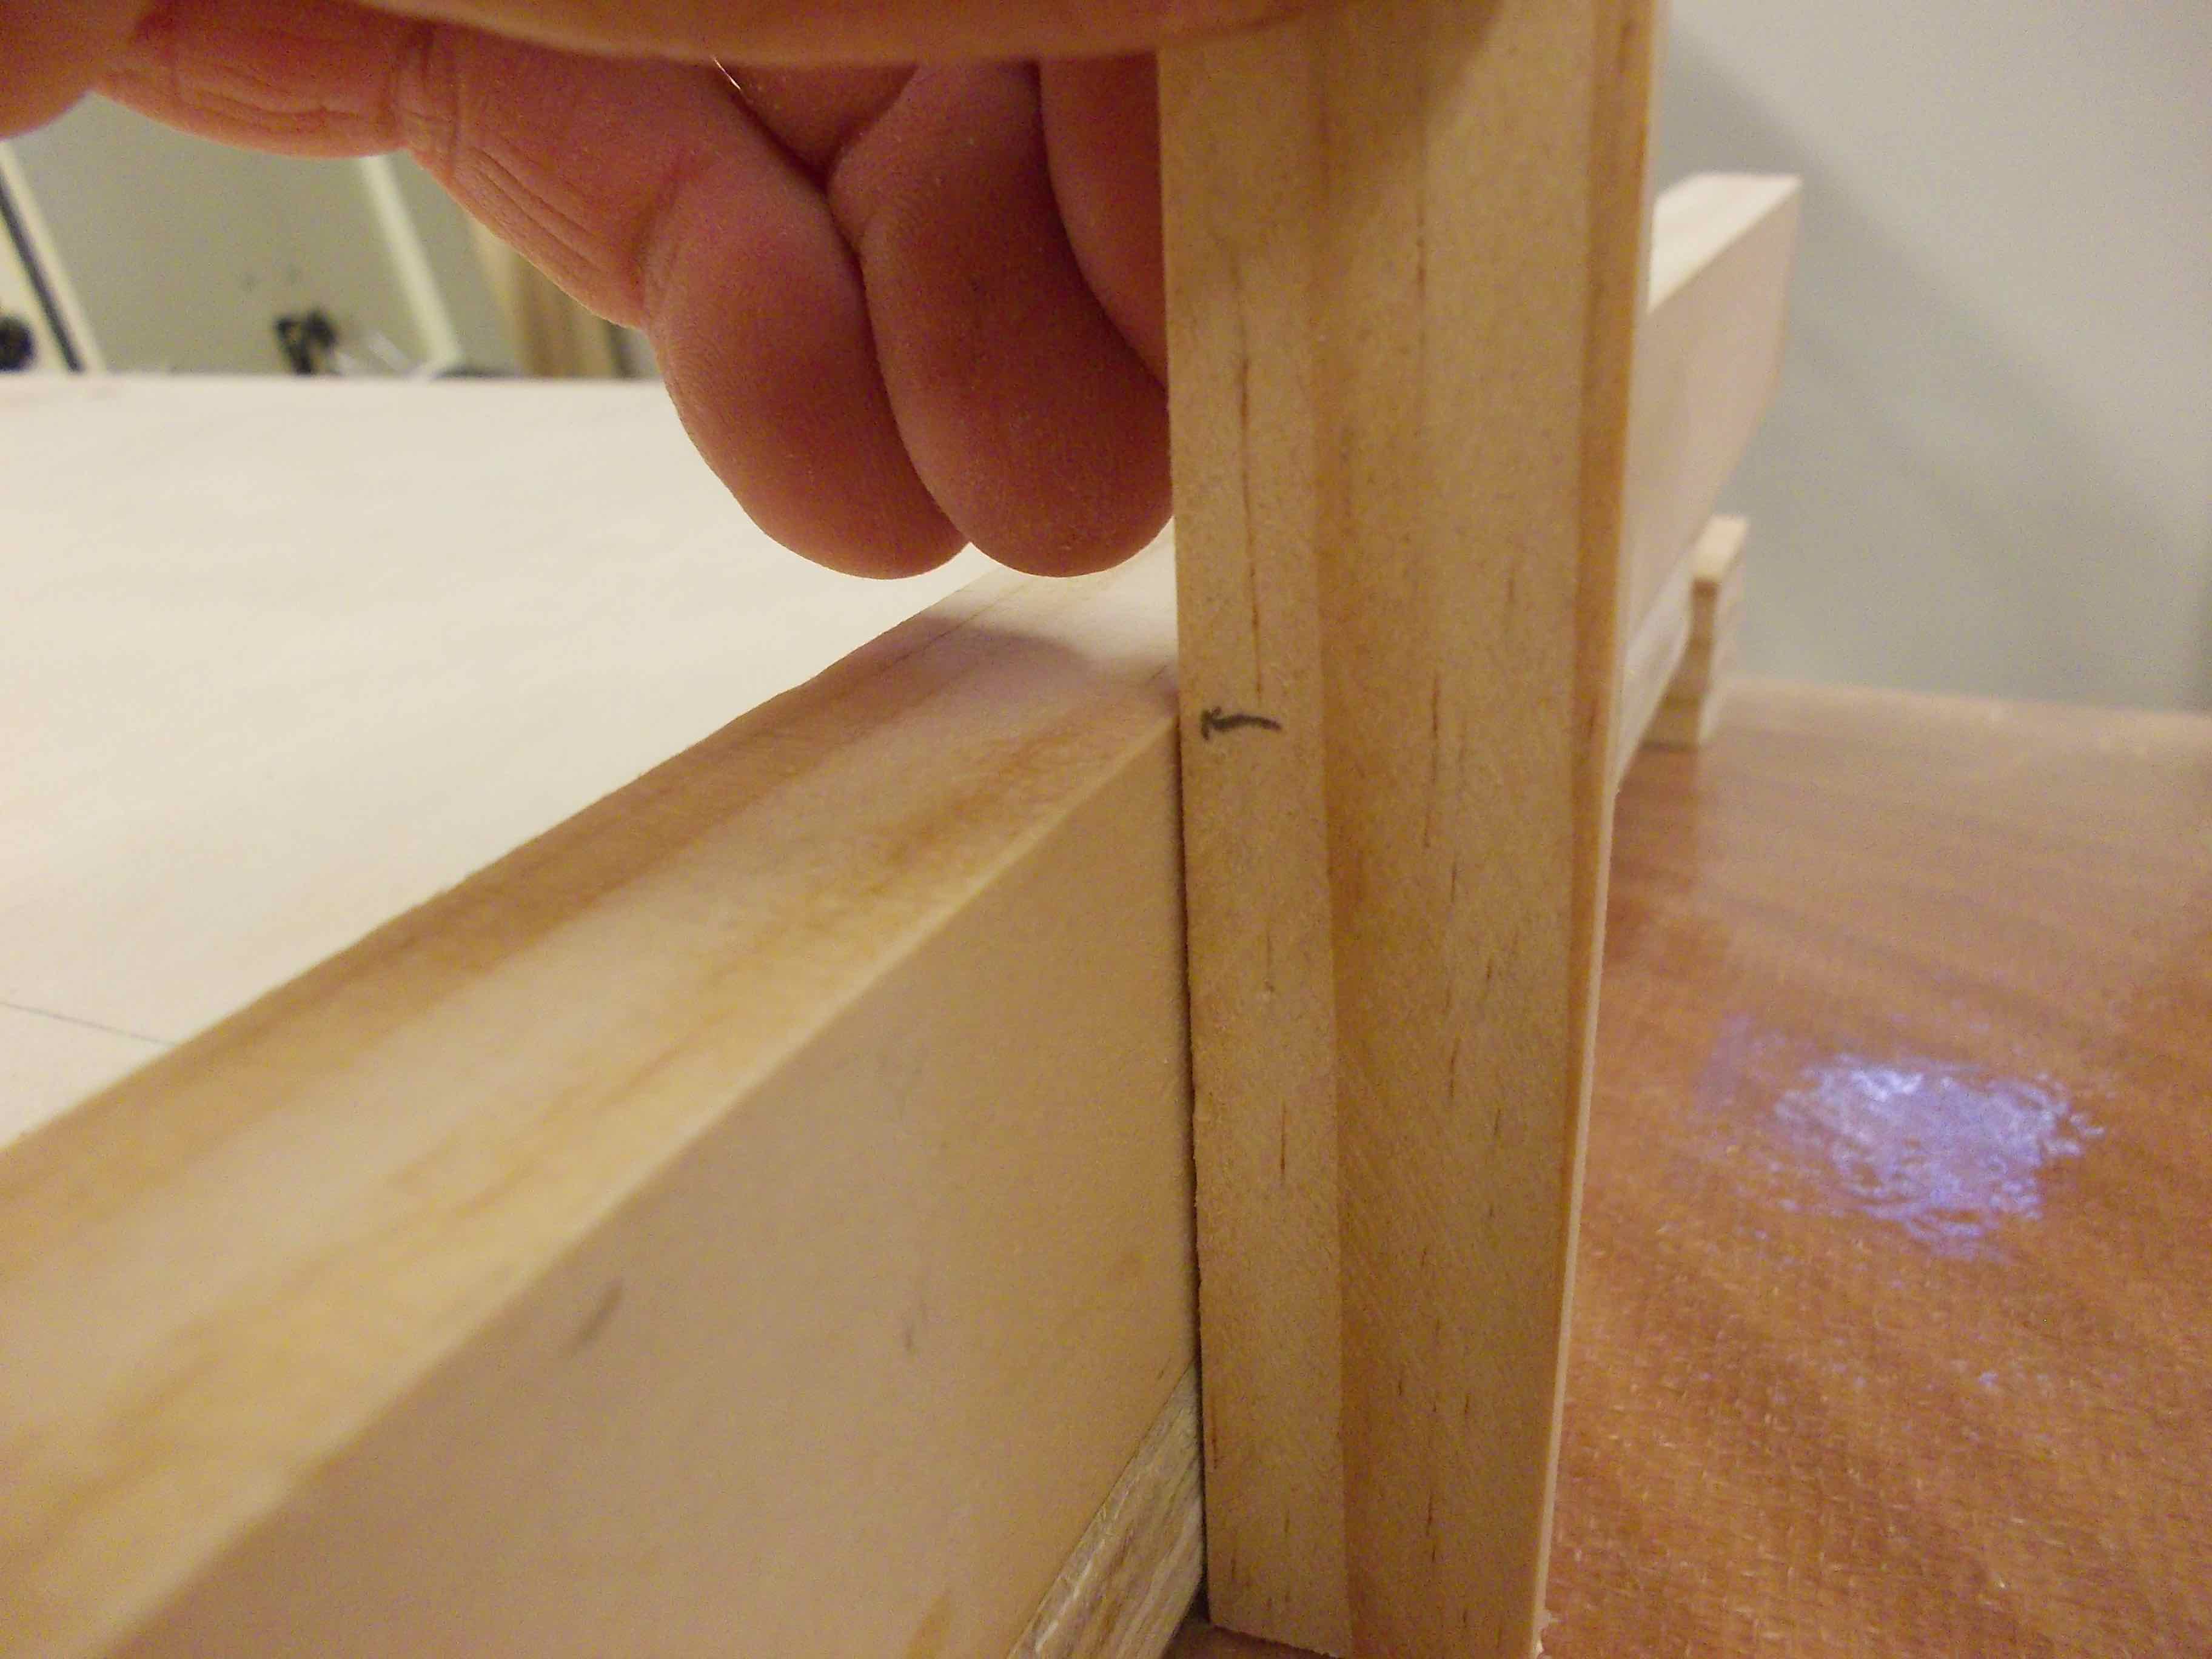
Now for the first tricky part. Getting the template to lay even on the deck. use some shims and play until you get it where you want. You might notice that I already have two 1×2″ screwed to the template to make it easier to eye the hatch.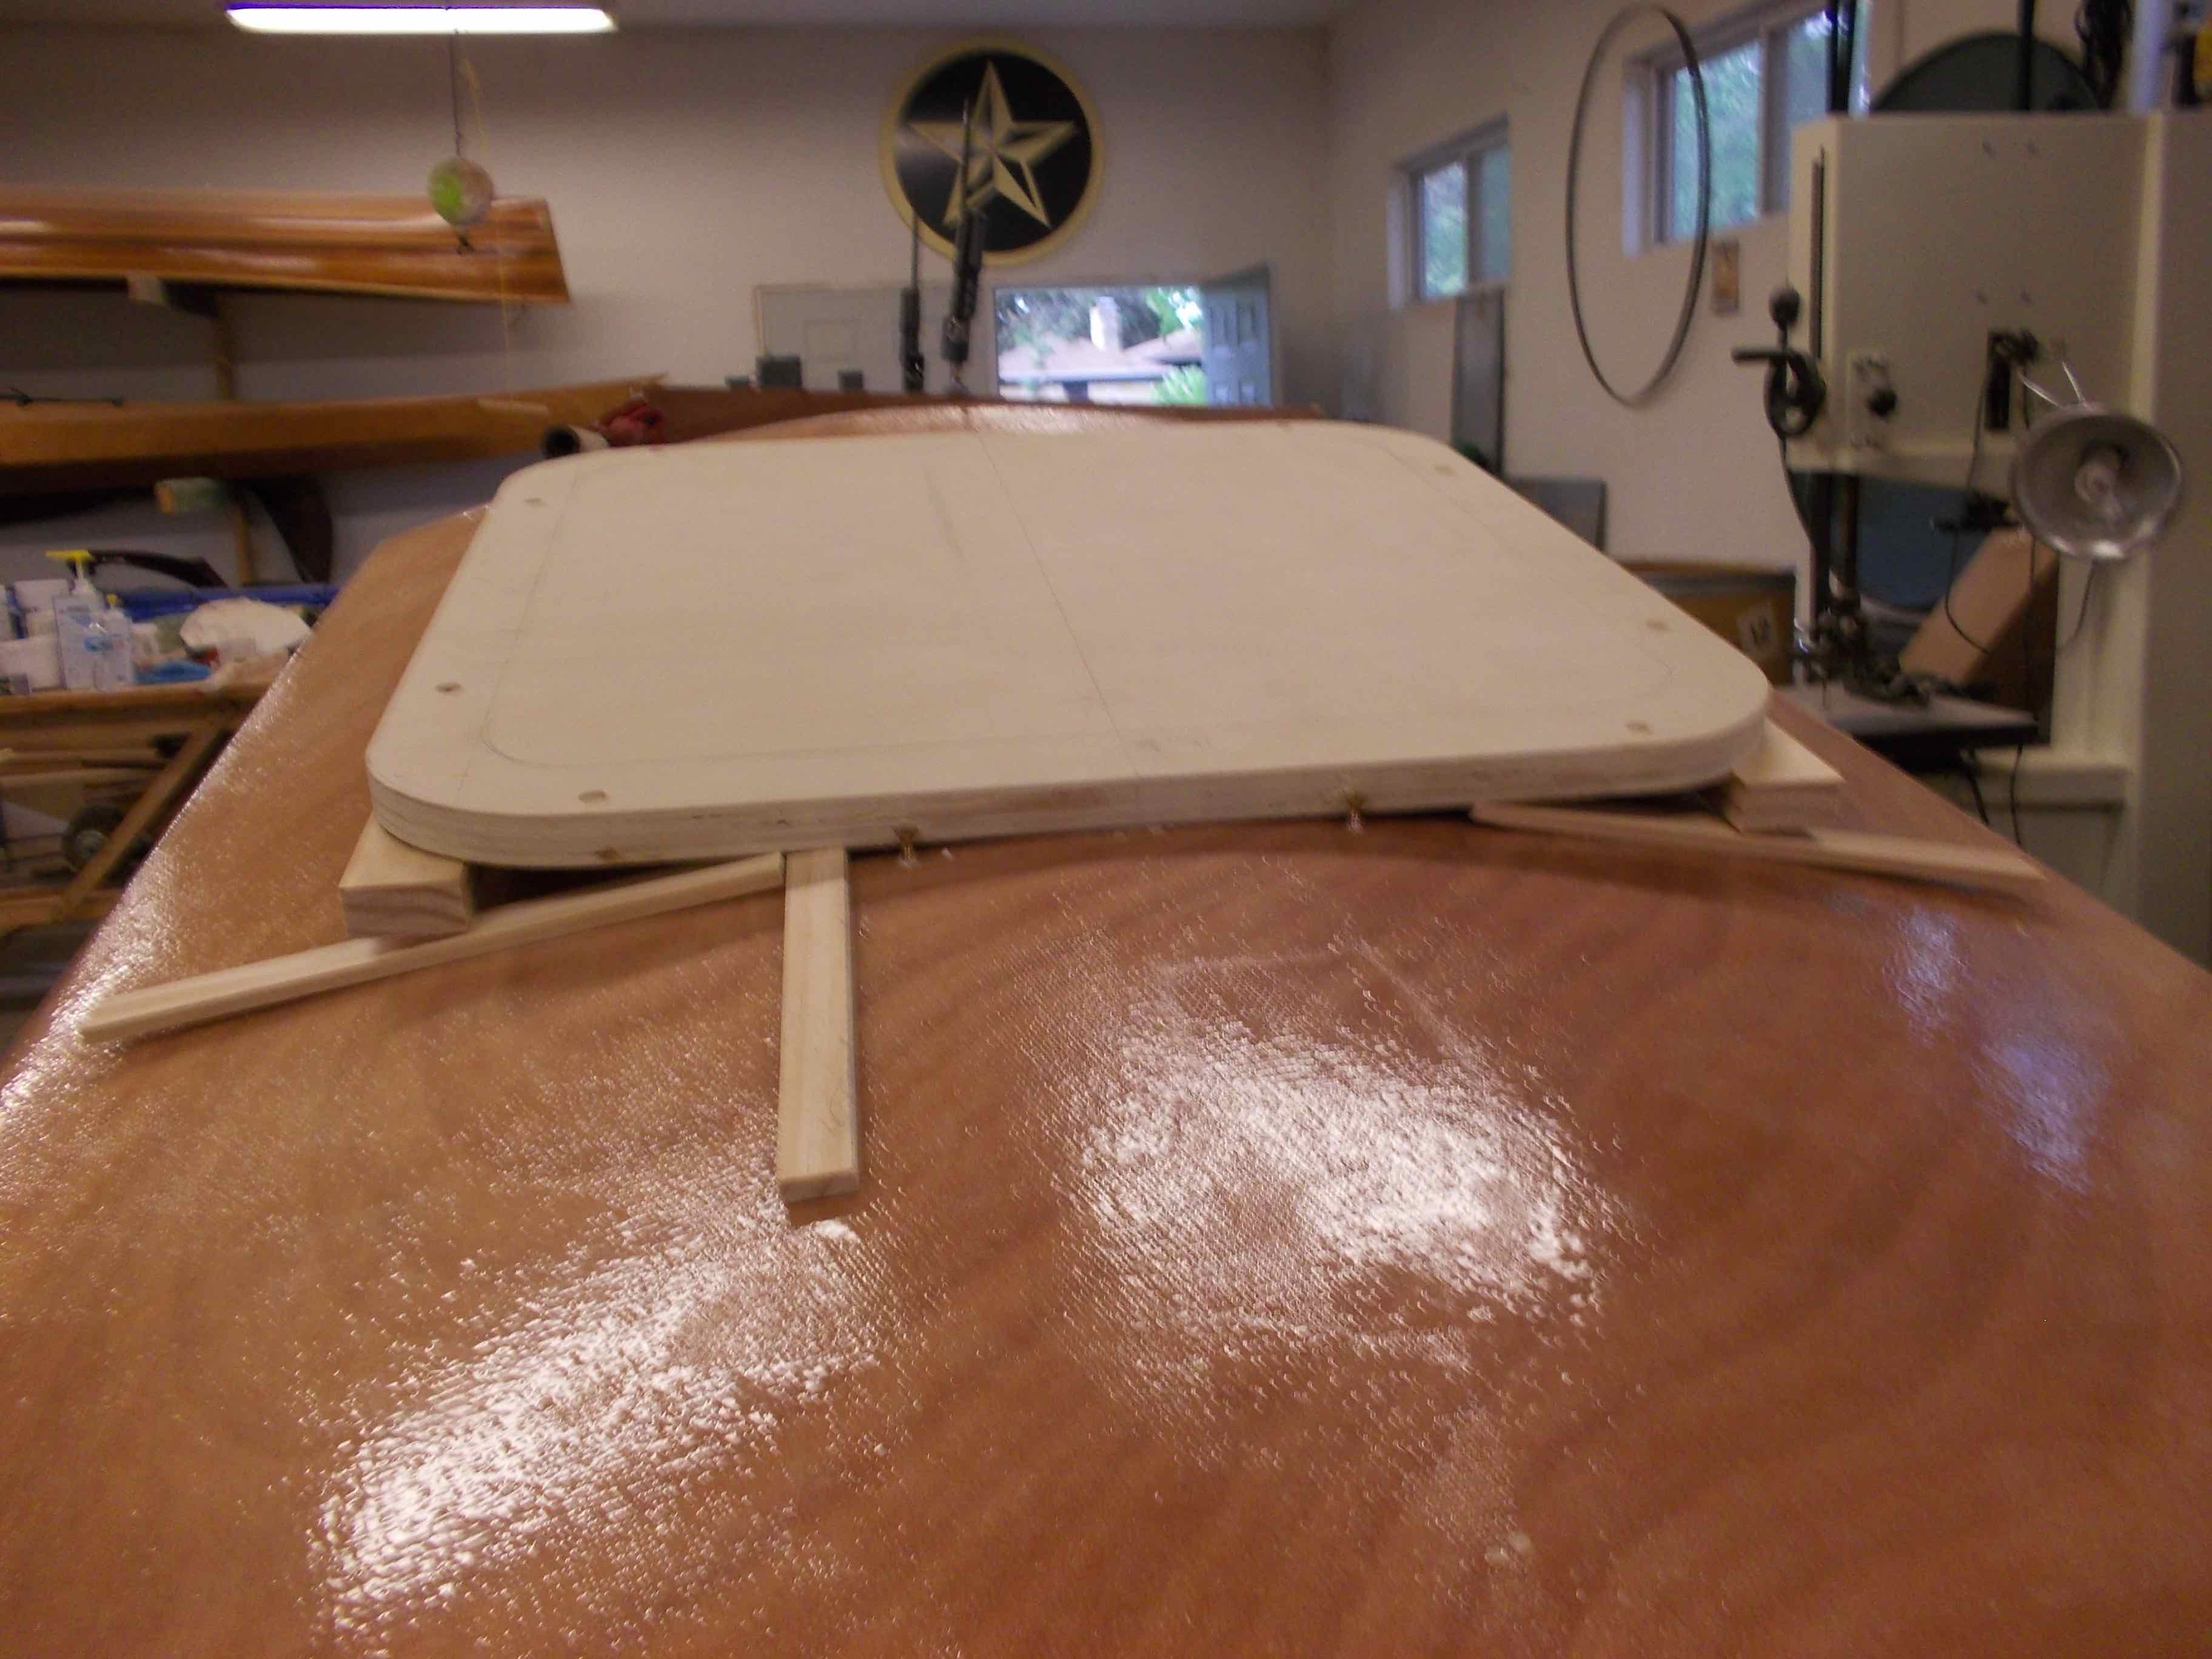
Now transfer that angle to the table saw

Trim another 1×2″ to that angle until both sides lay evenly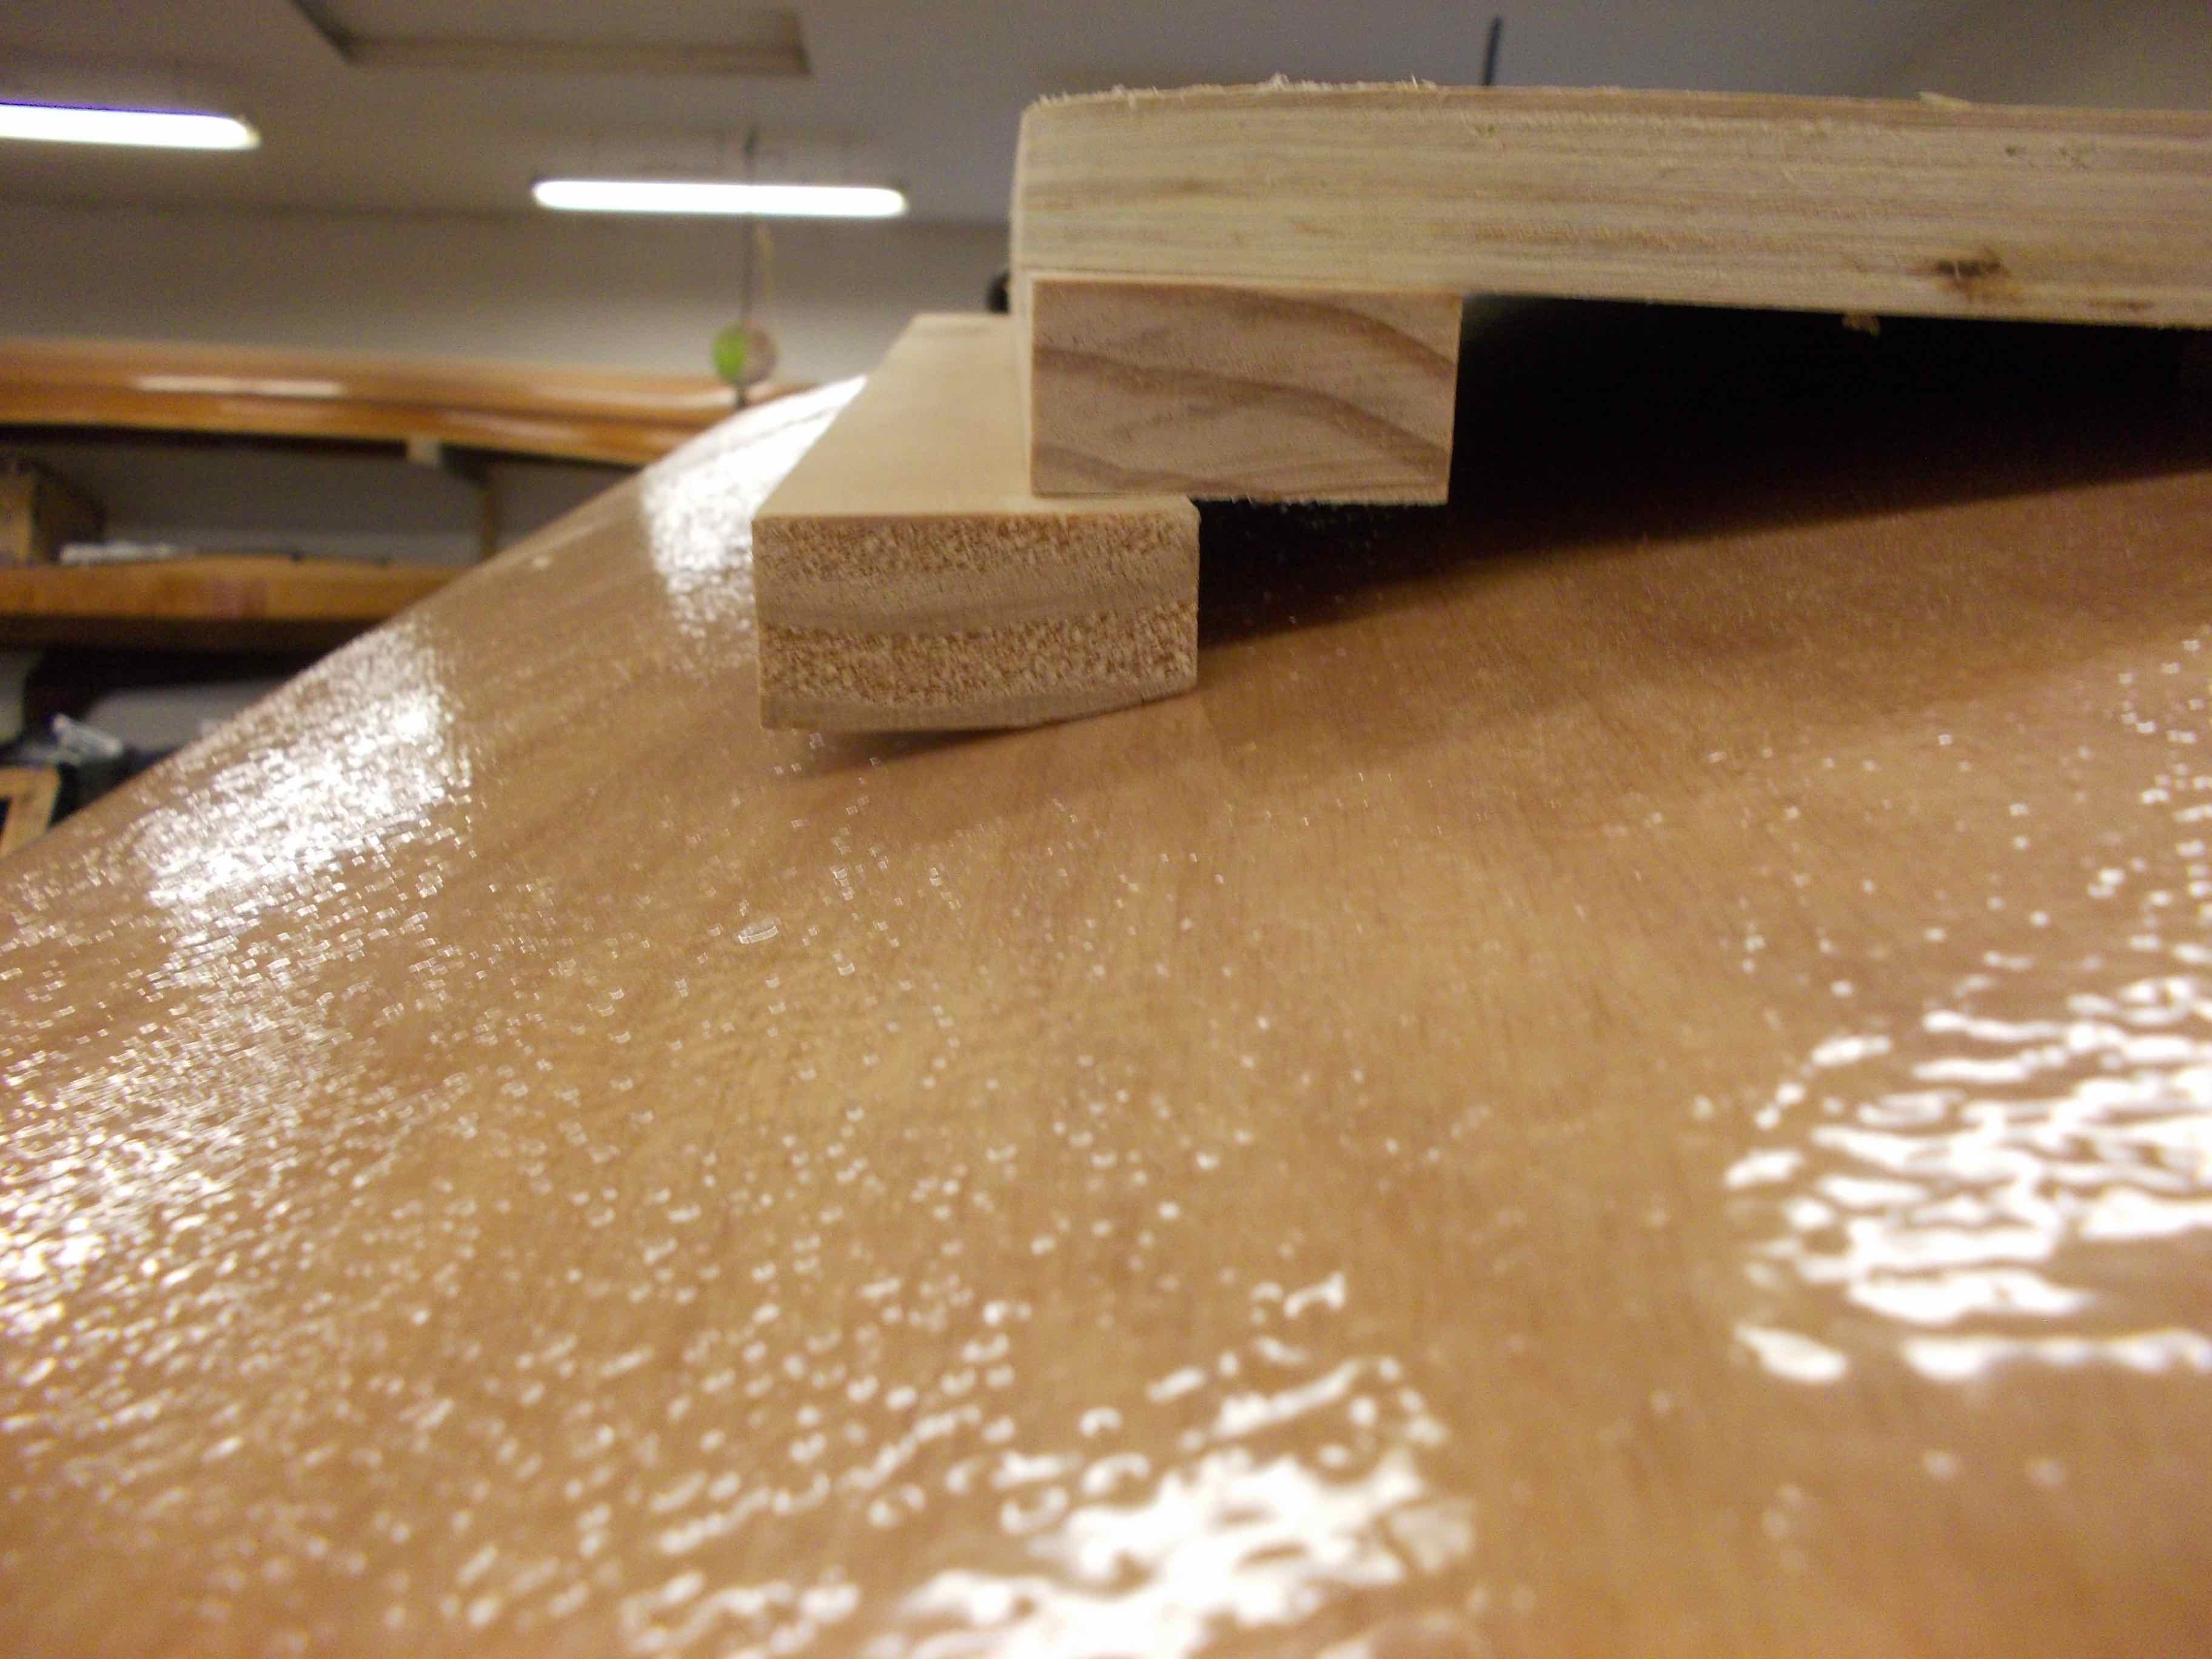
 Now for the second tricky part. Getting the radius transferred.
Start by placing another 1×2″ on top of the template and find a measuring stick to allow you to transfer the curve
Scribe as many marks as you think you might need
Connect the lines and cut and shave as needed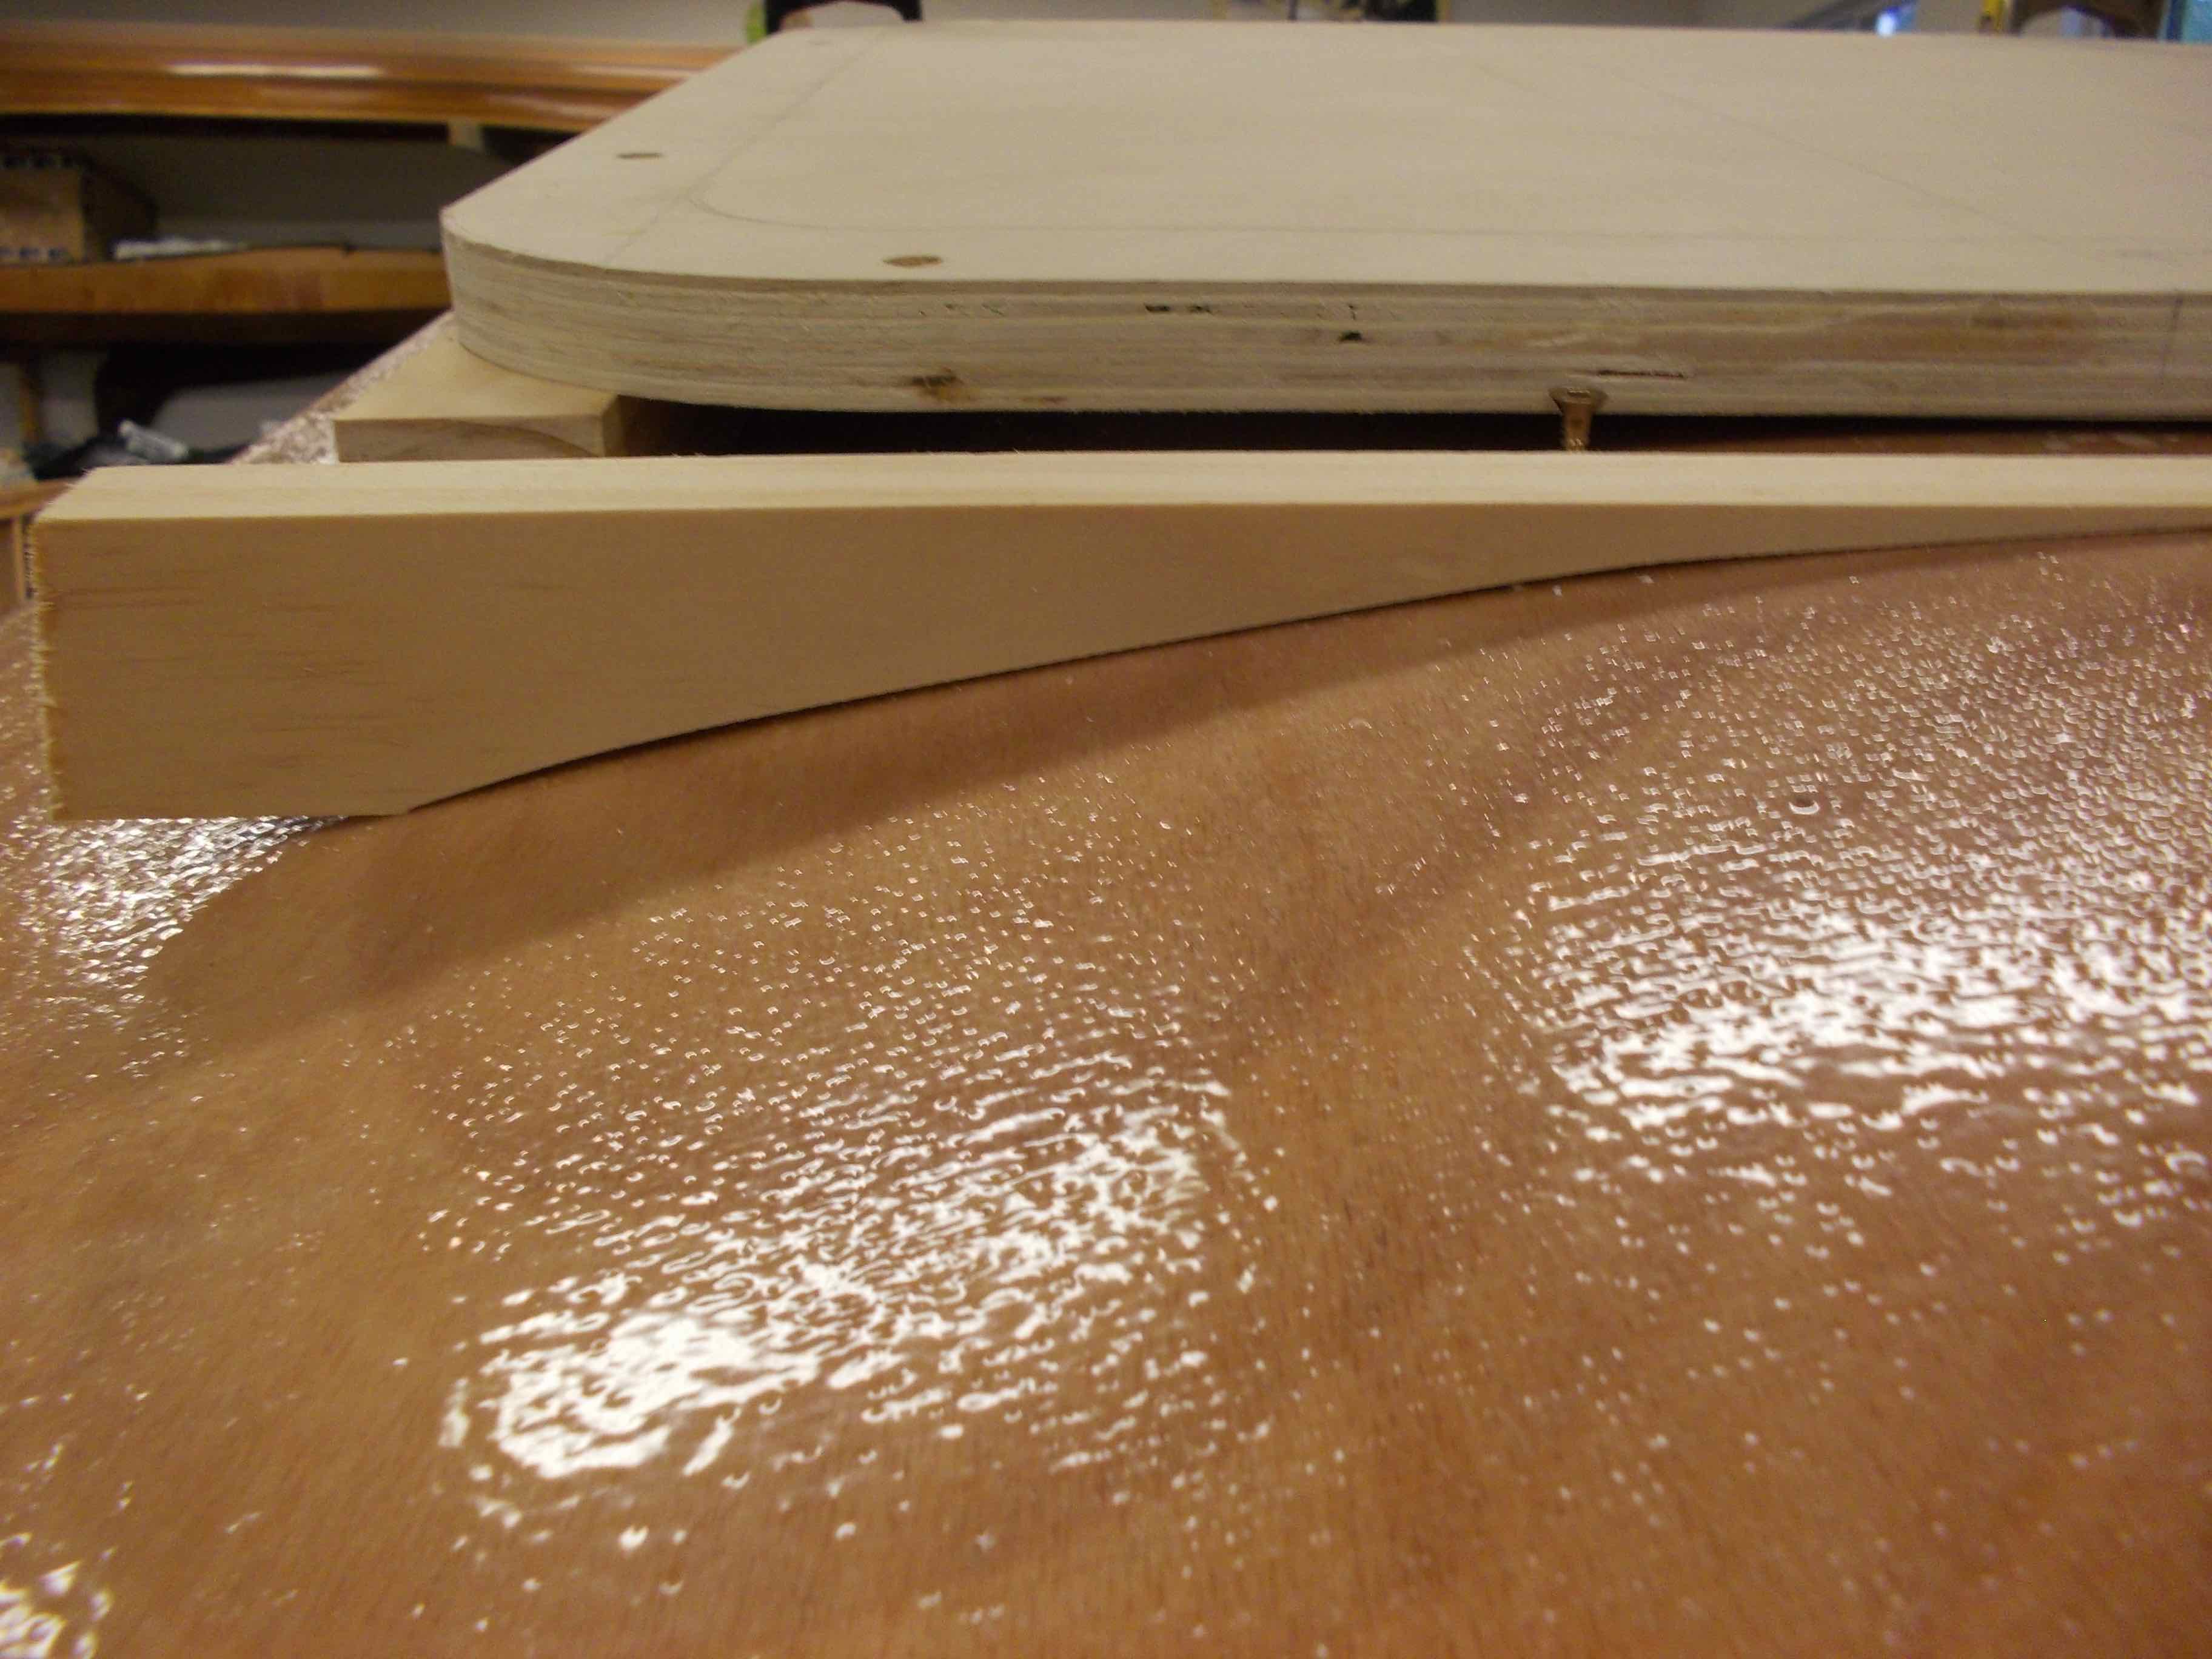
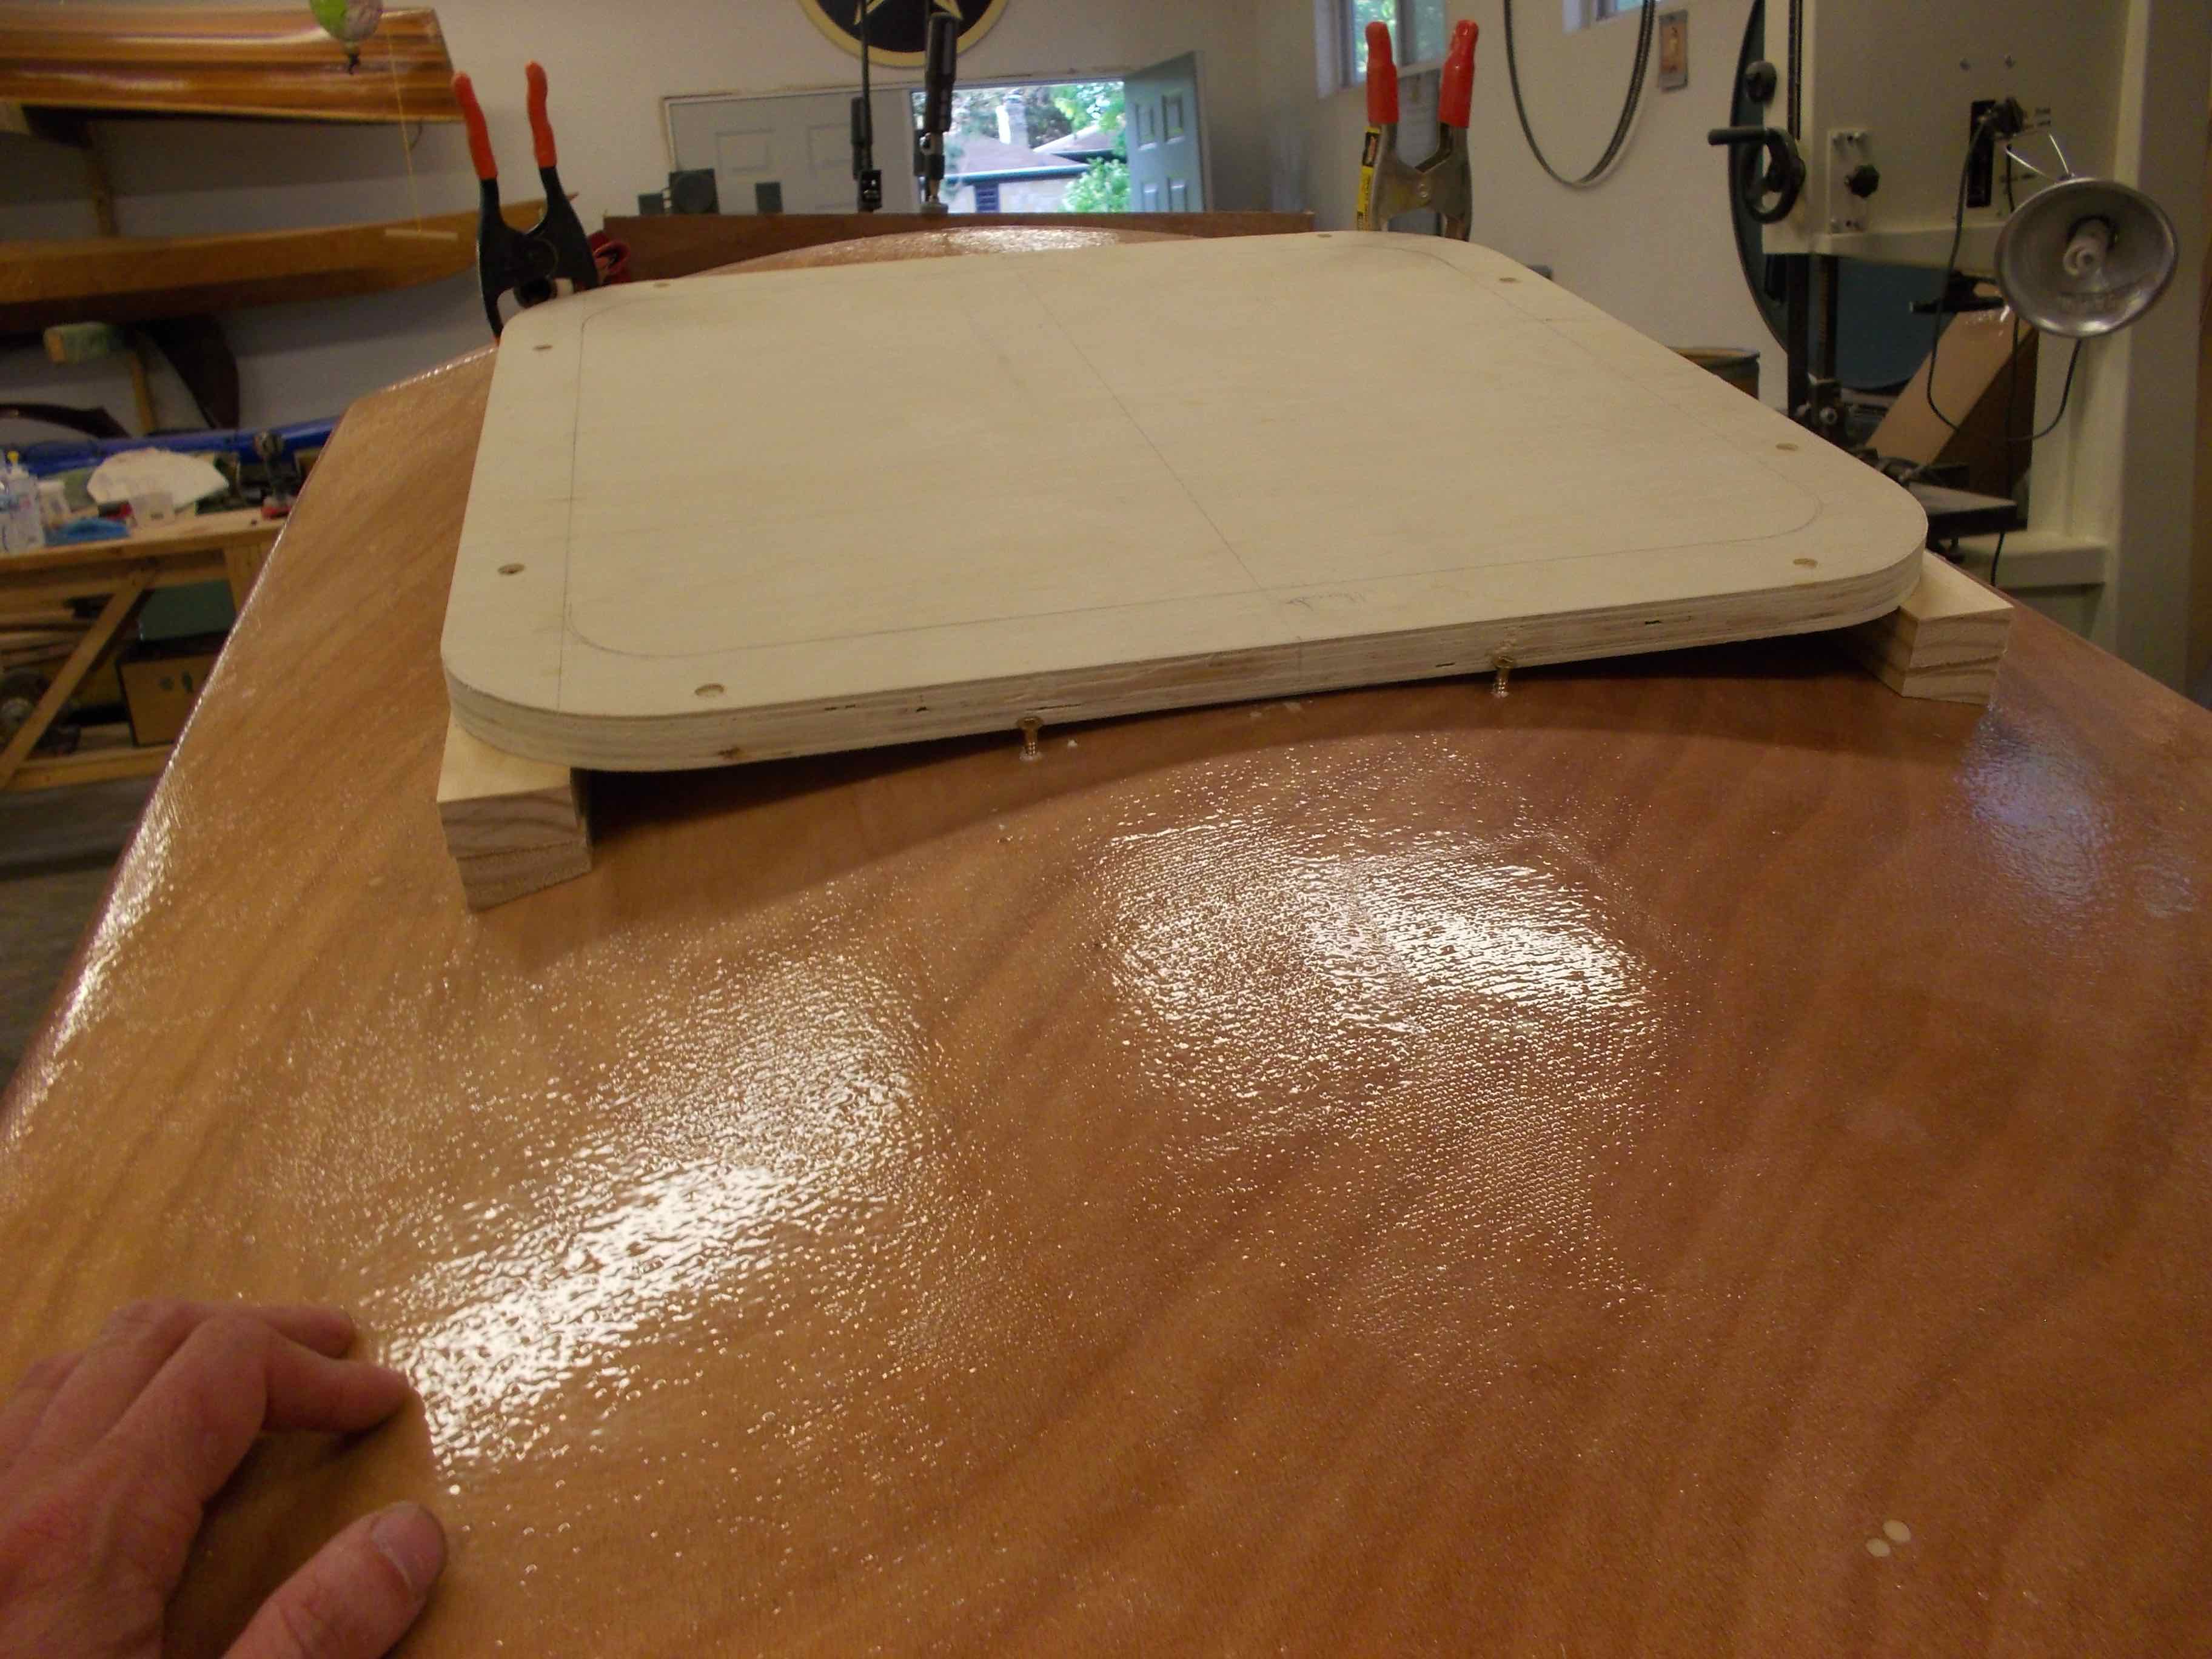
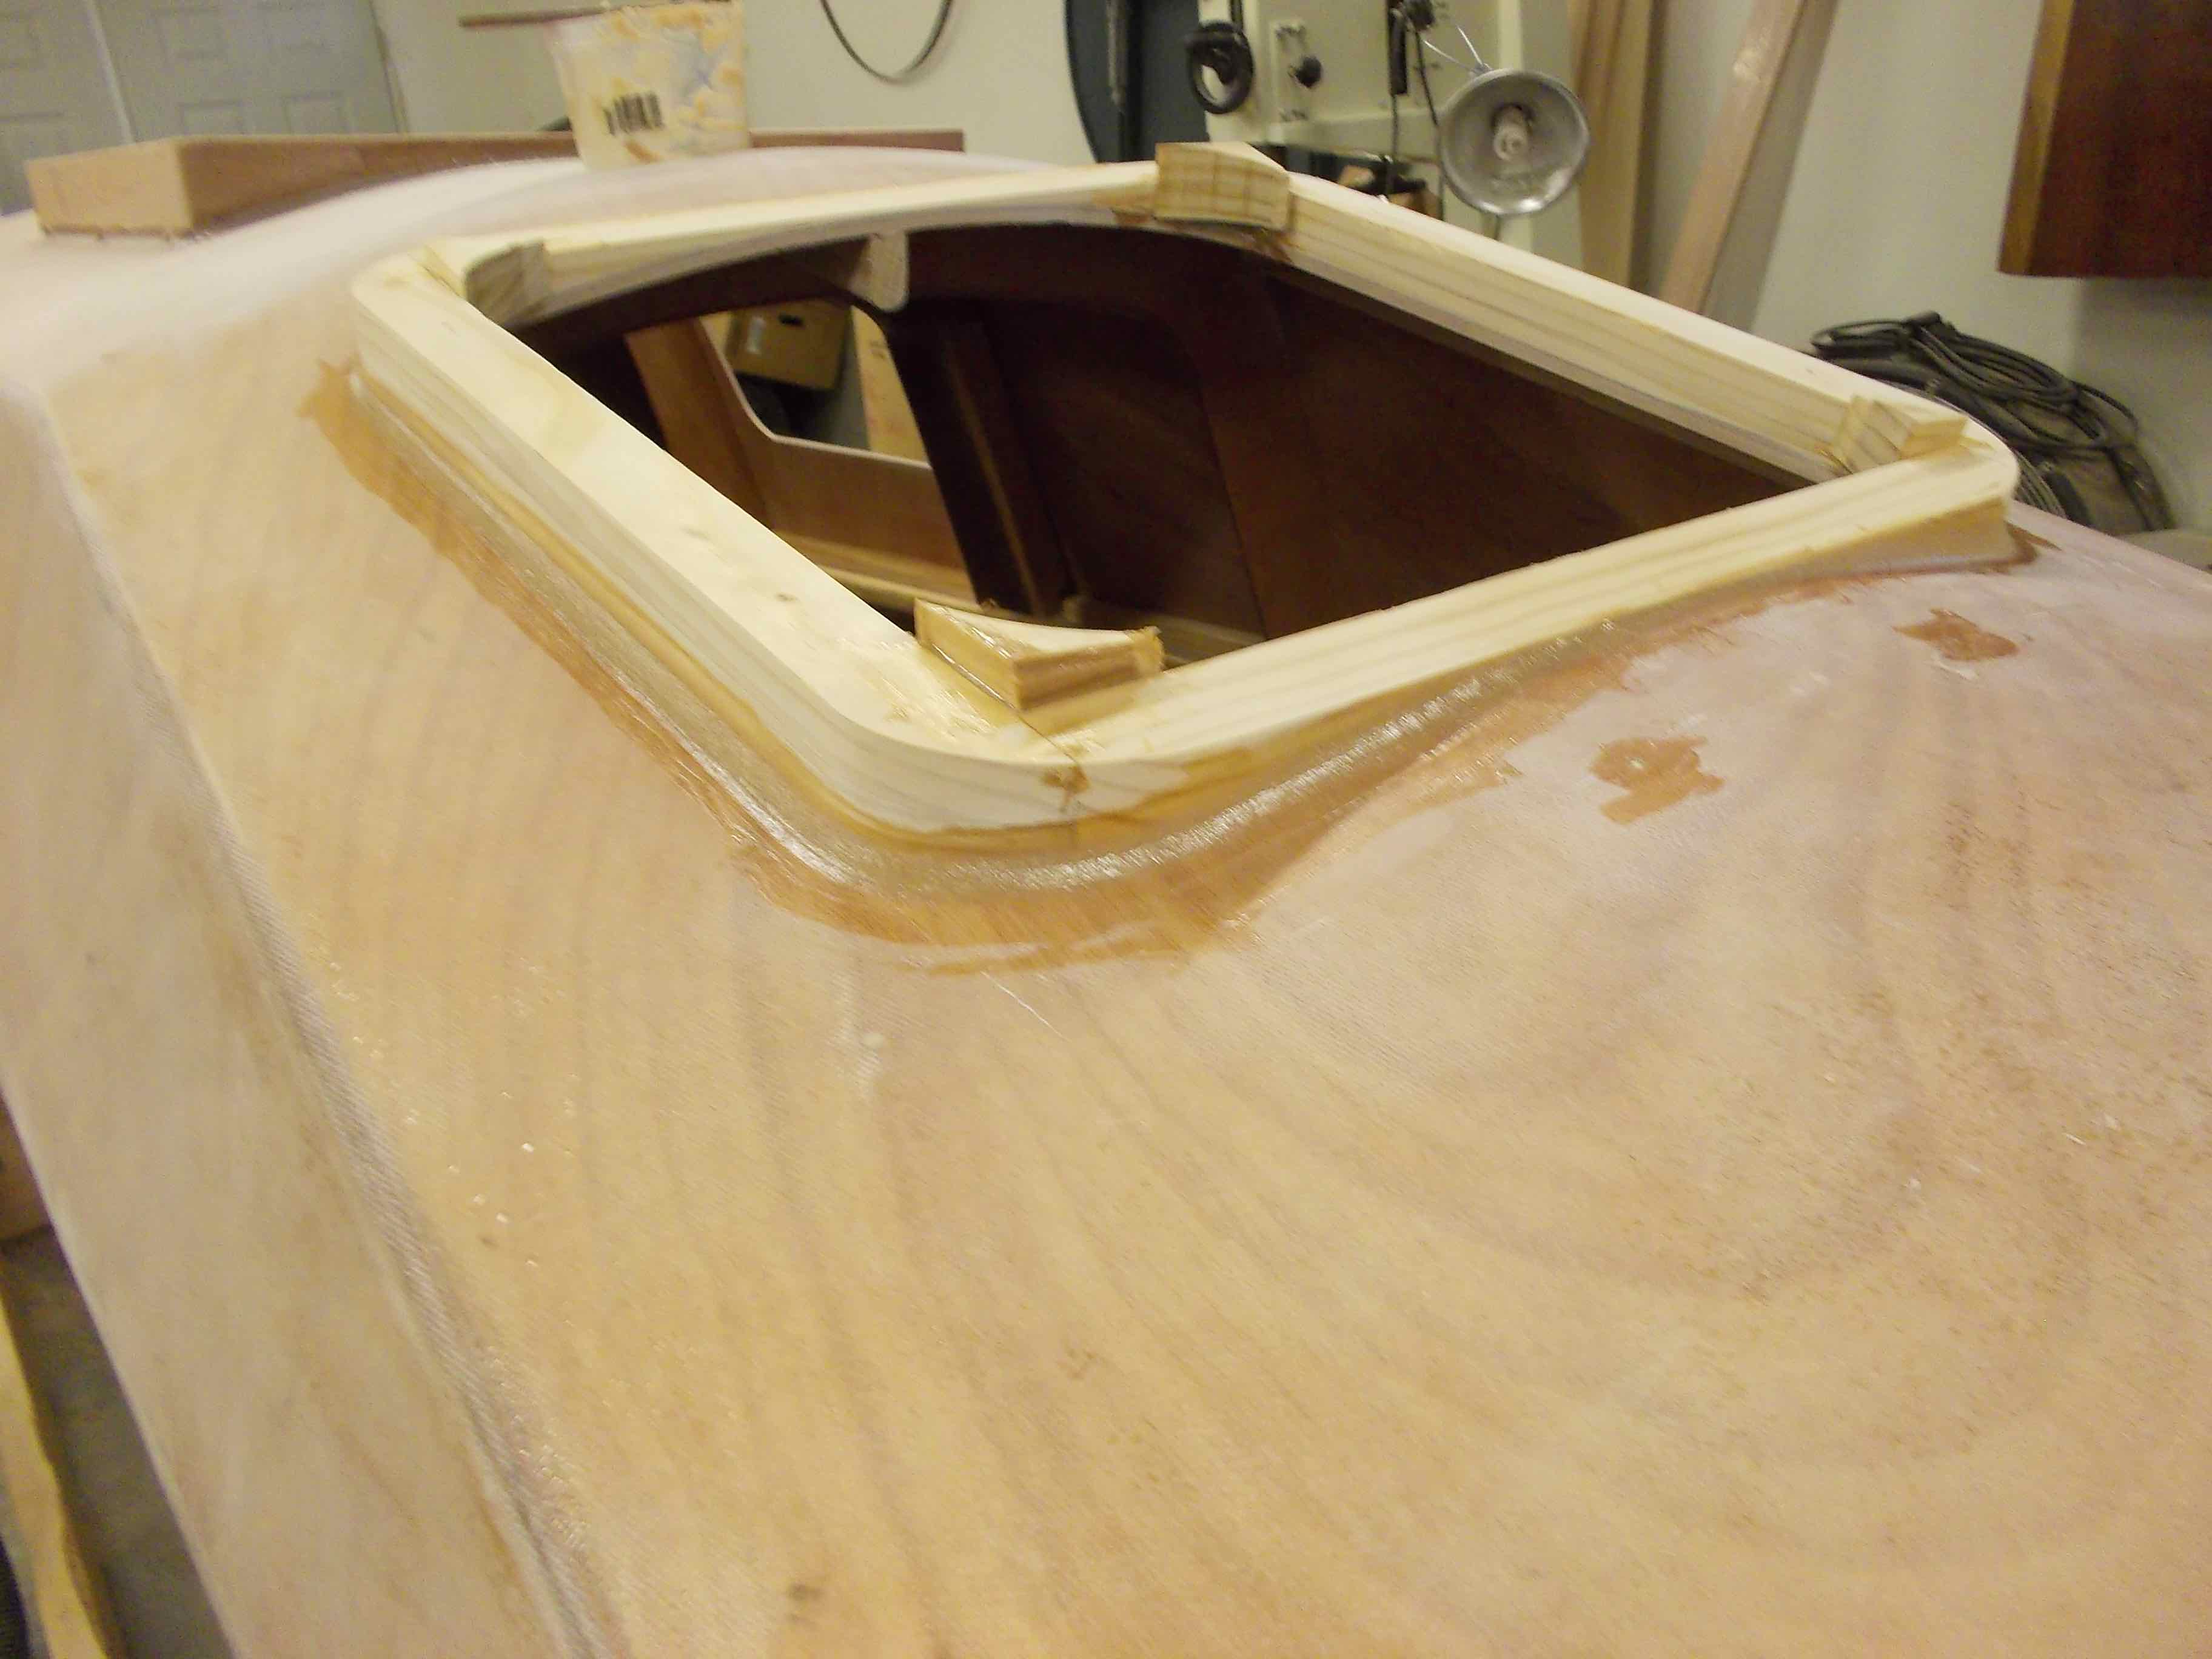
Glue the pieces to each other, but not the template! It is covered in clear tape to avoid this costly mistake.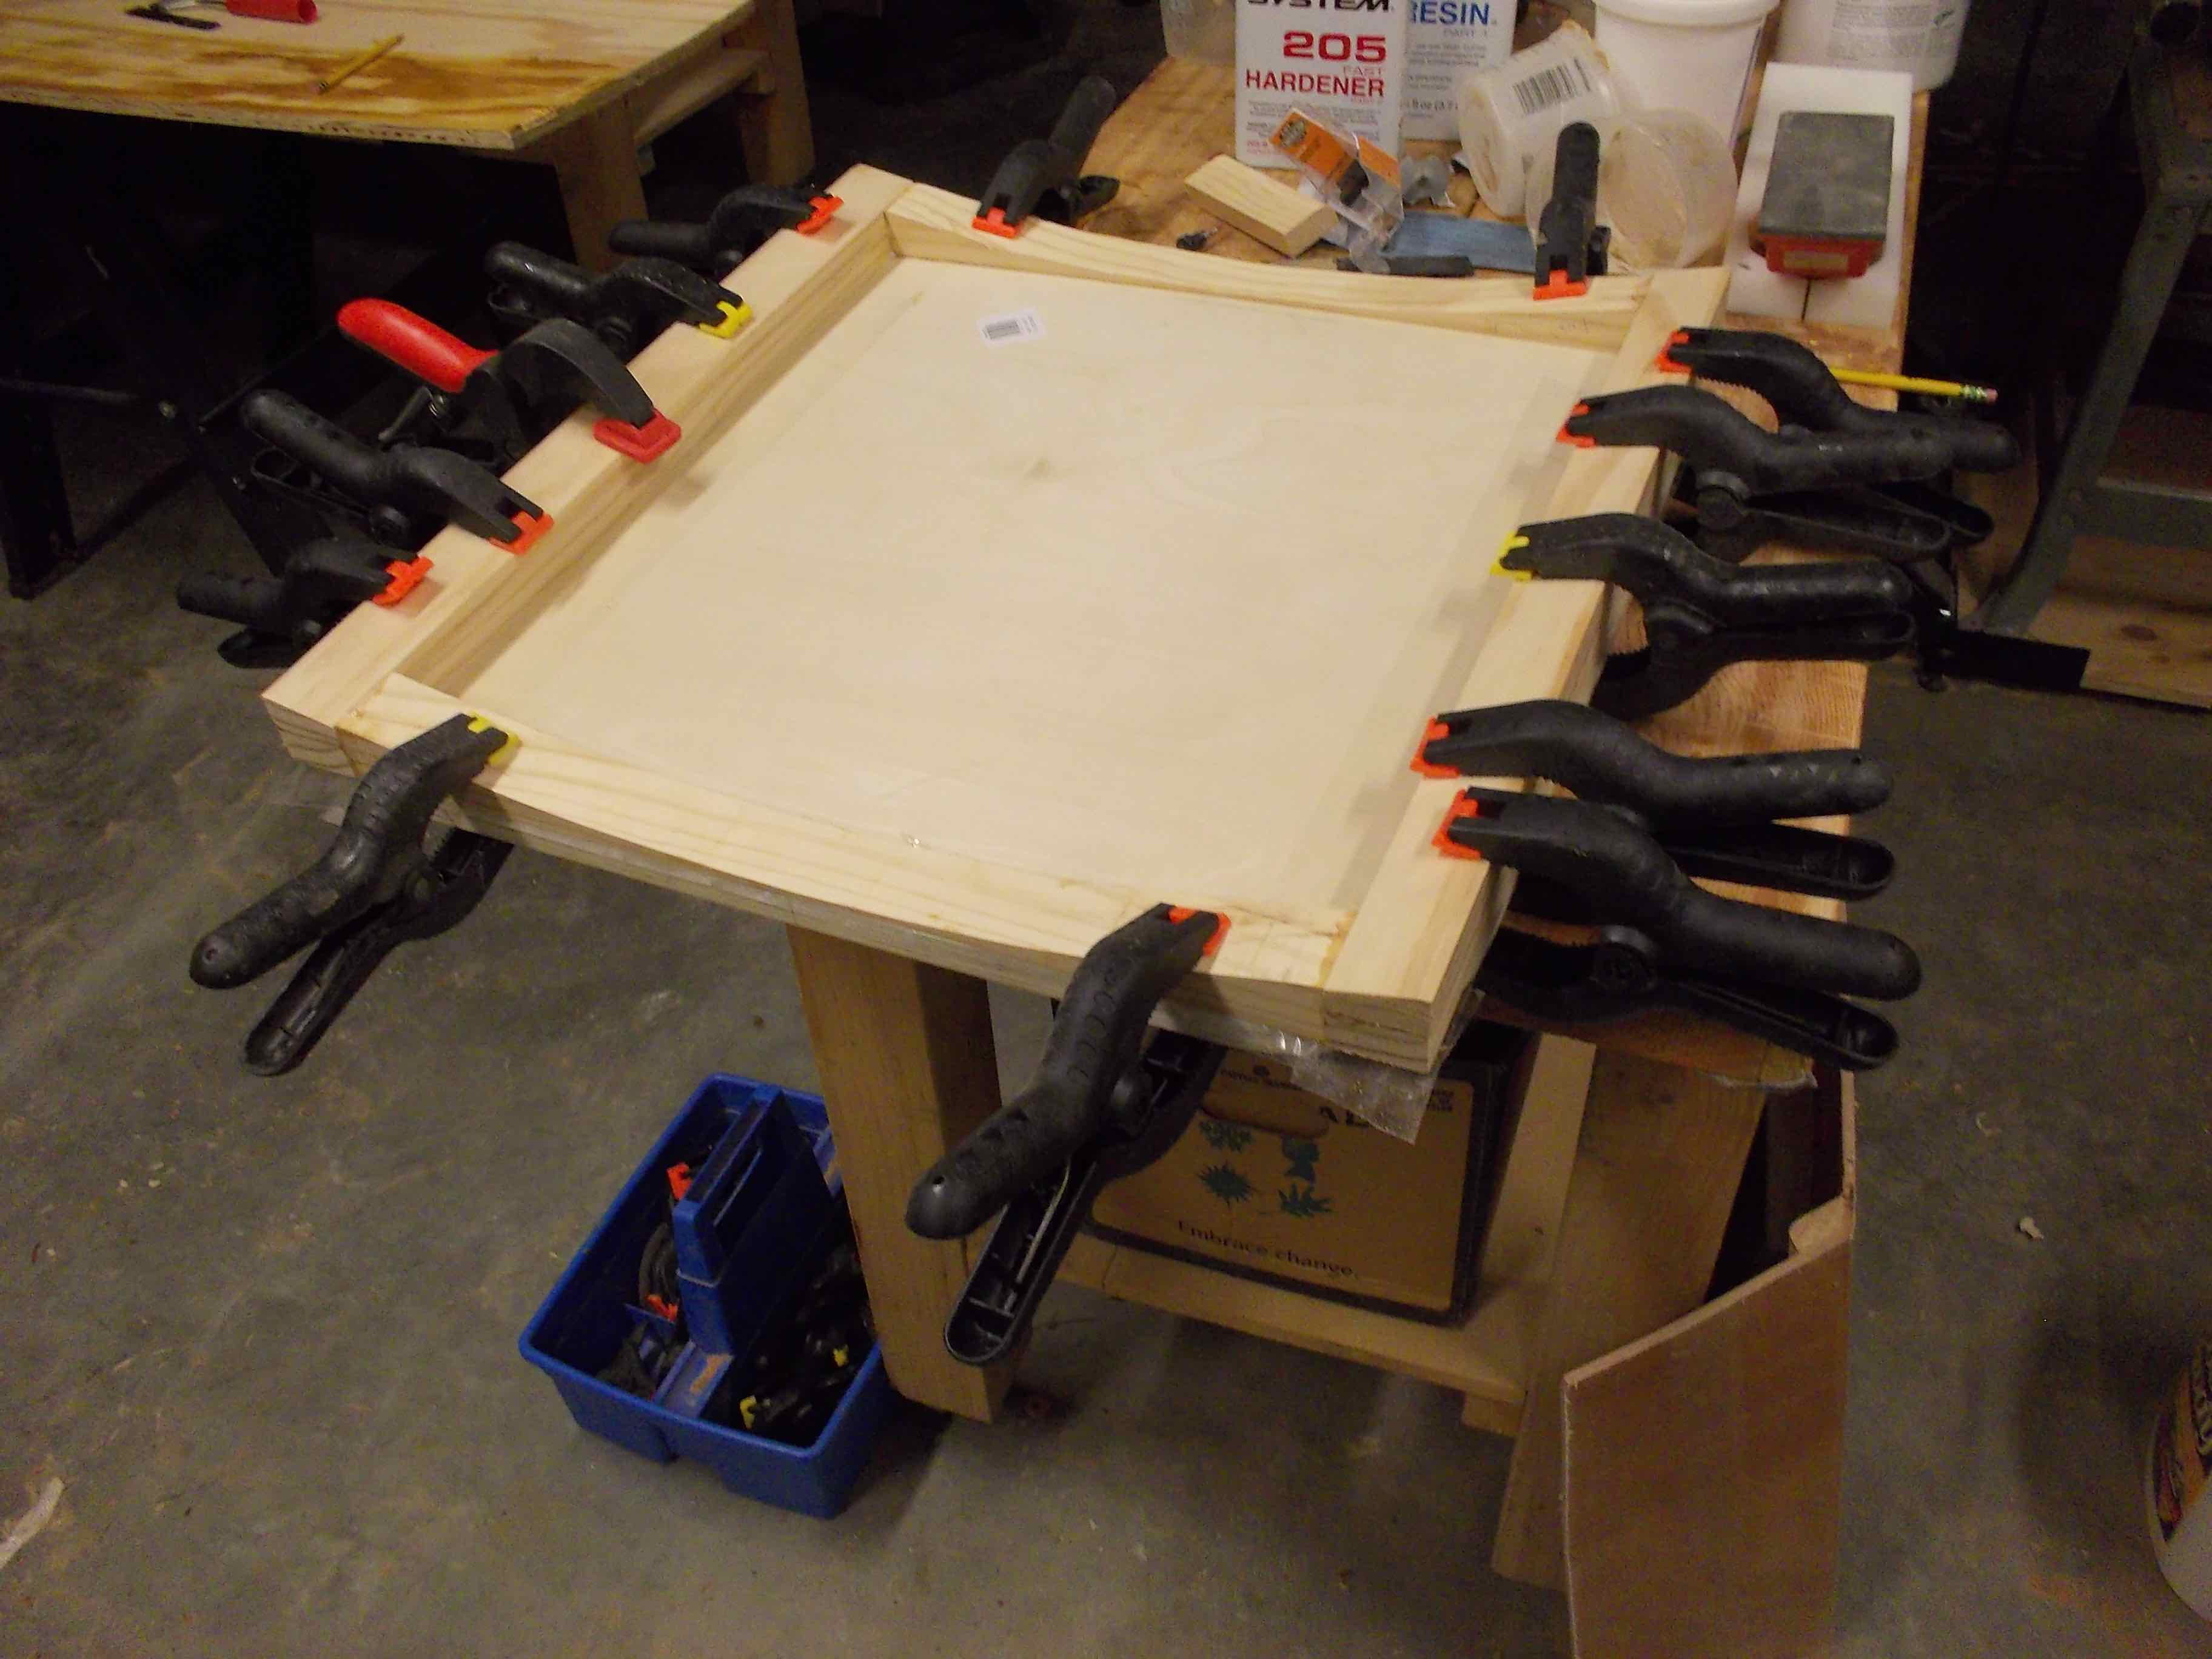
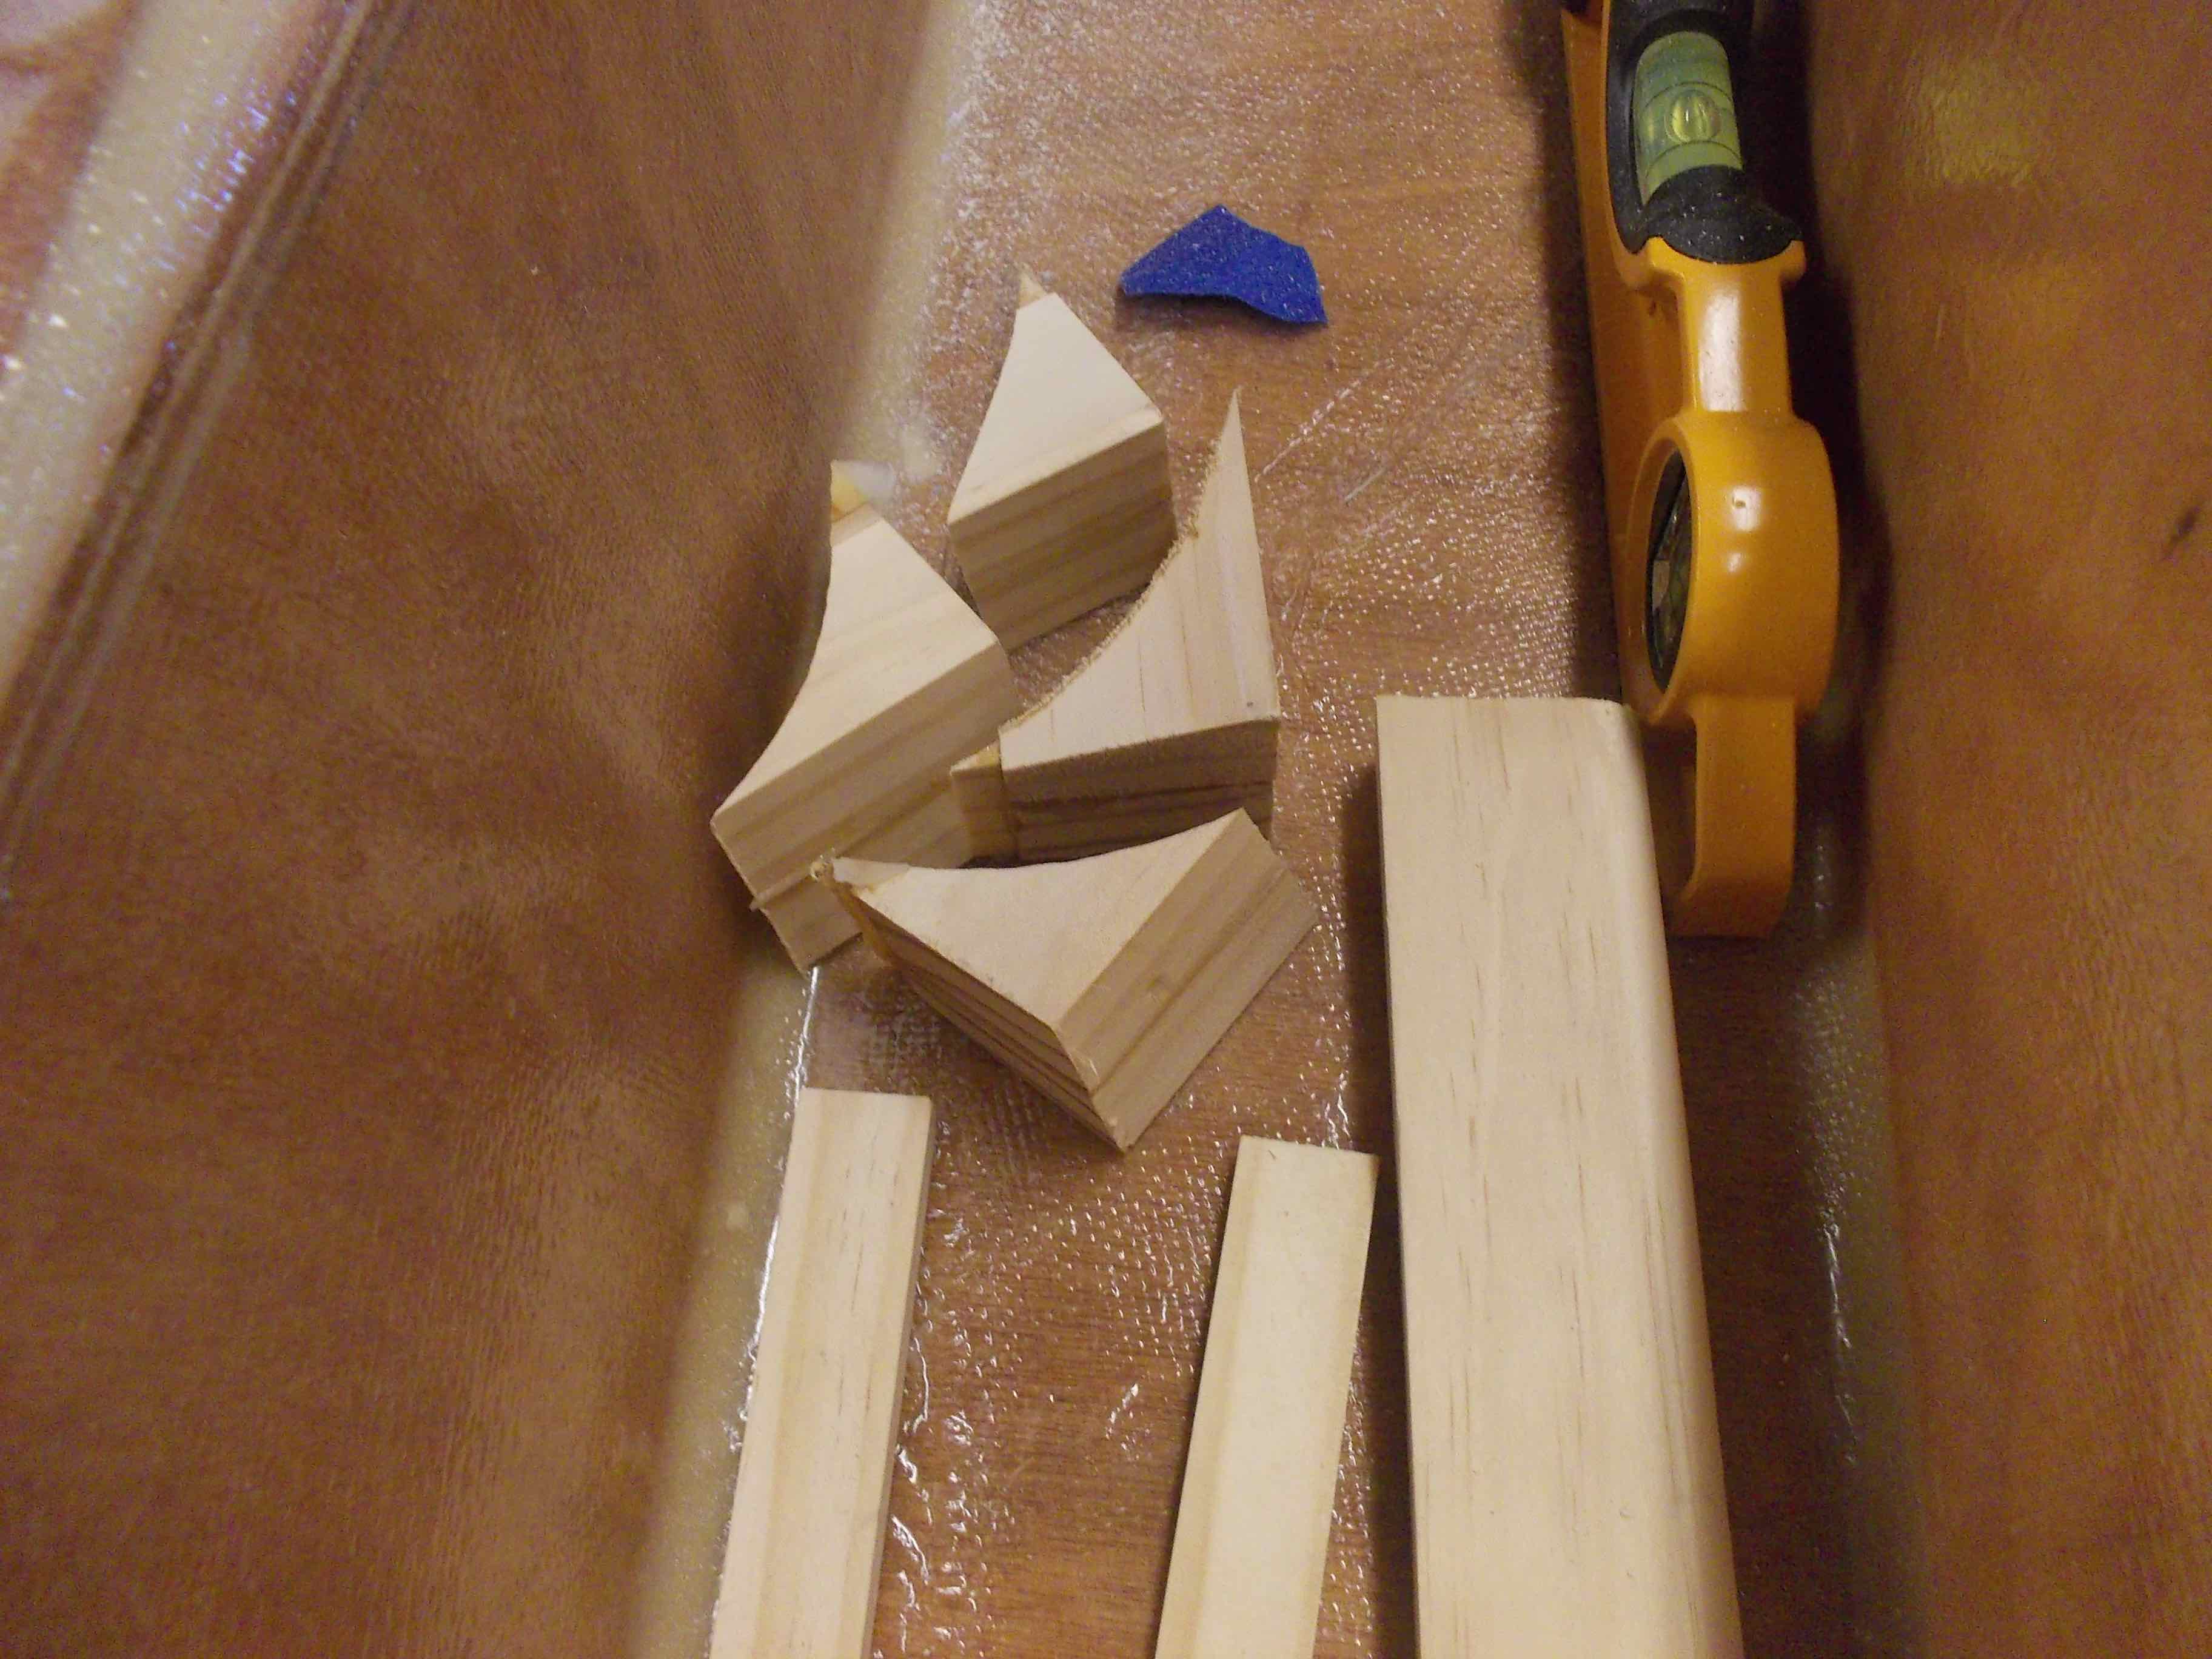
Trim the edges, but save the corner pieces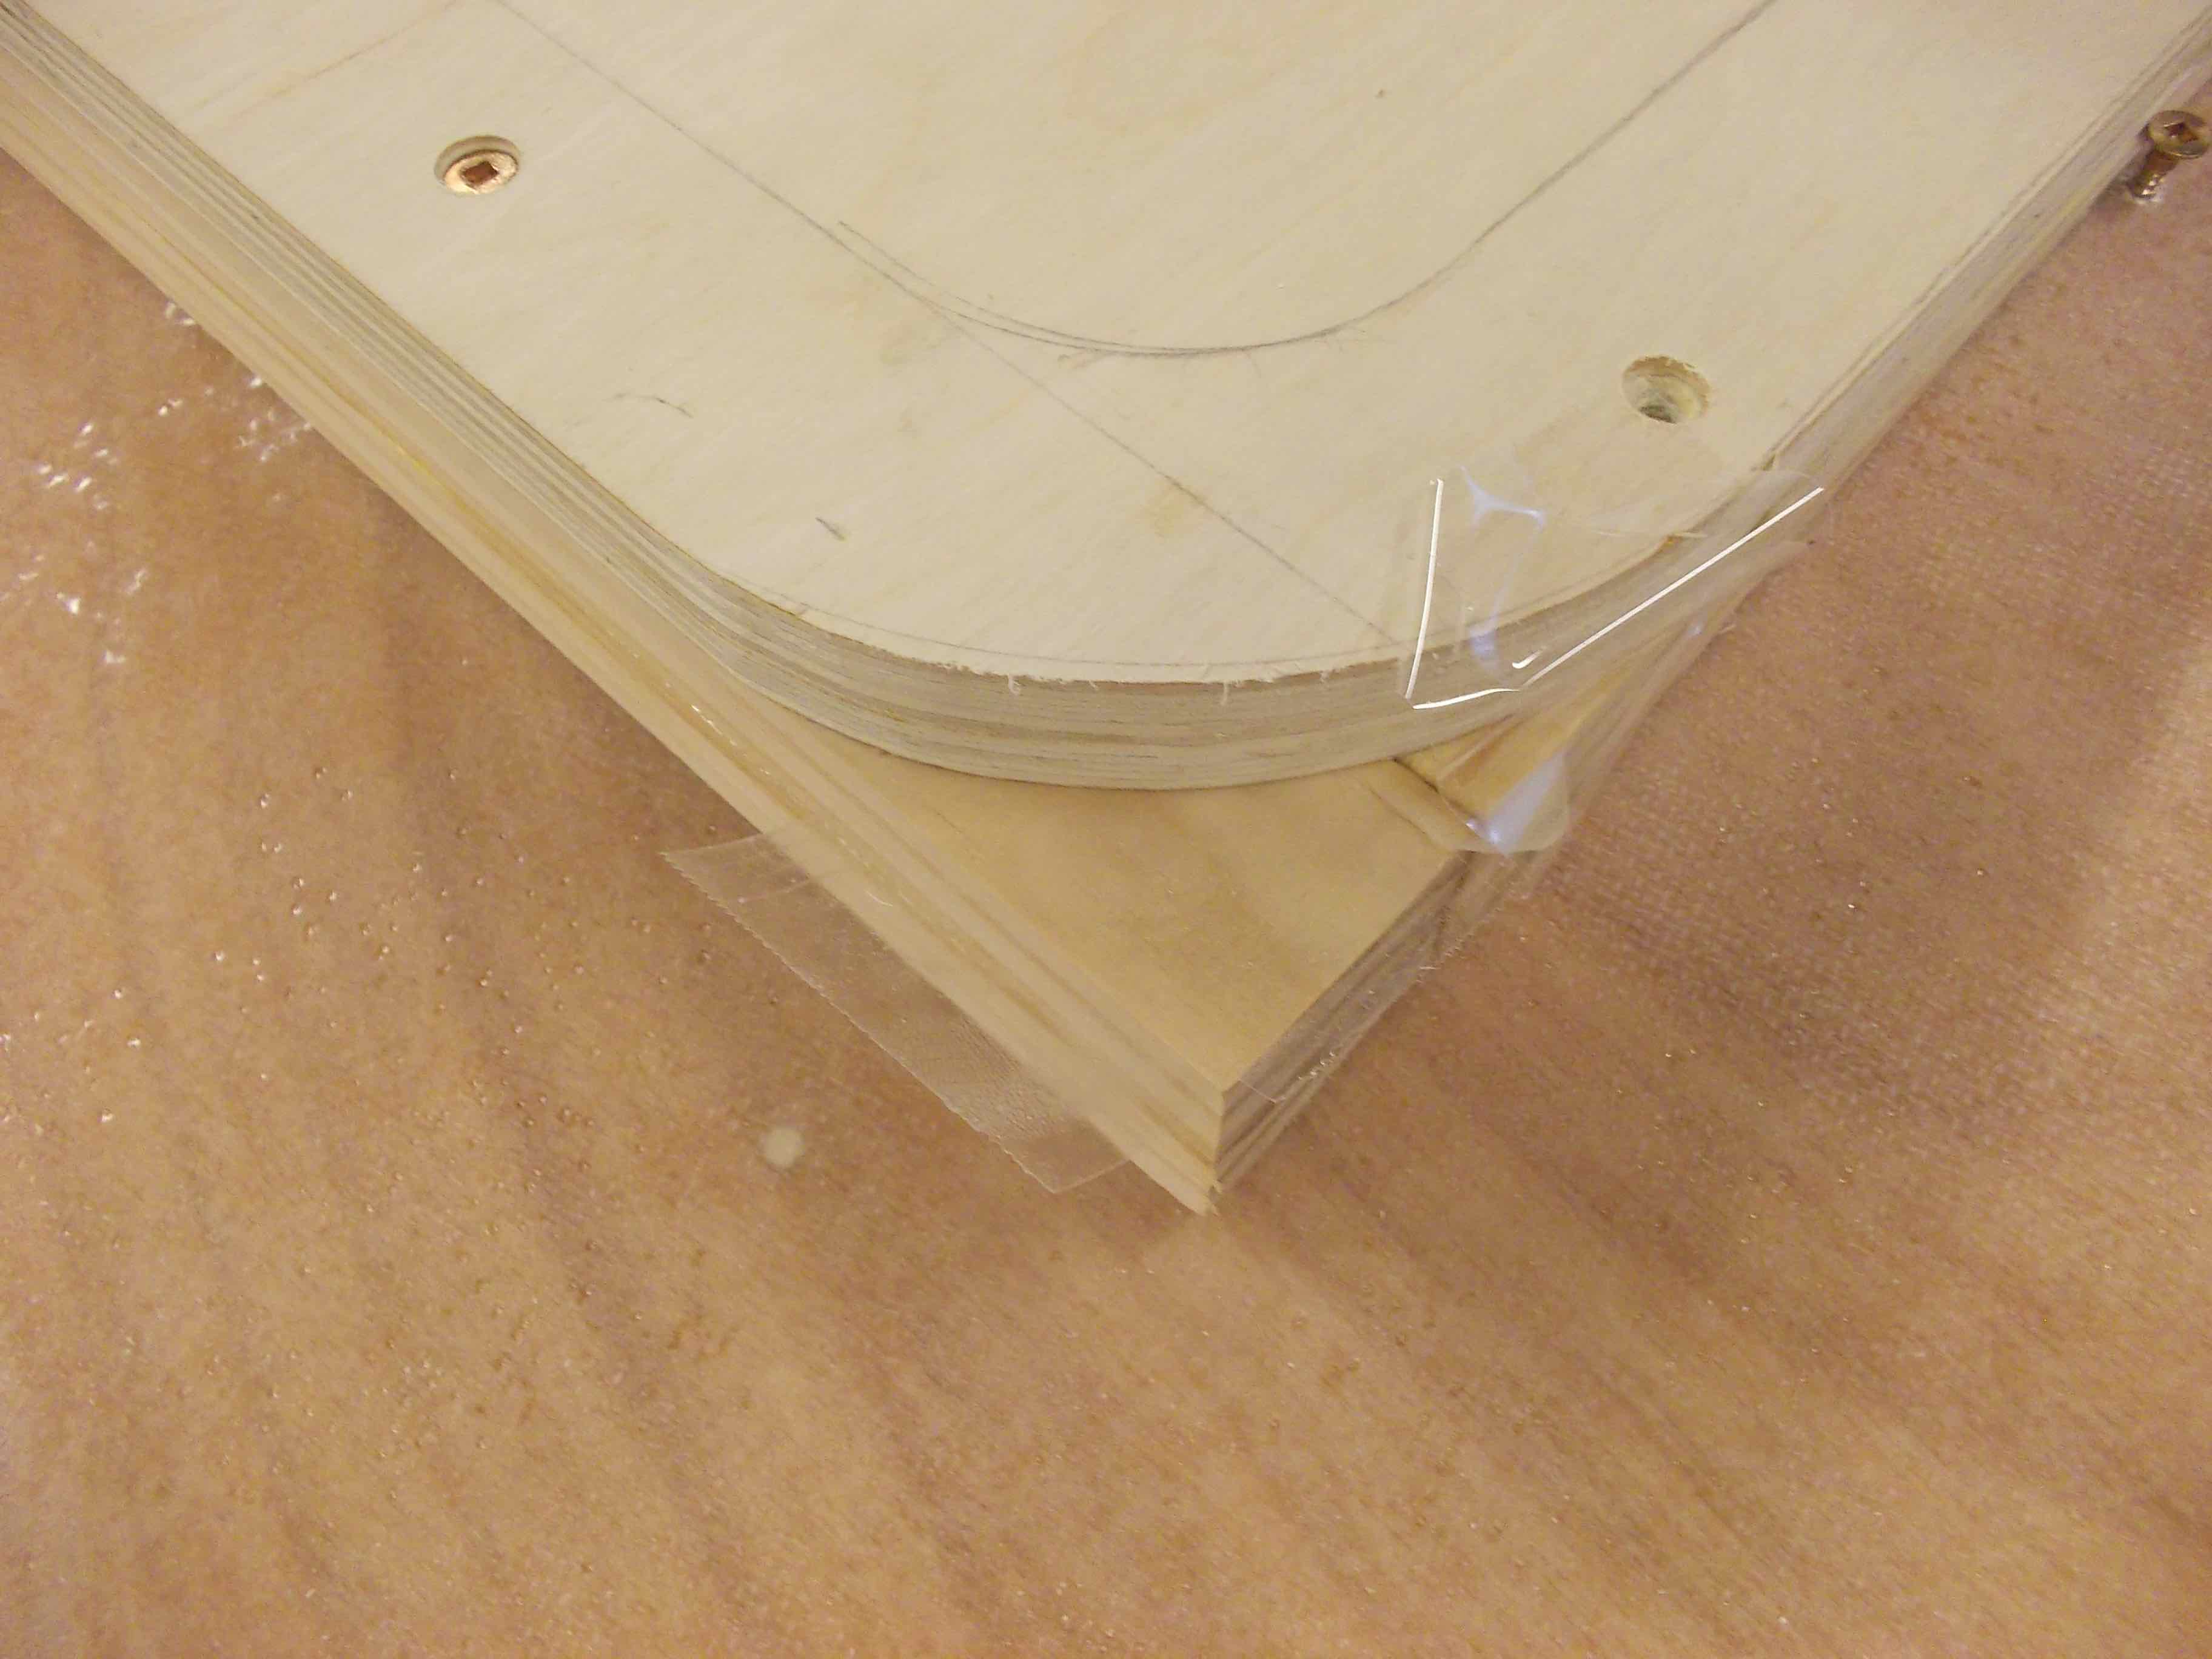
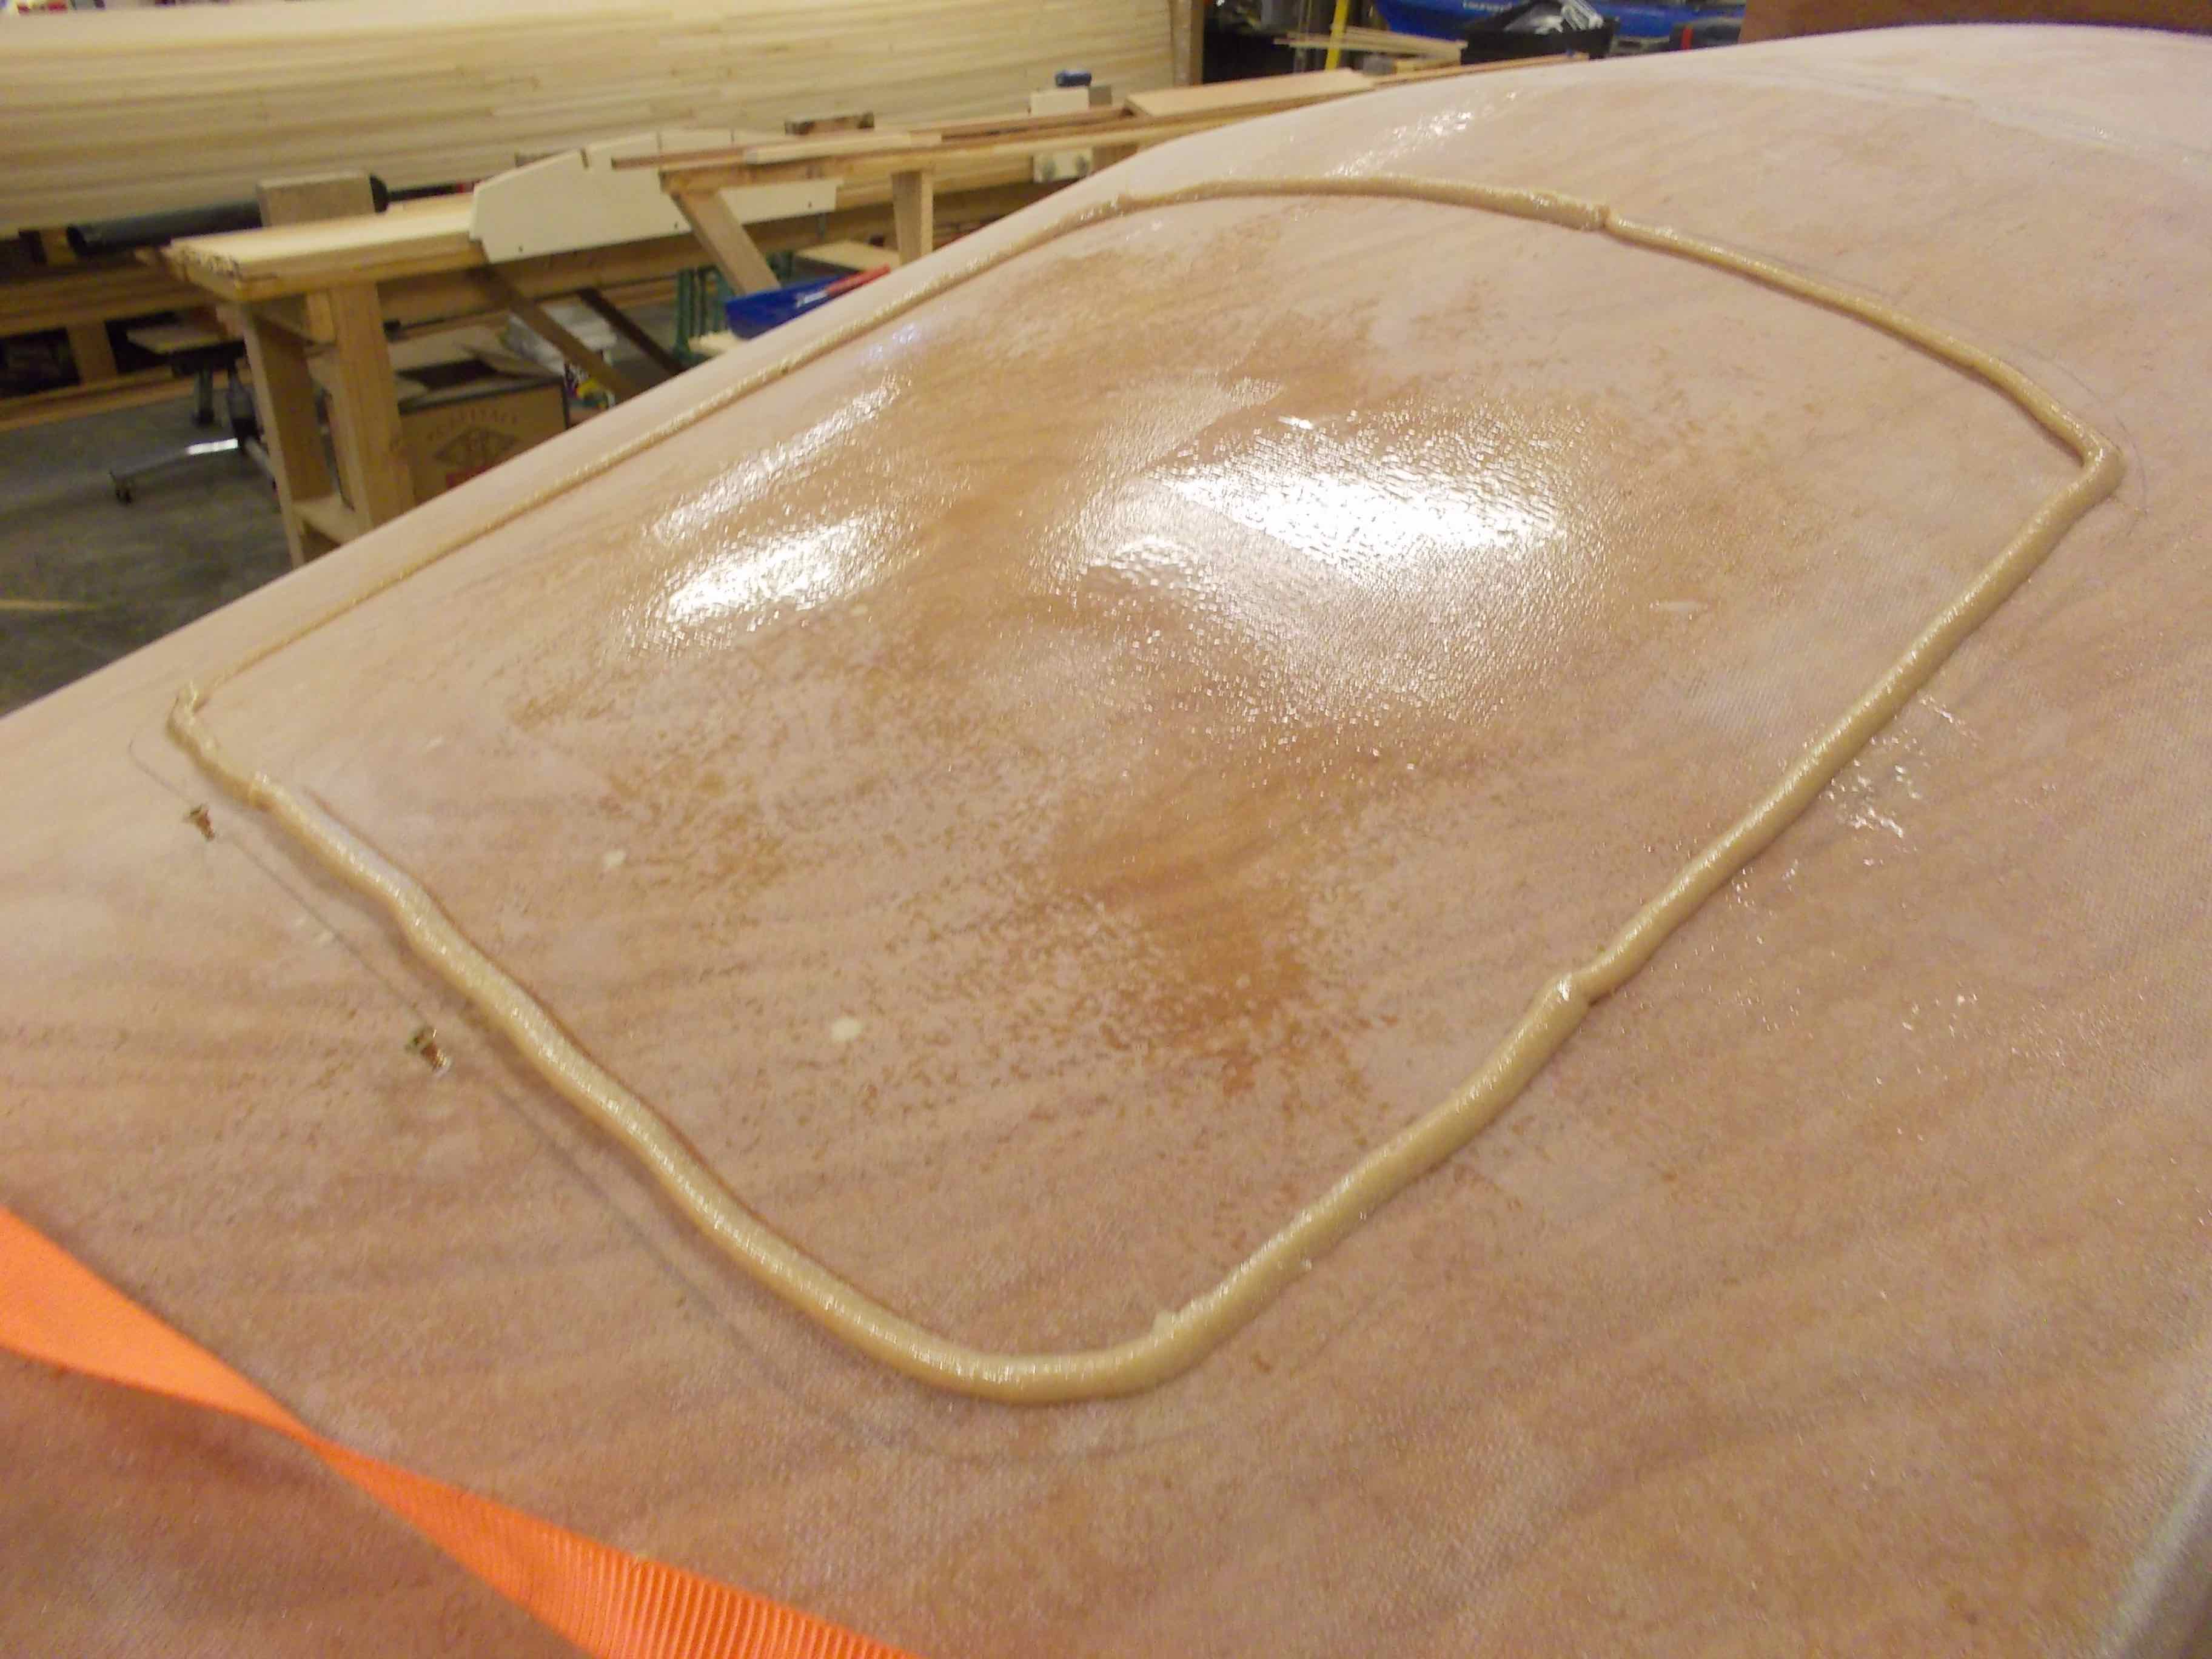
Carefully trace around the template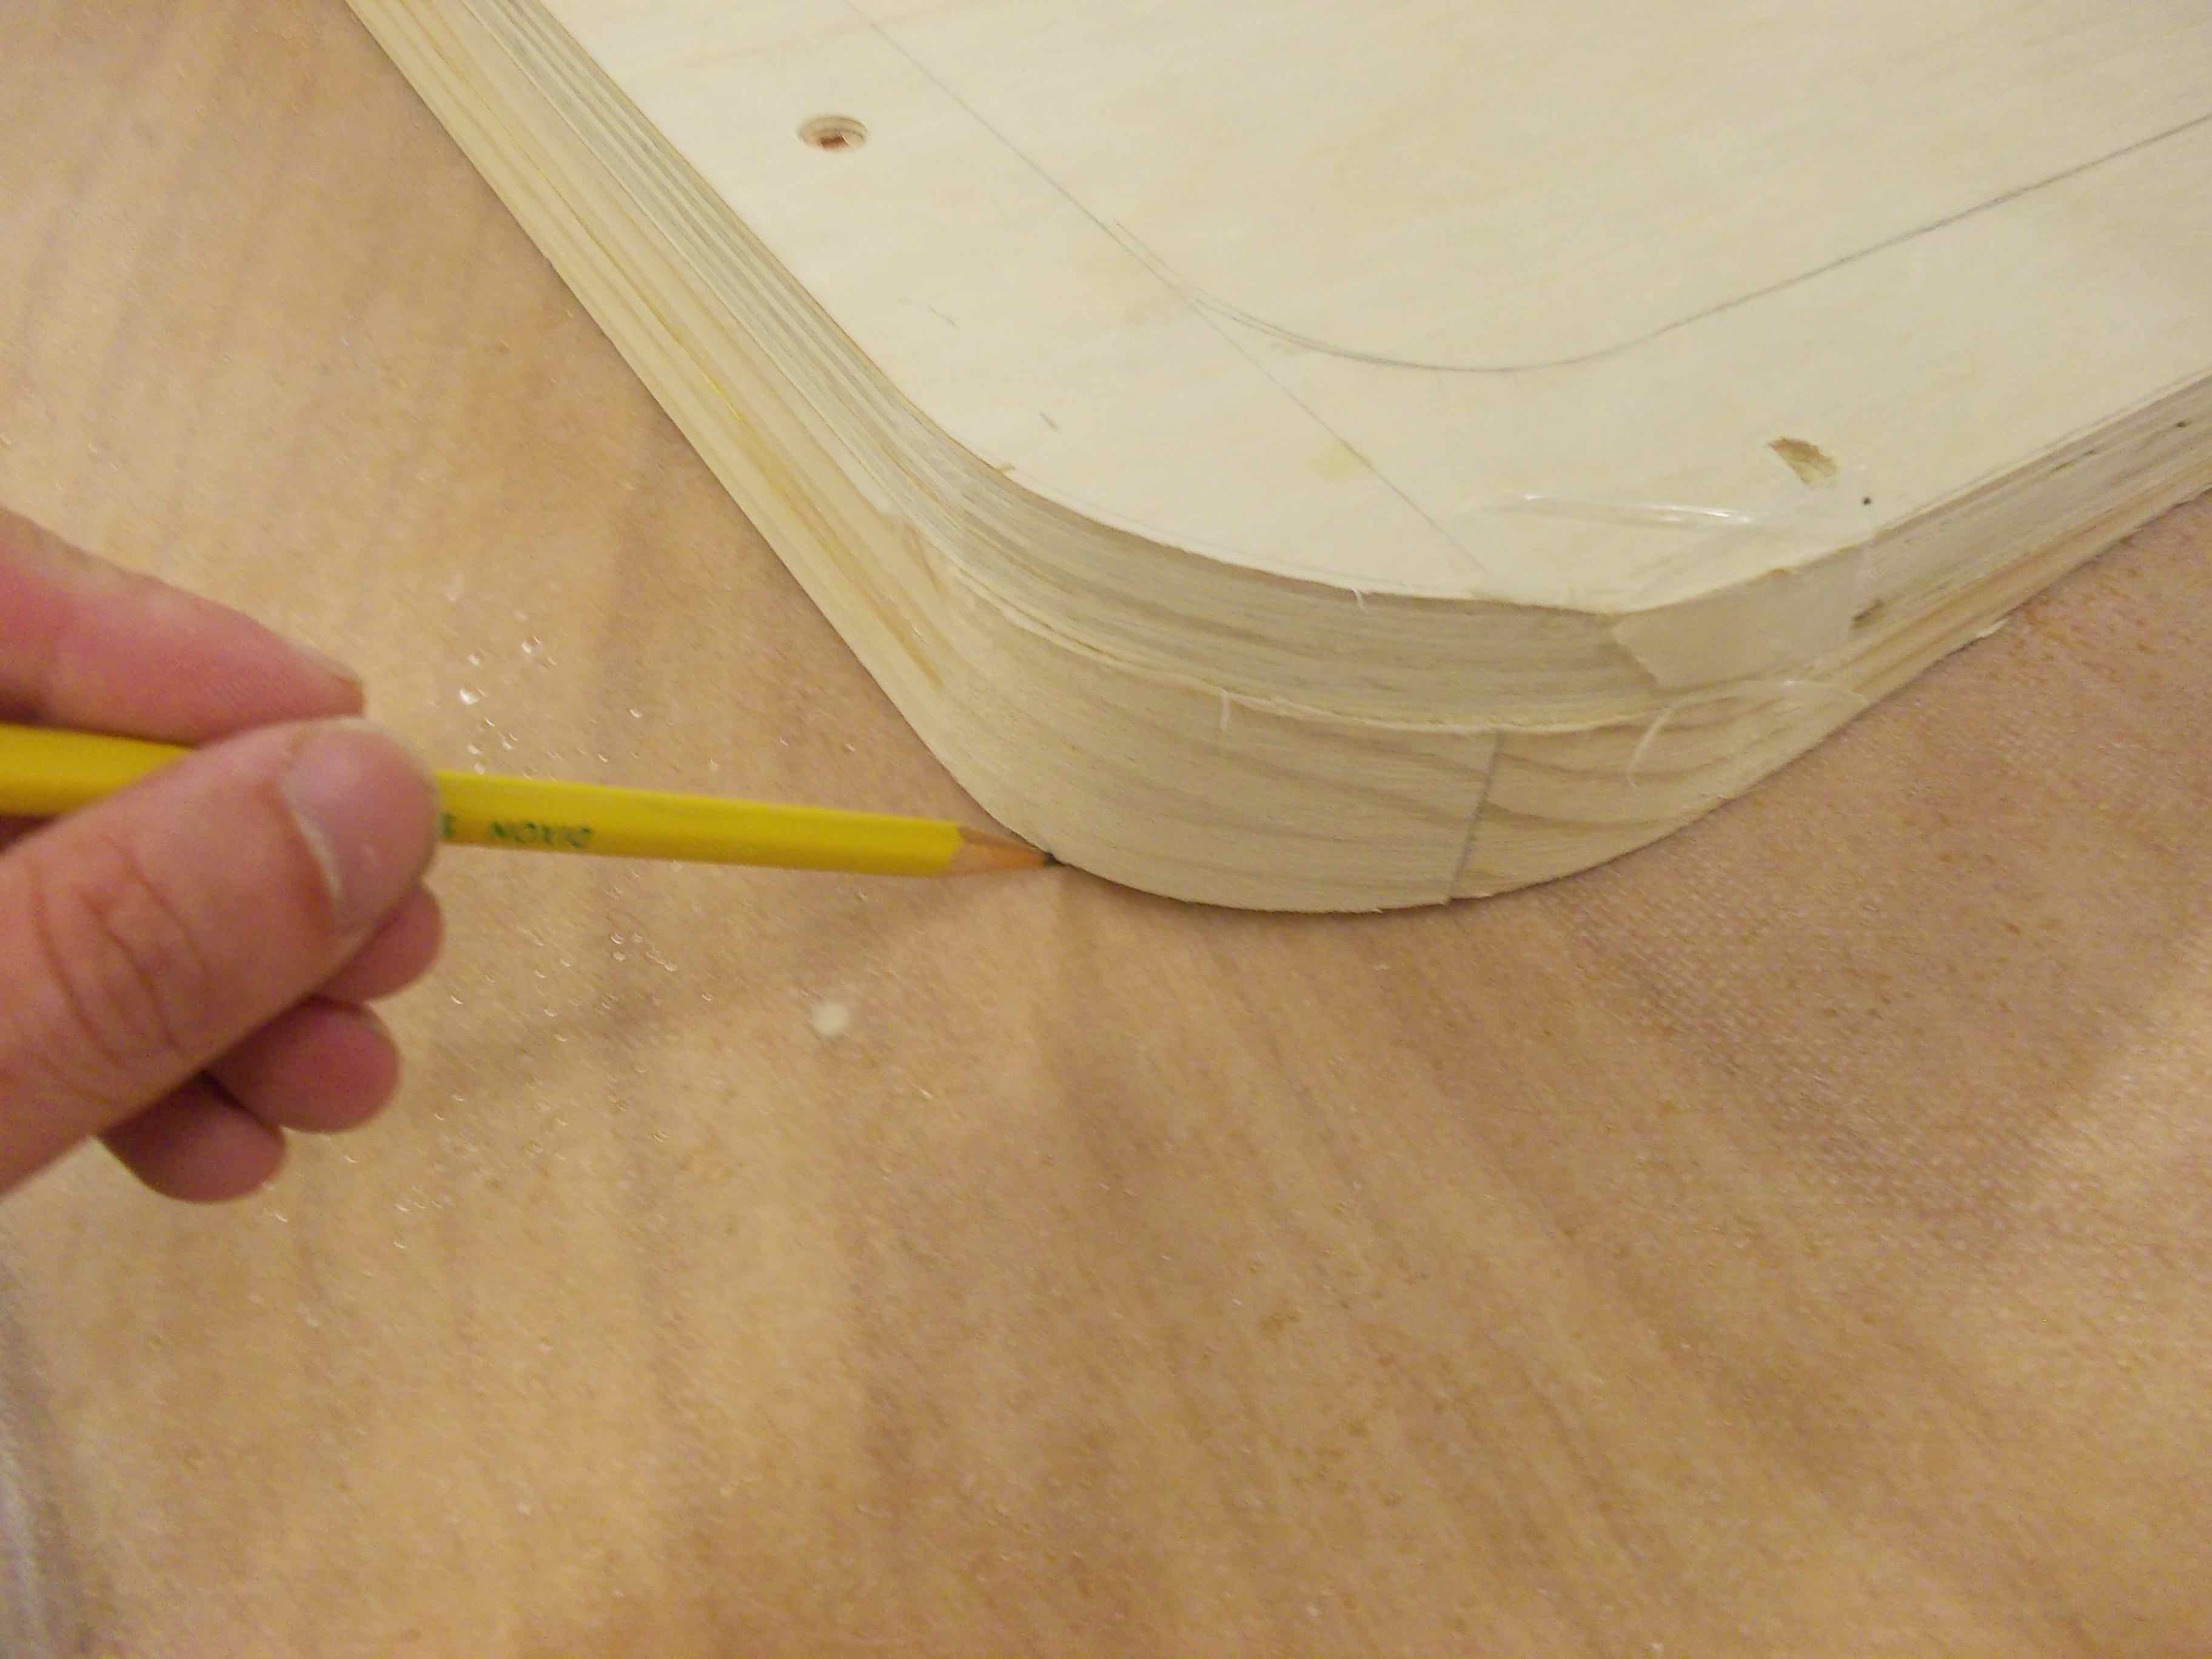
Prepare a nice batch off epoxy goop (6 pumps of west) and apply a nice bead.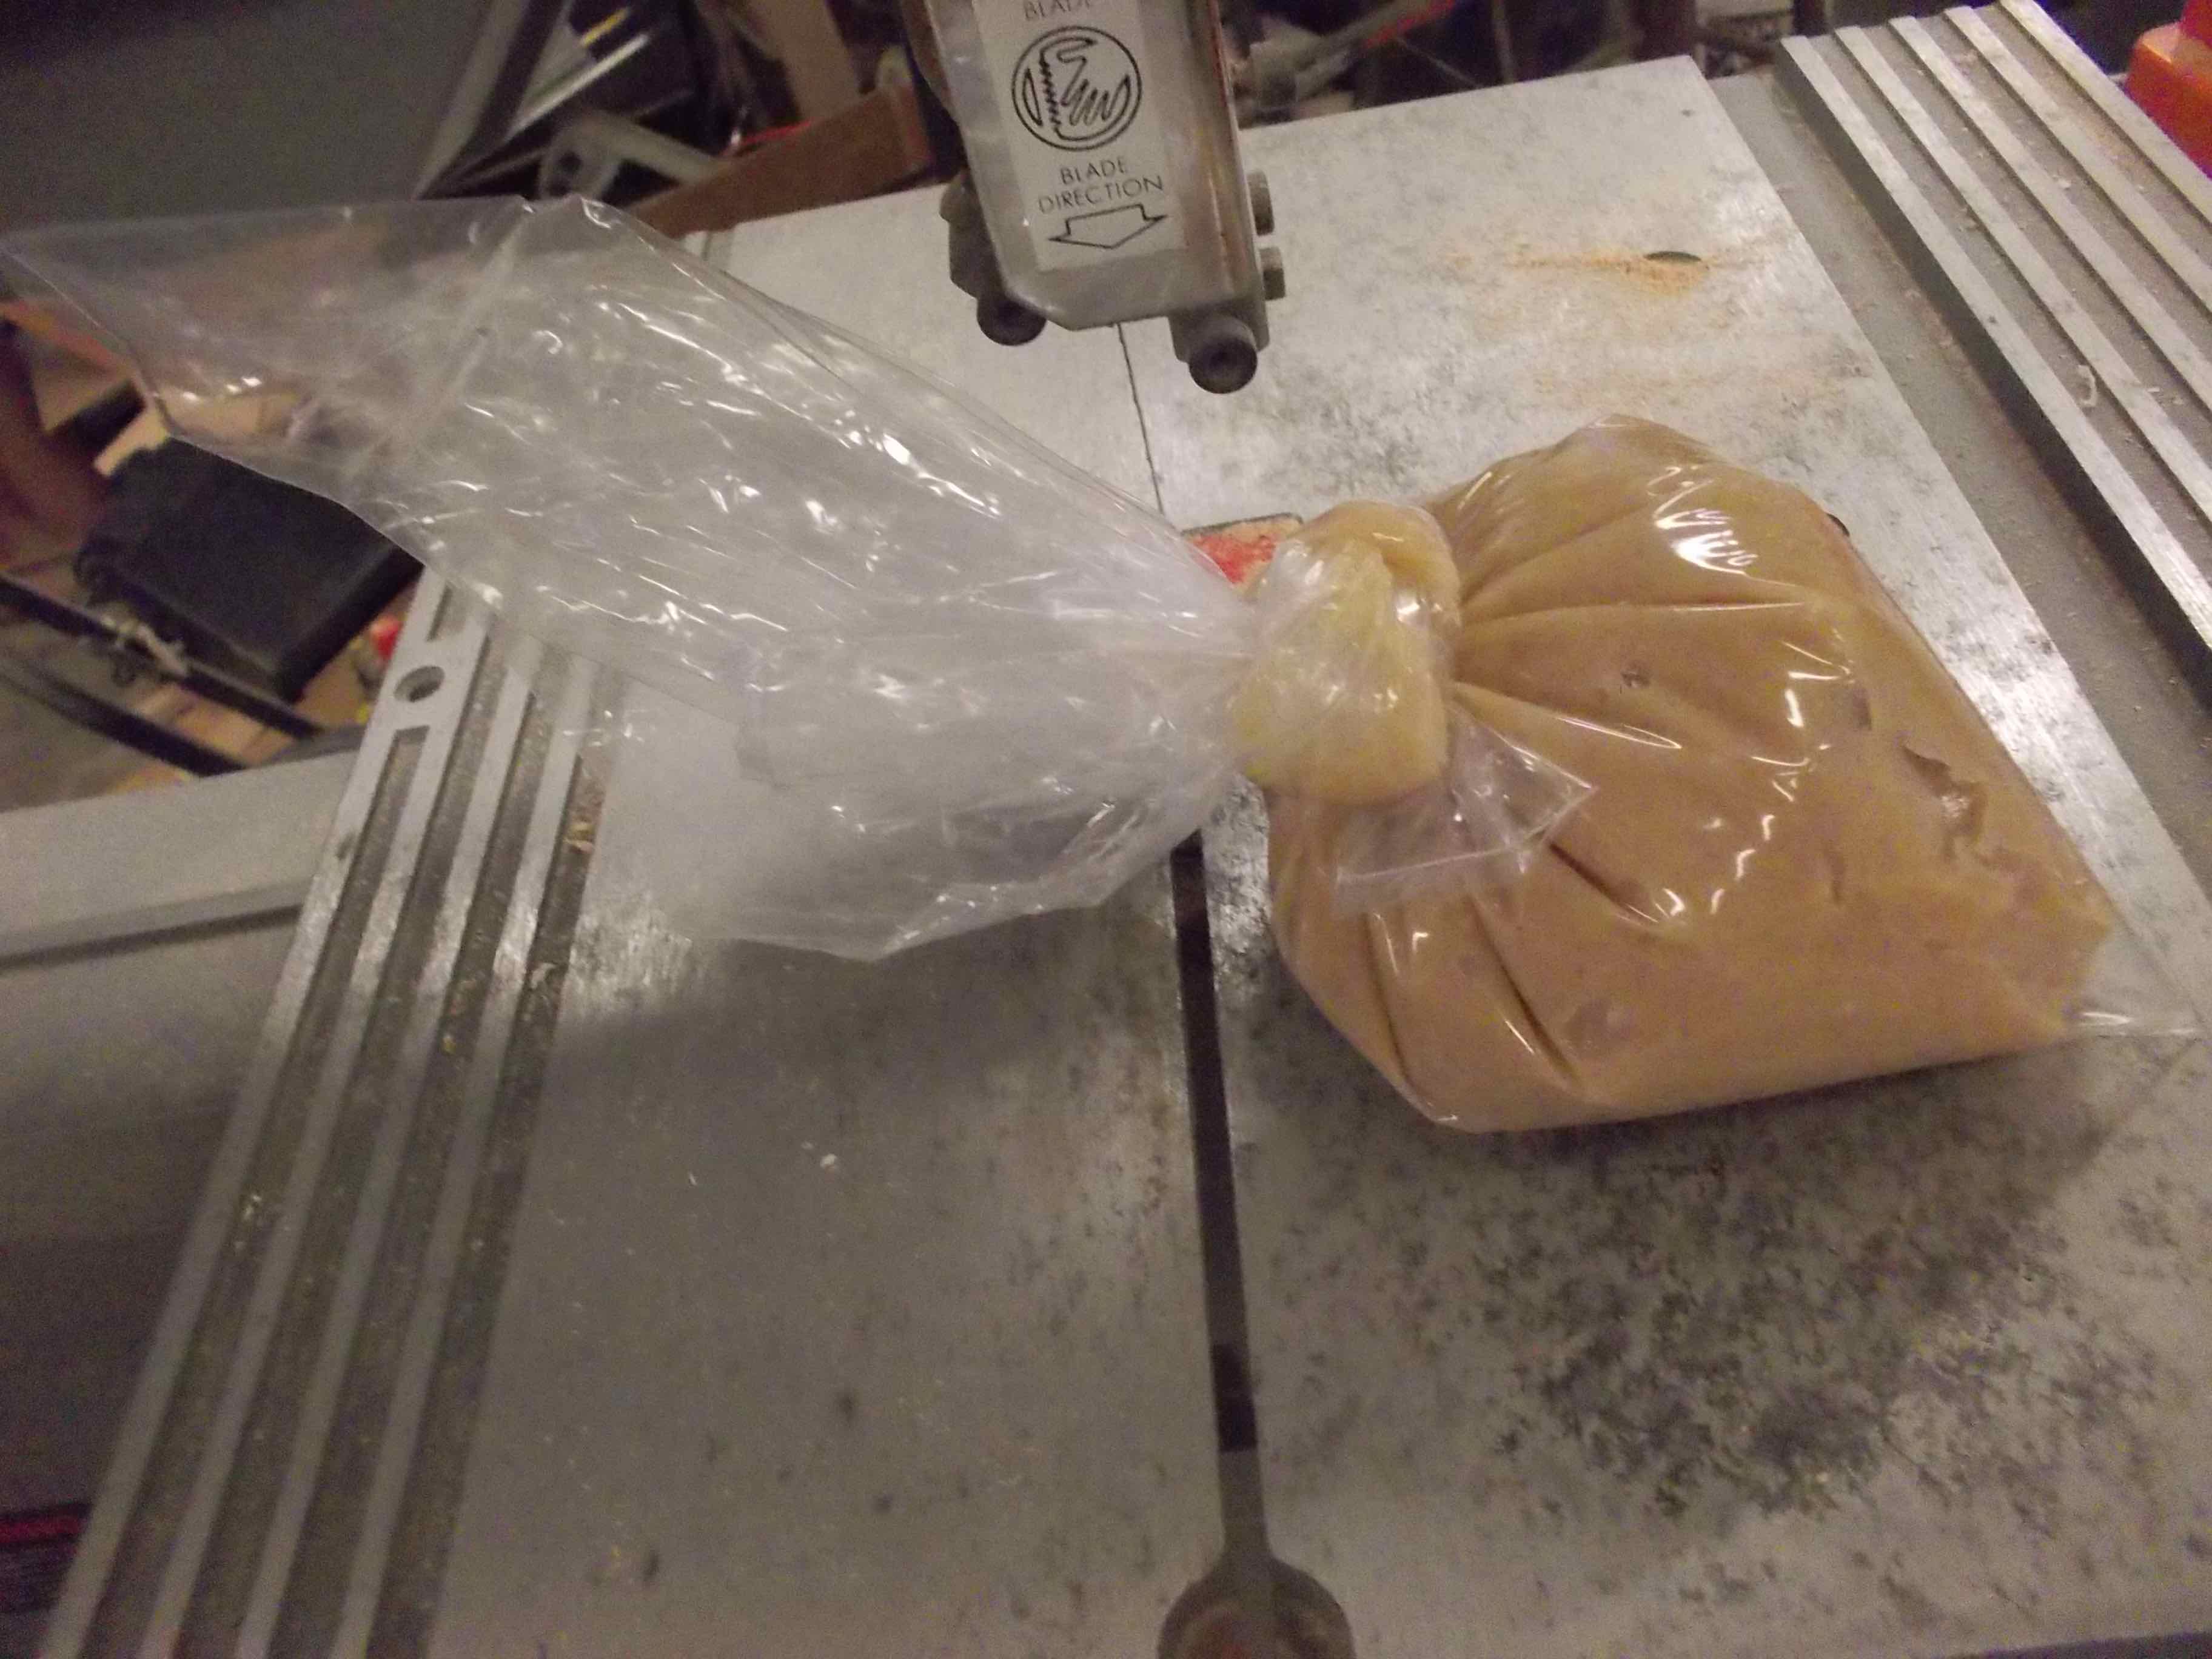
With the template protected in tape apply the piece to the deck. Wiggle it some to spread the bead.
Clean and bead as best you can. You will be doing this once more once you remove the template so no need to get it perfect.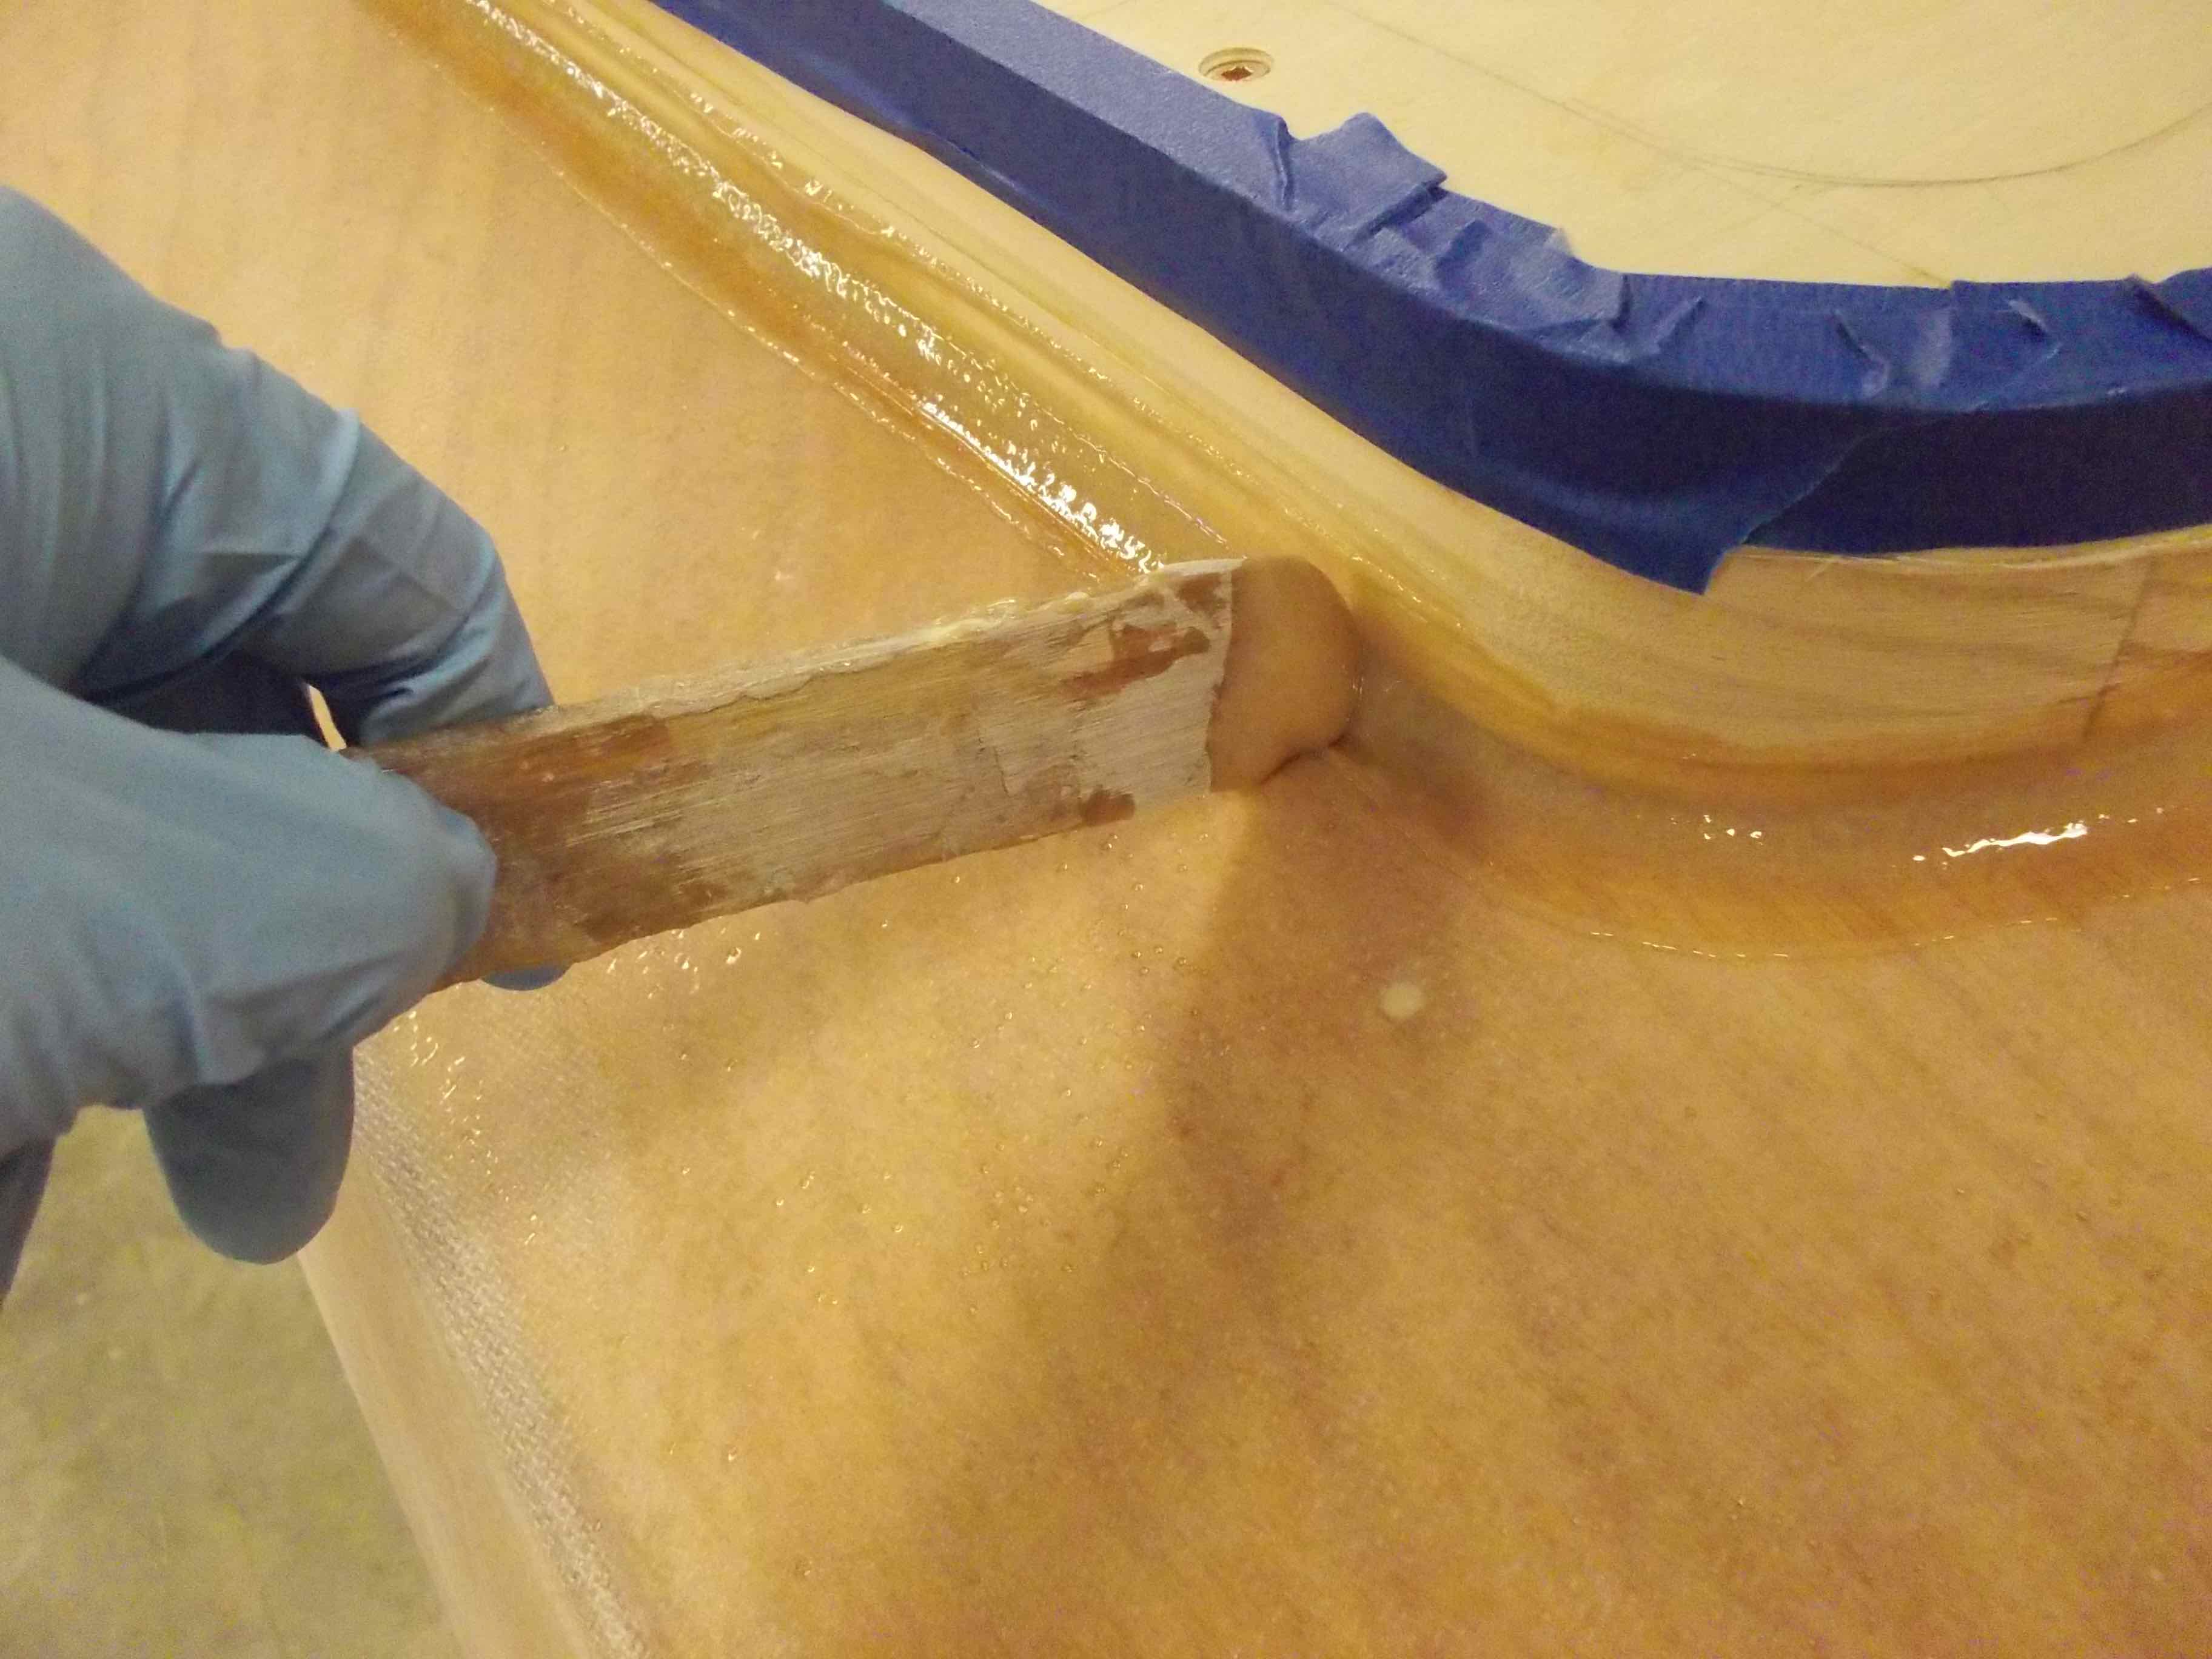
A cargo strap came in handy to hold things together.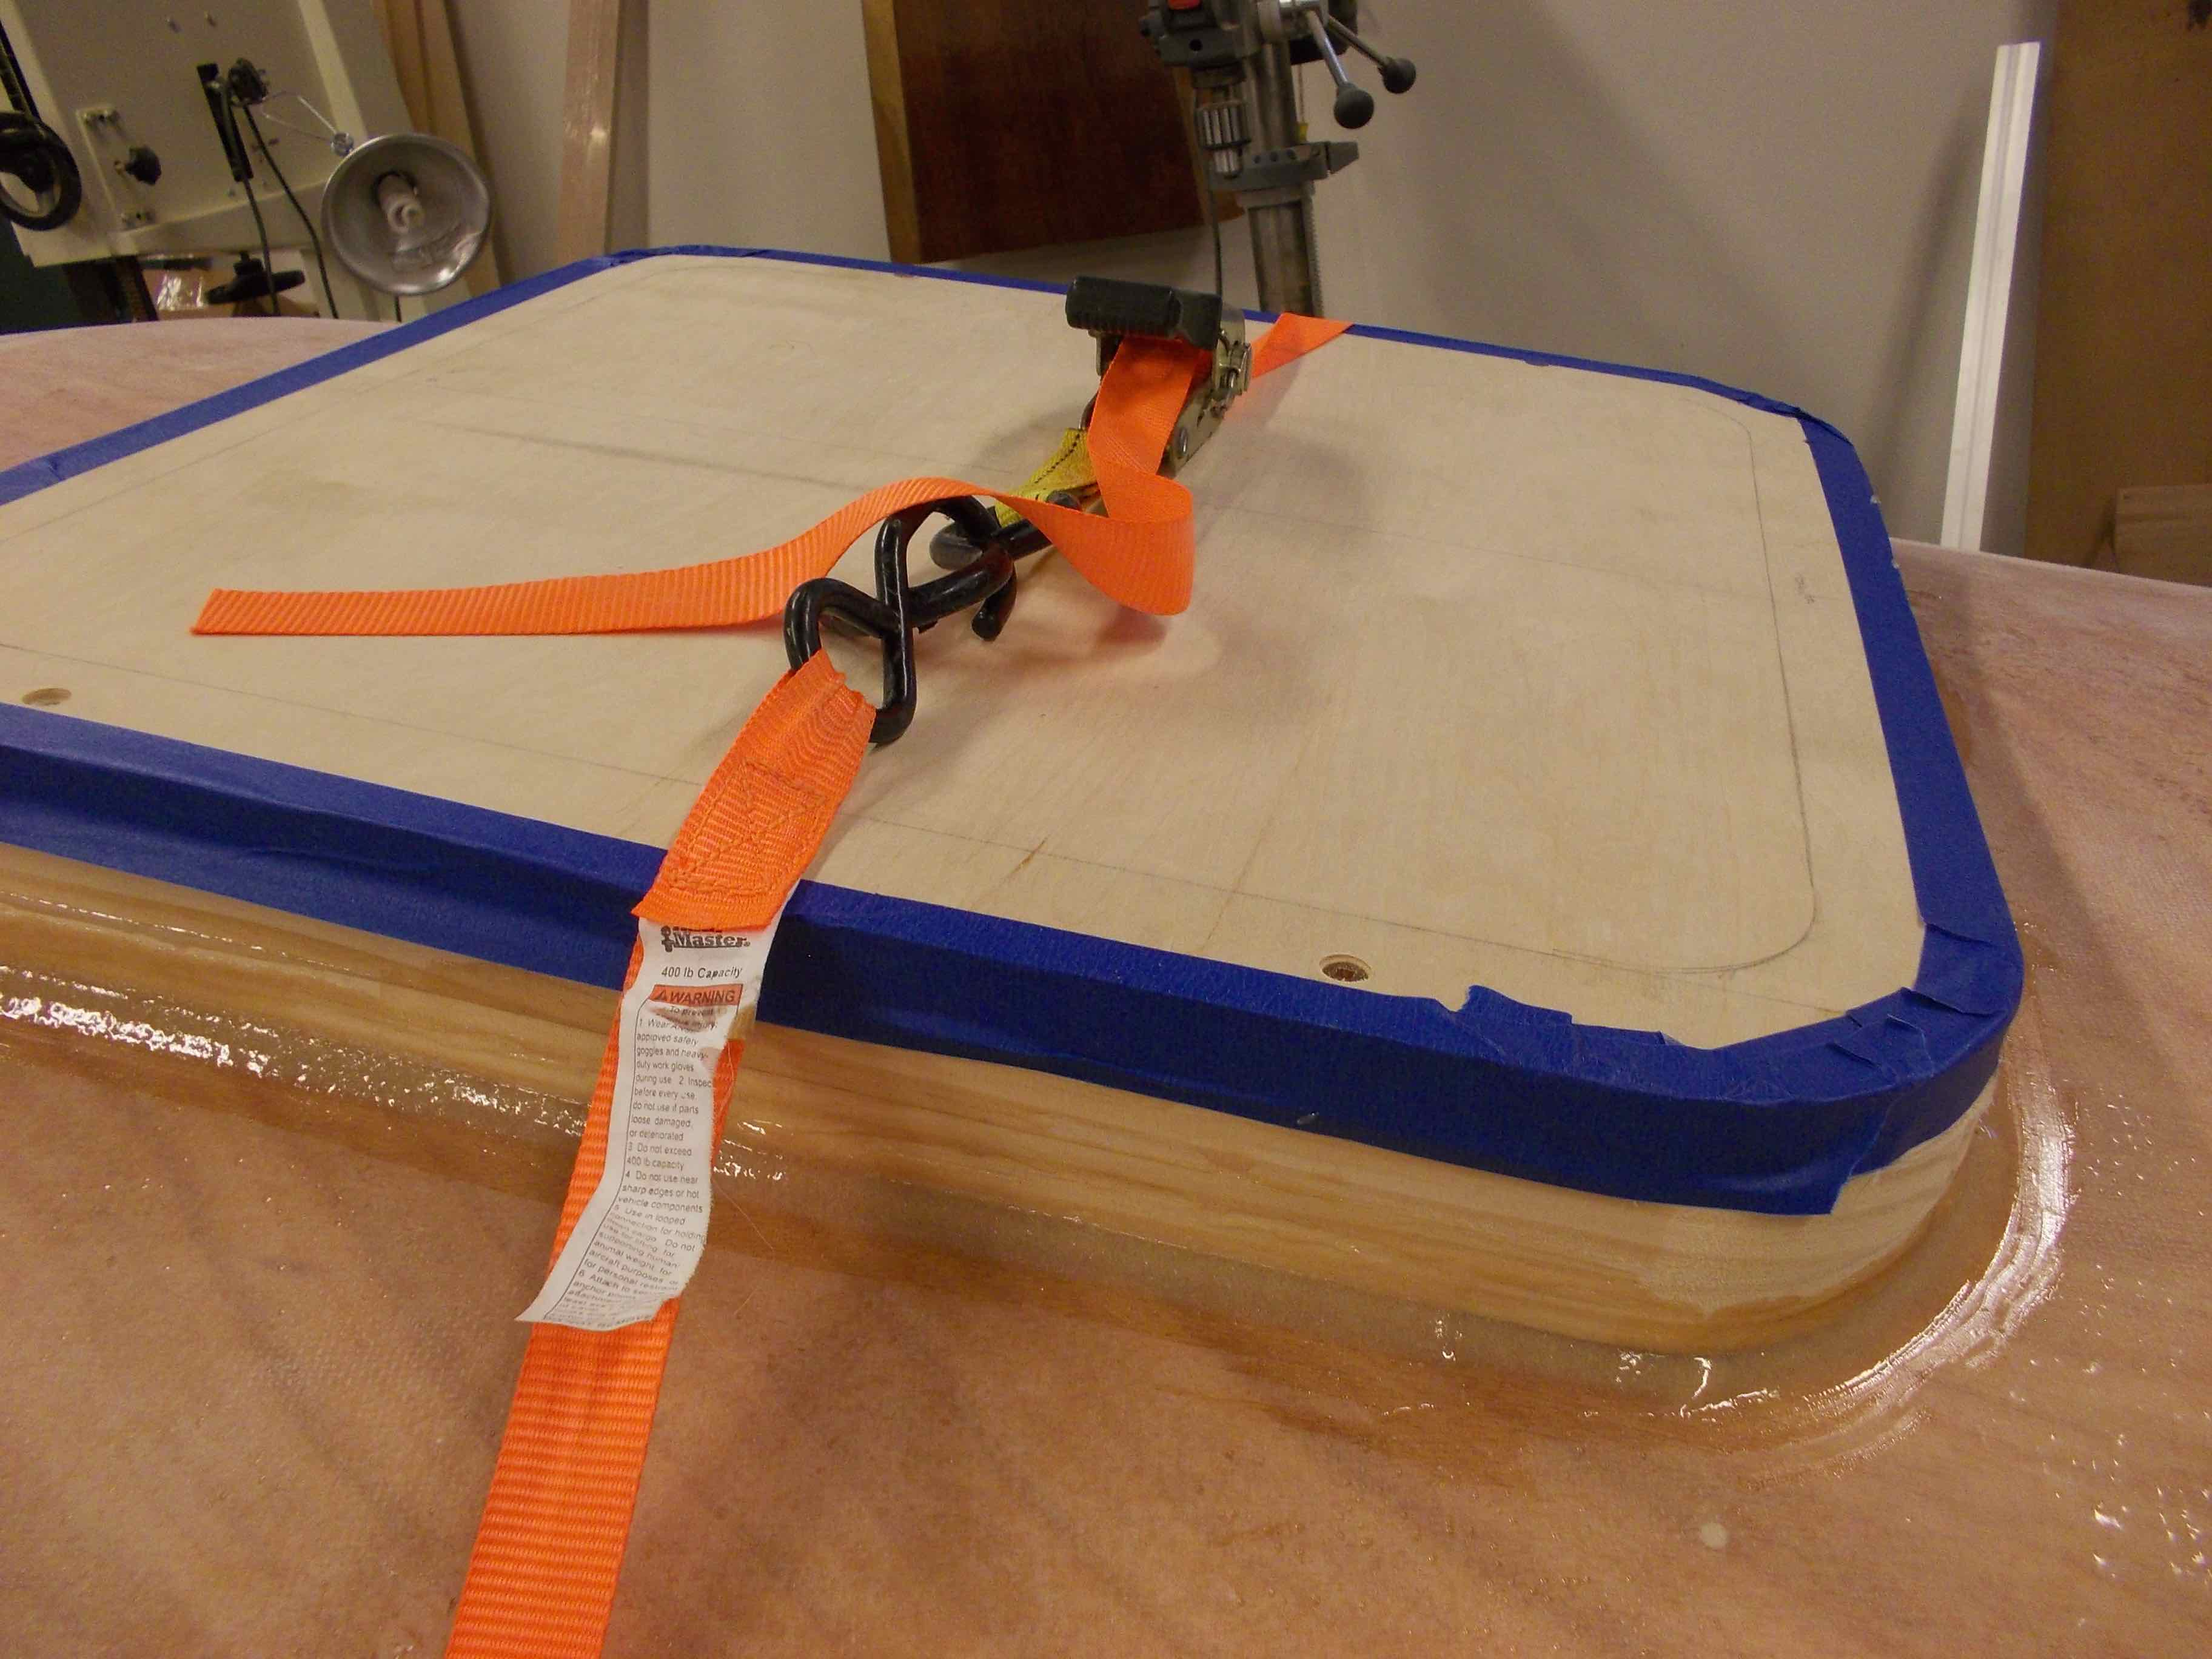
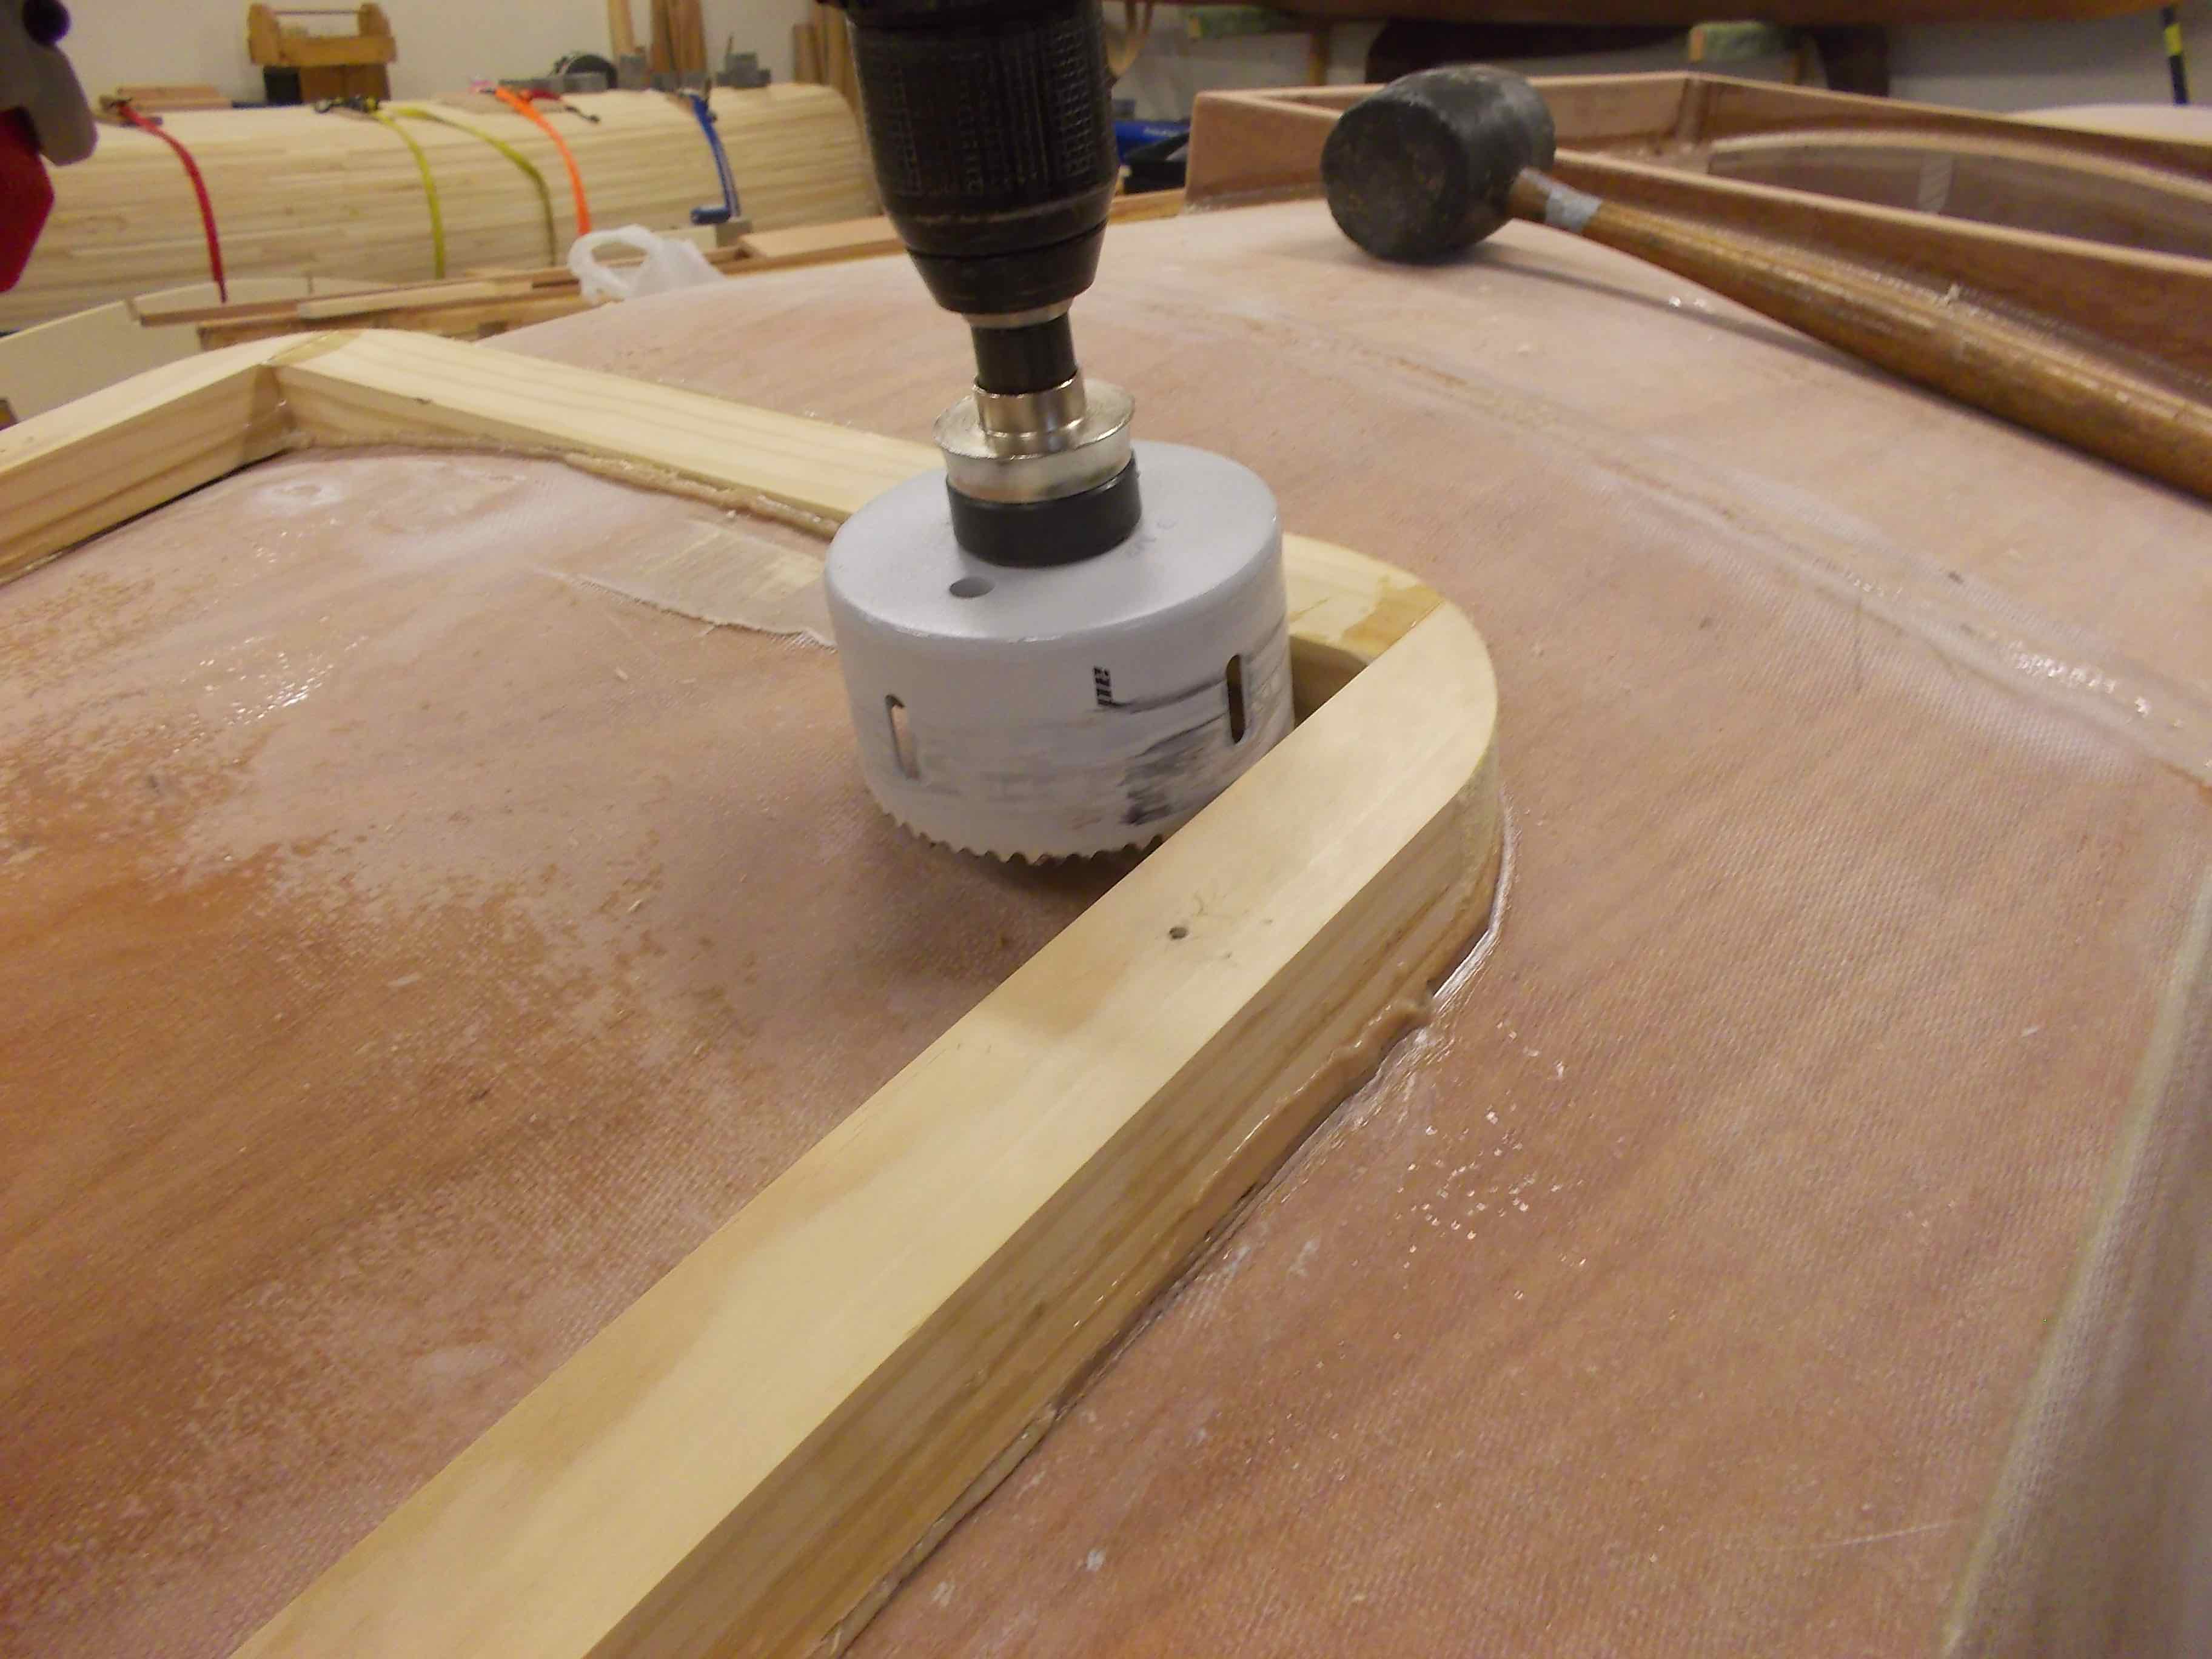
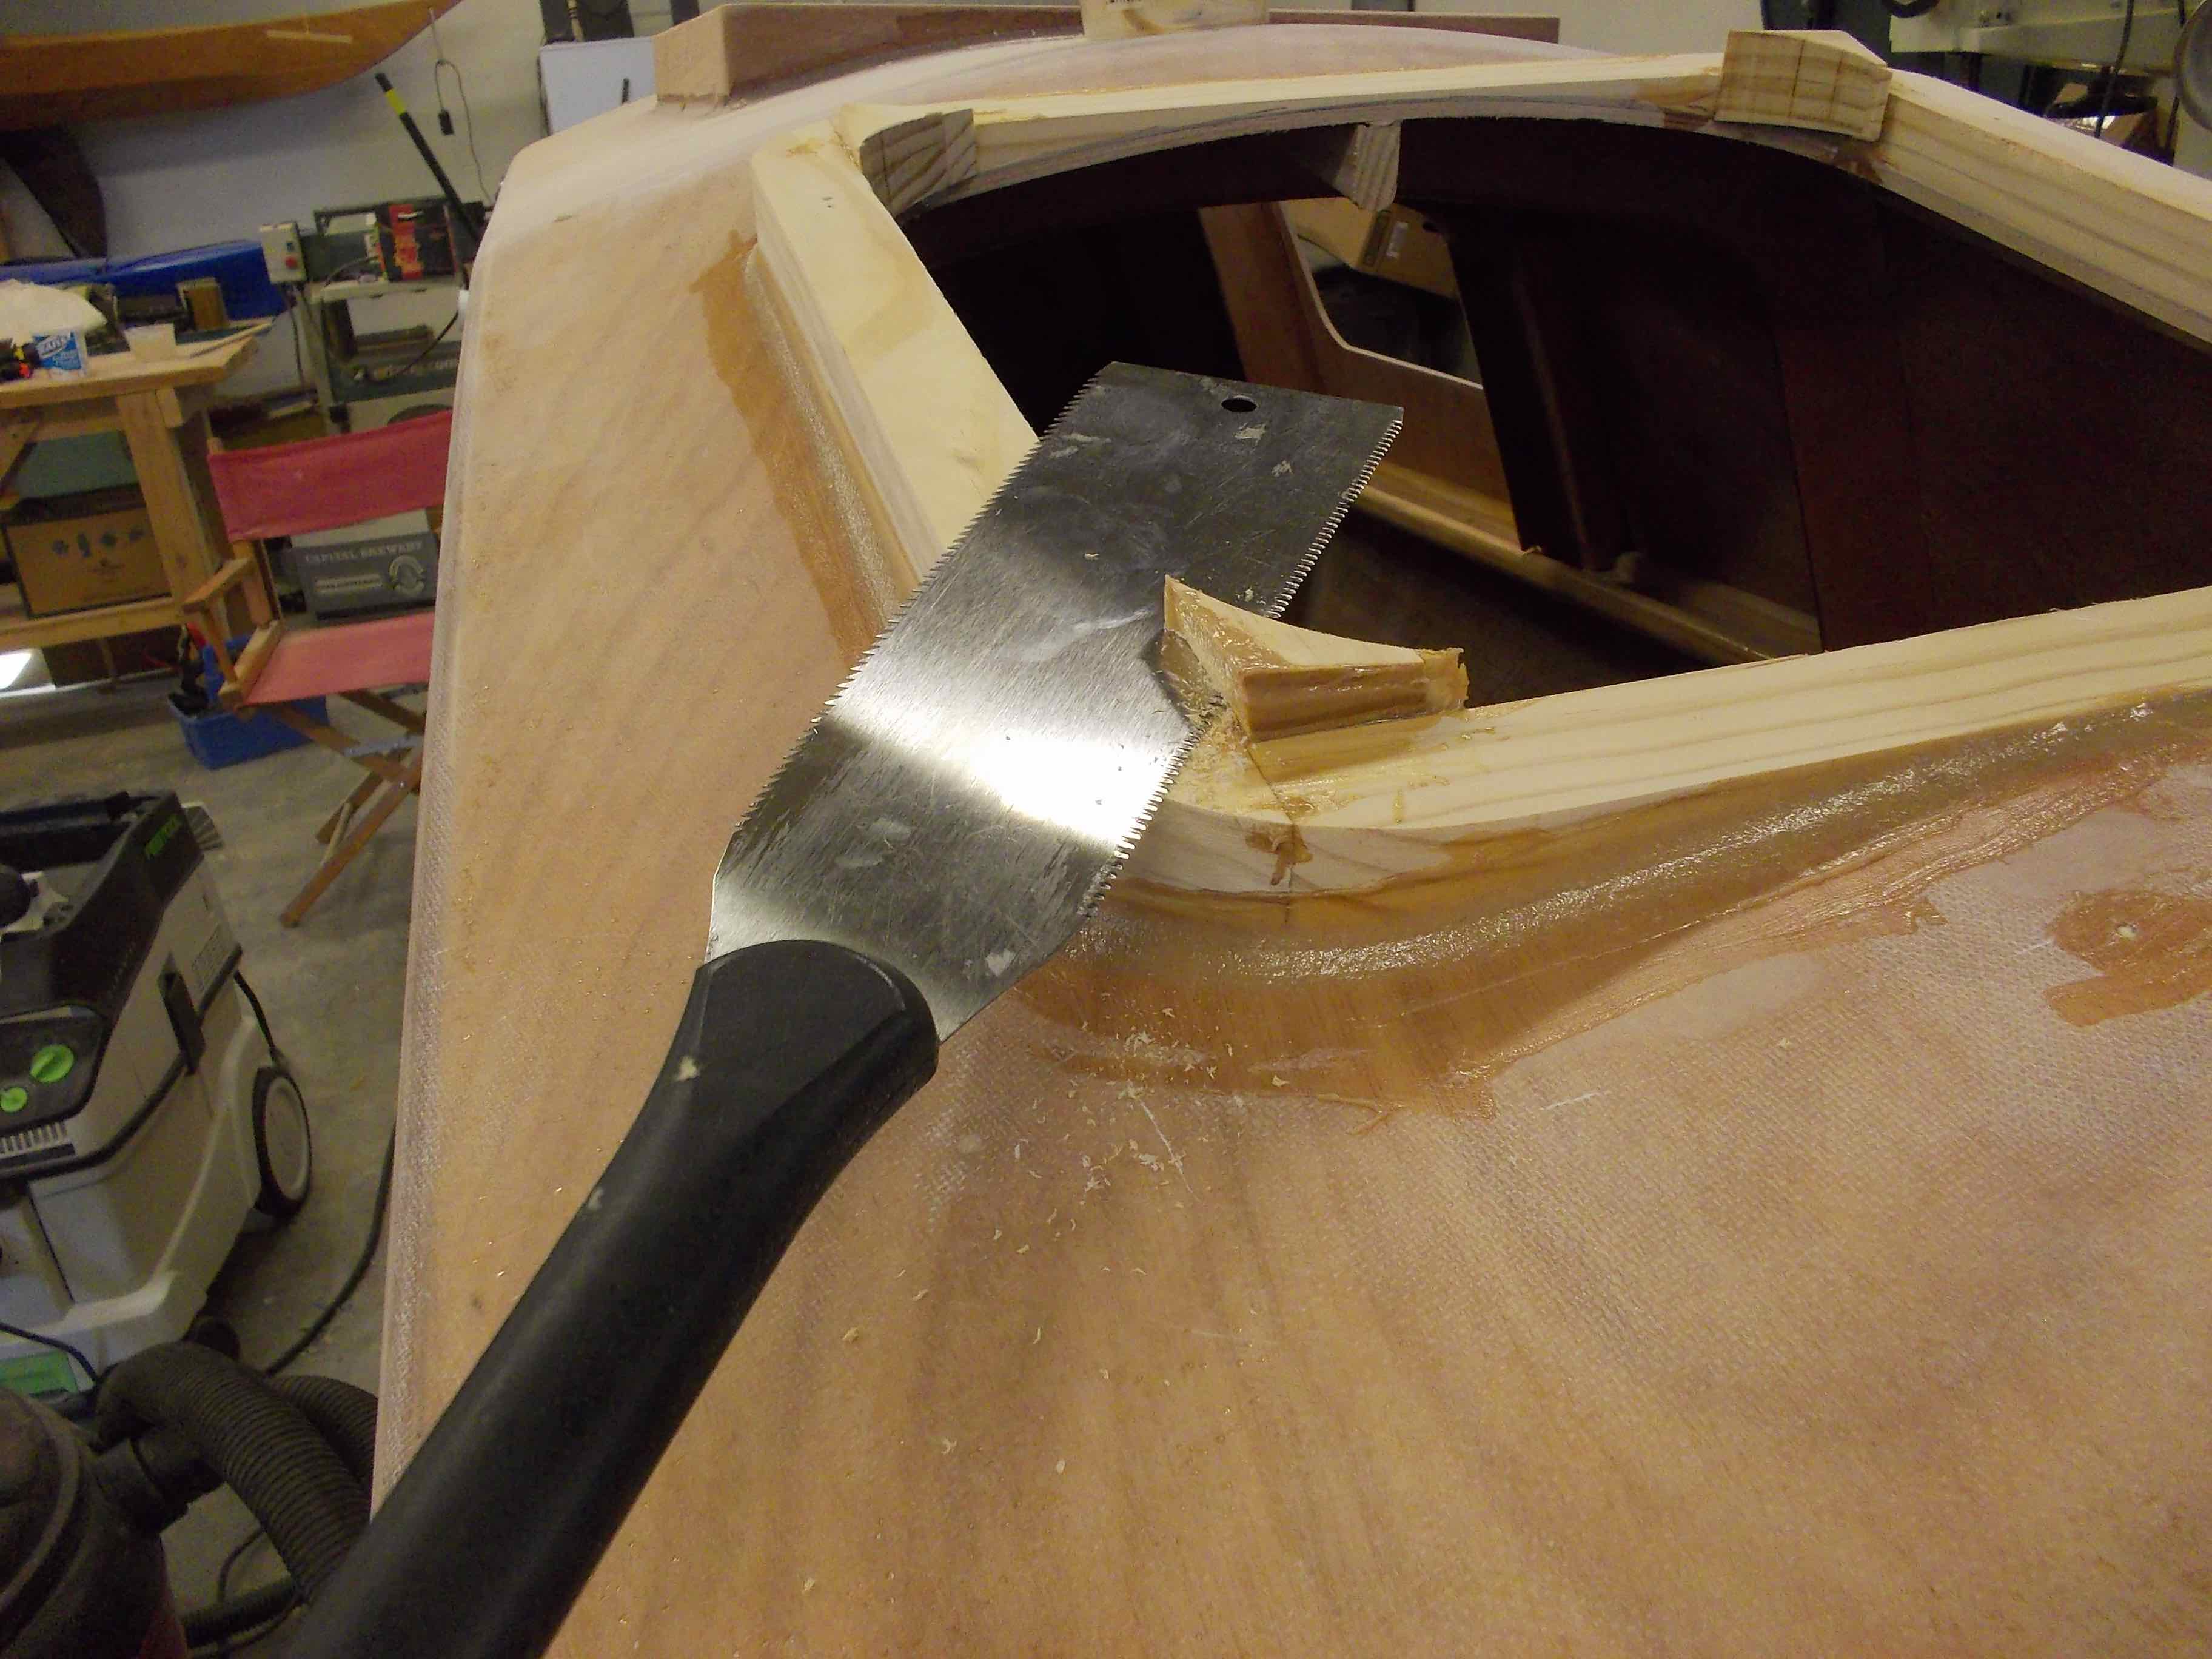
Once everything dries you can remove the screw holding the template to the frame. 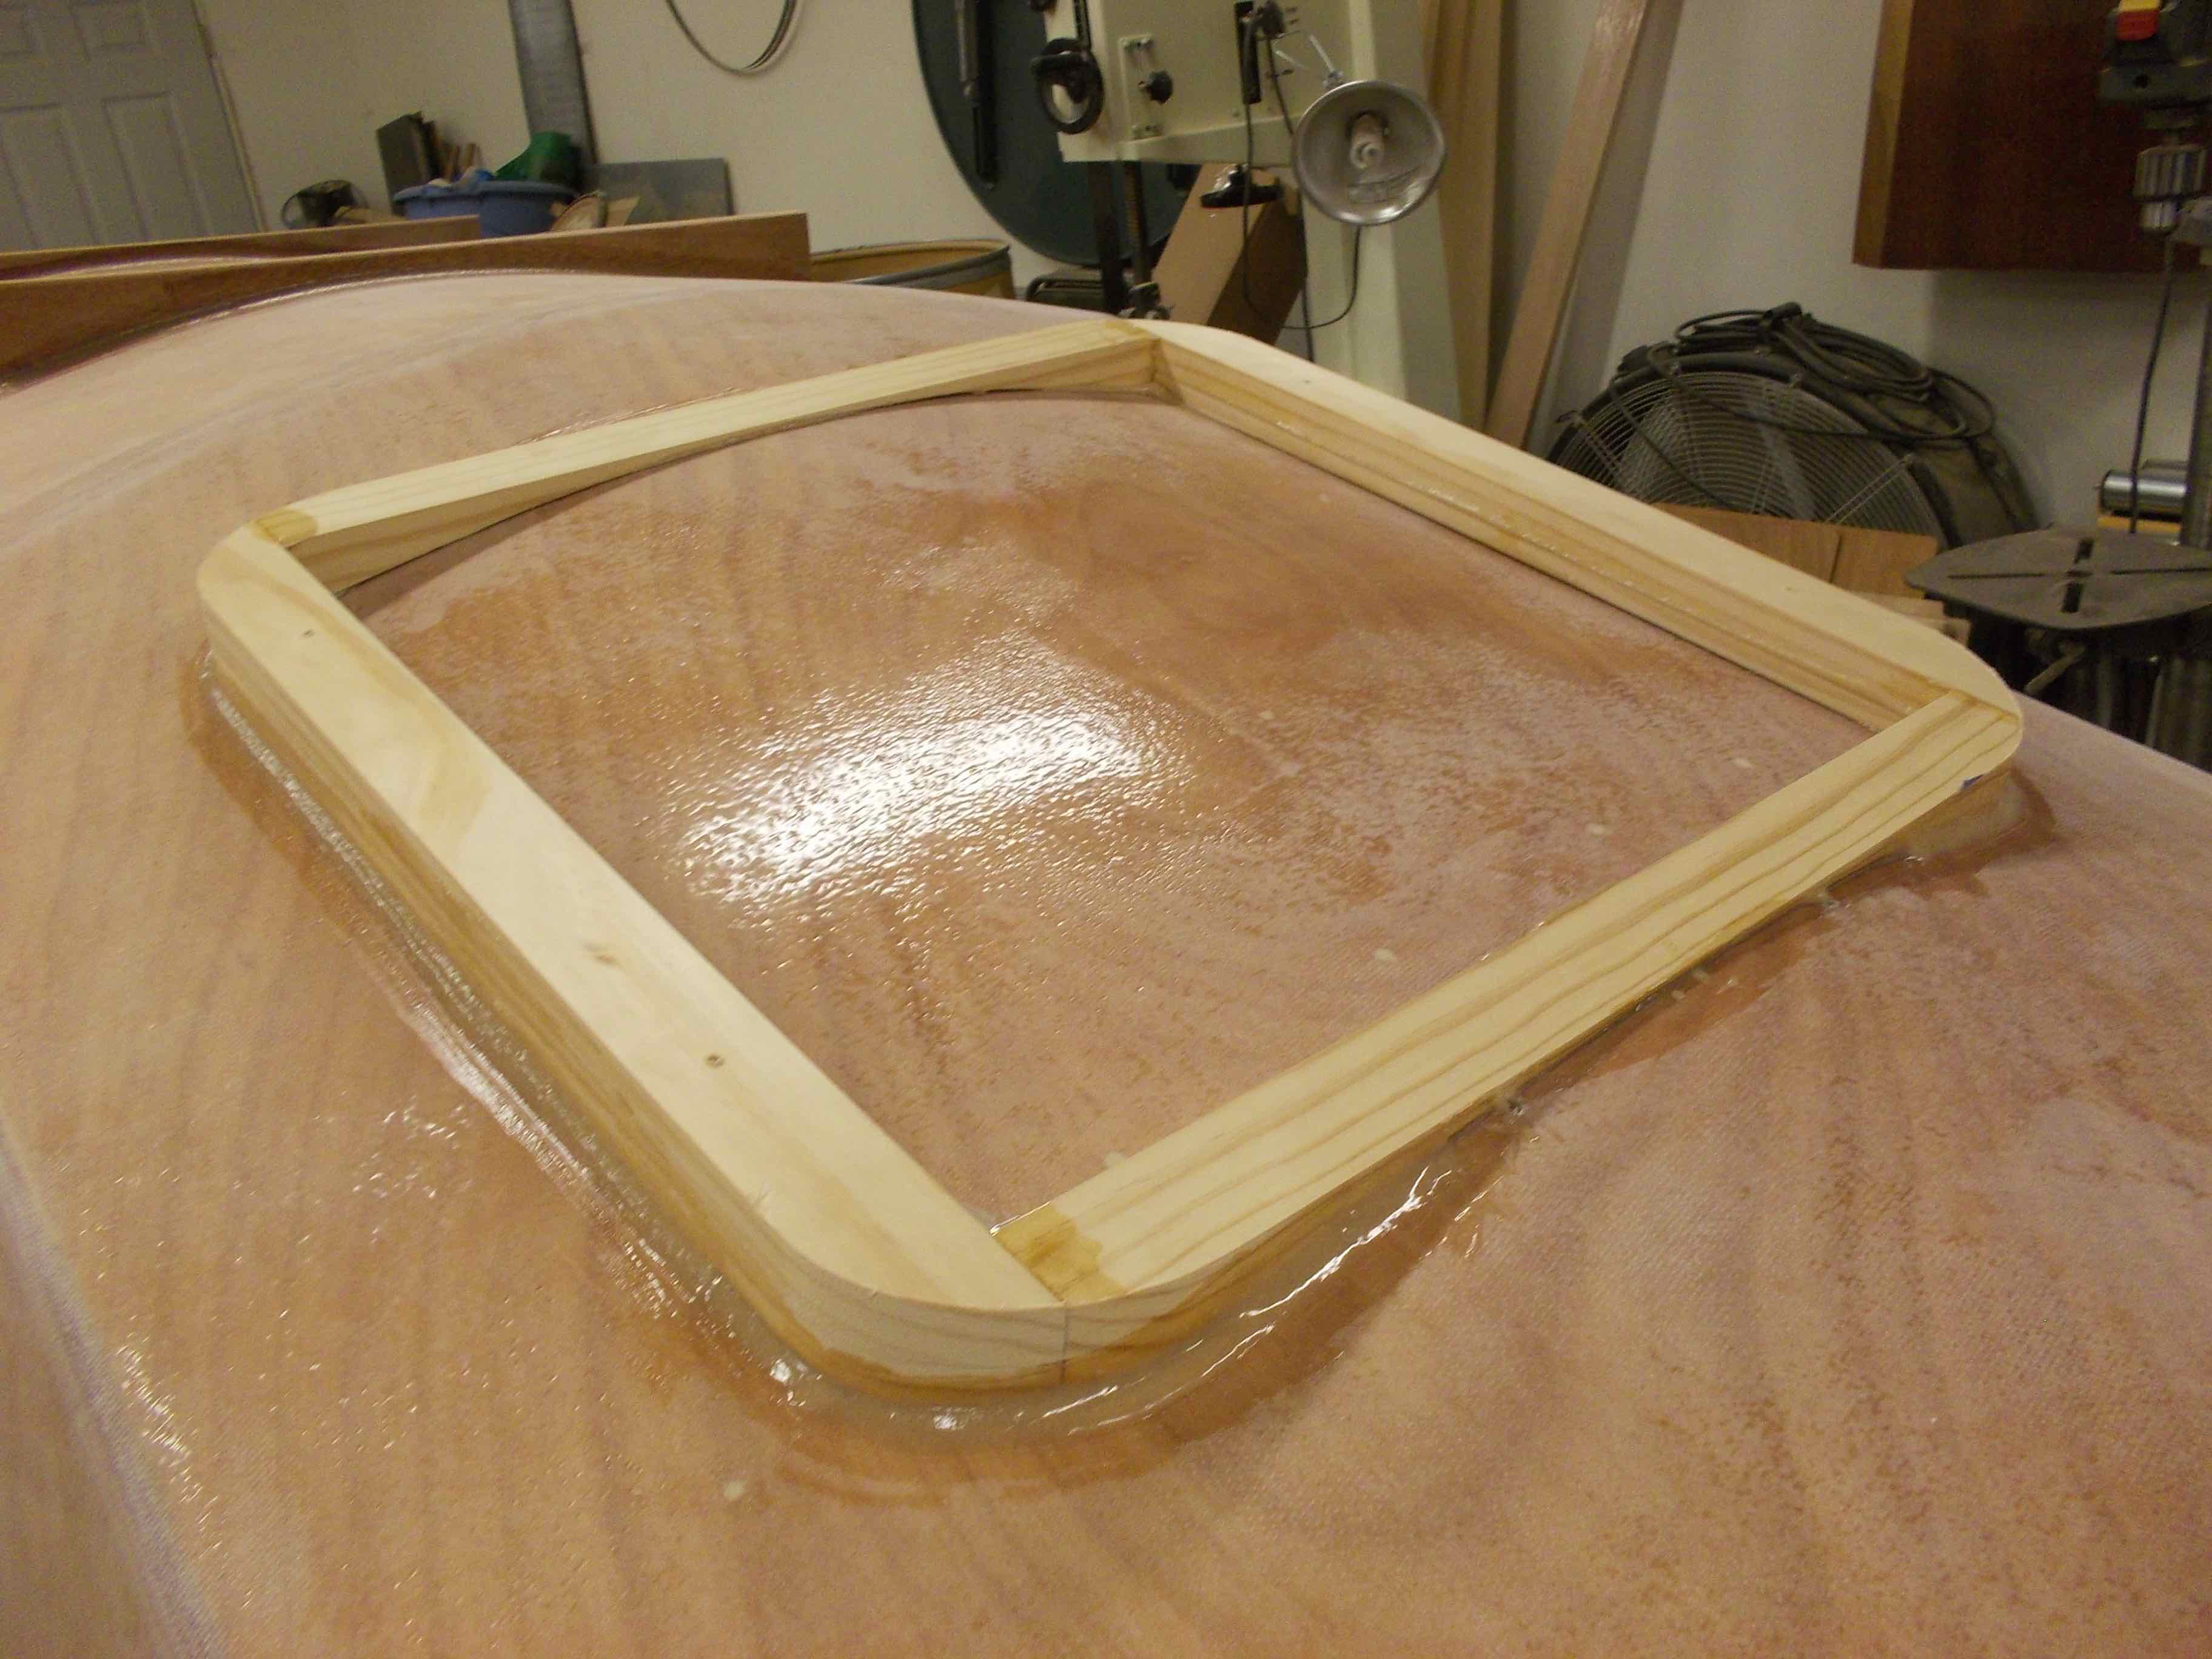 Time to cut the deck. If you have the right diameter hole saw this little trick works out great.


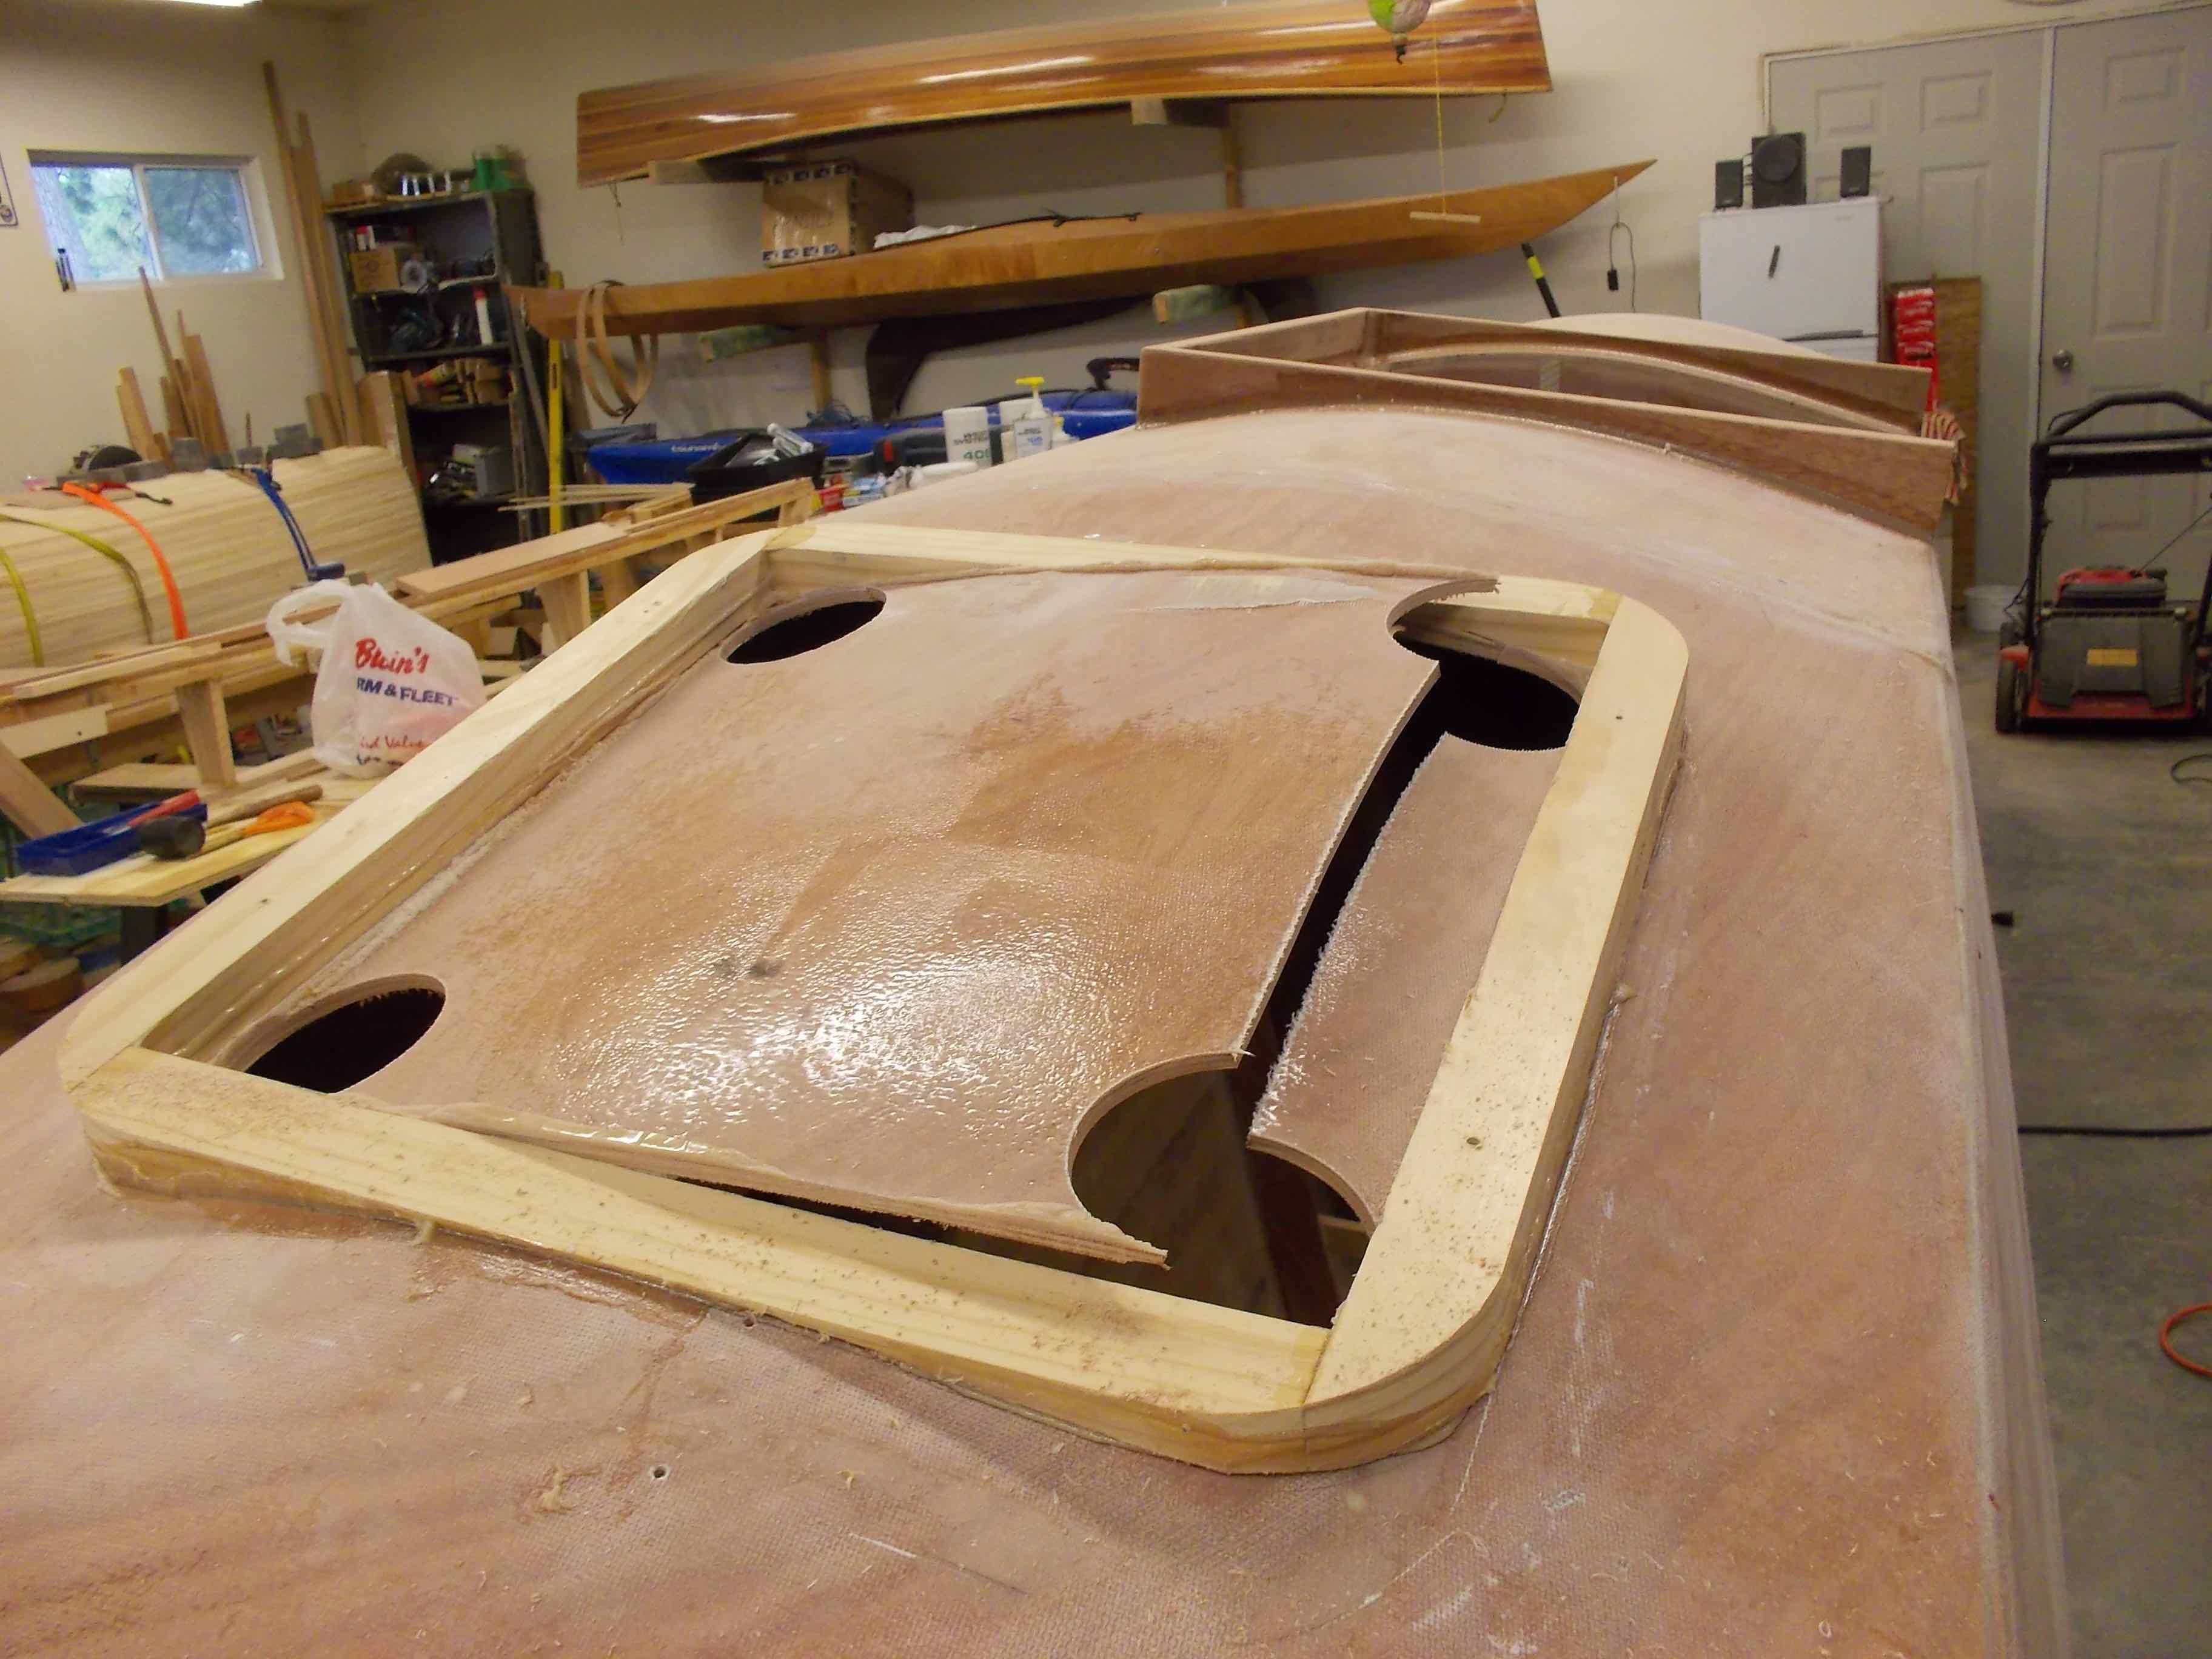
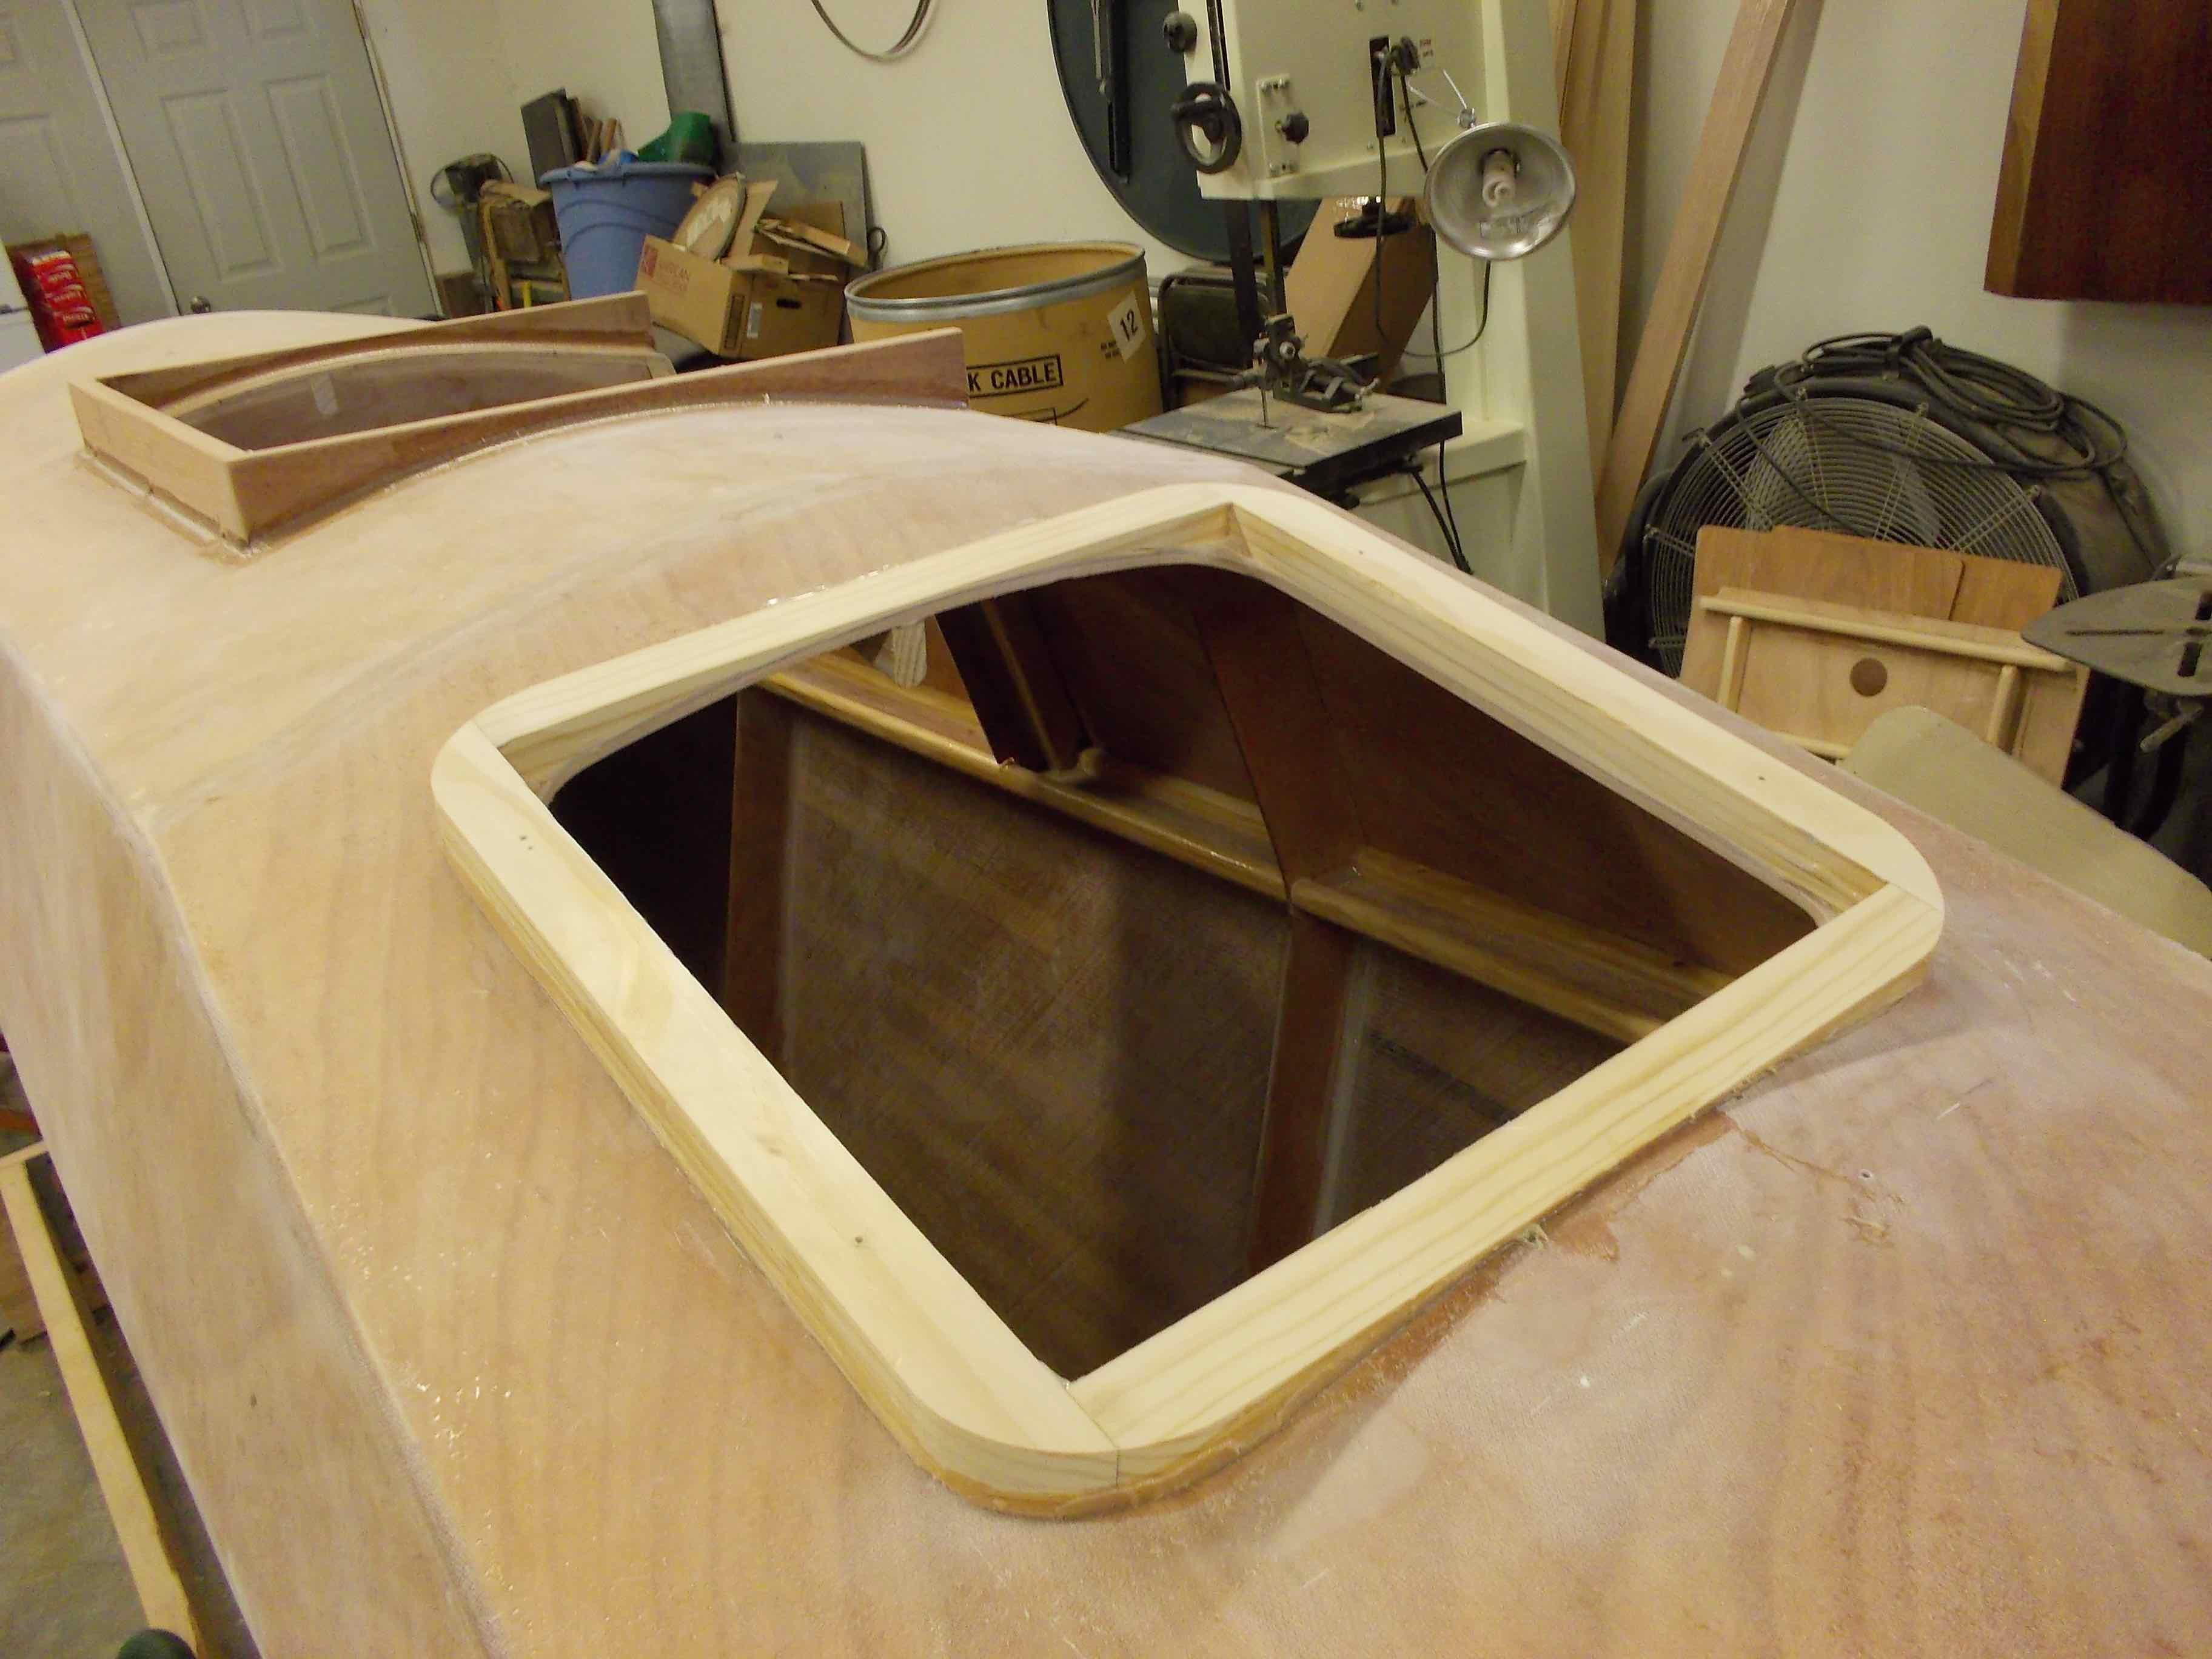
Now re-glue the edge pieces, fillet, sand and fair as needed.
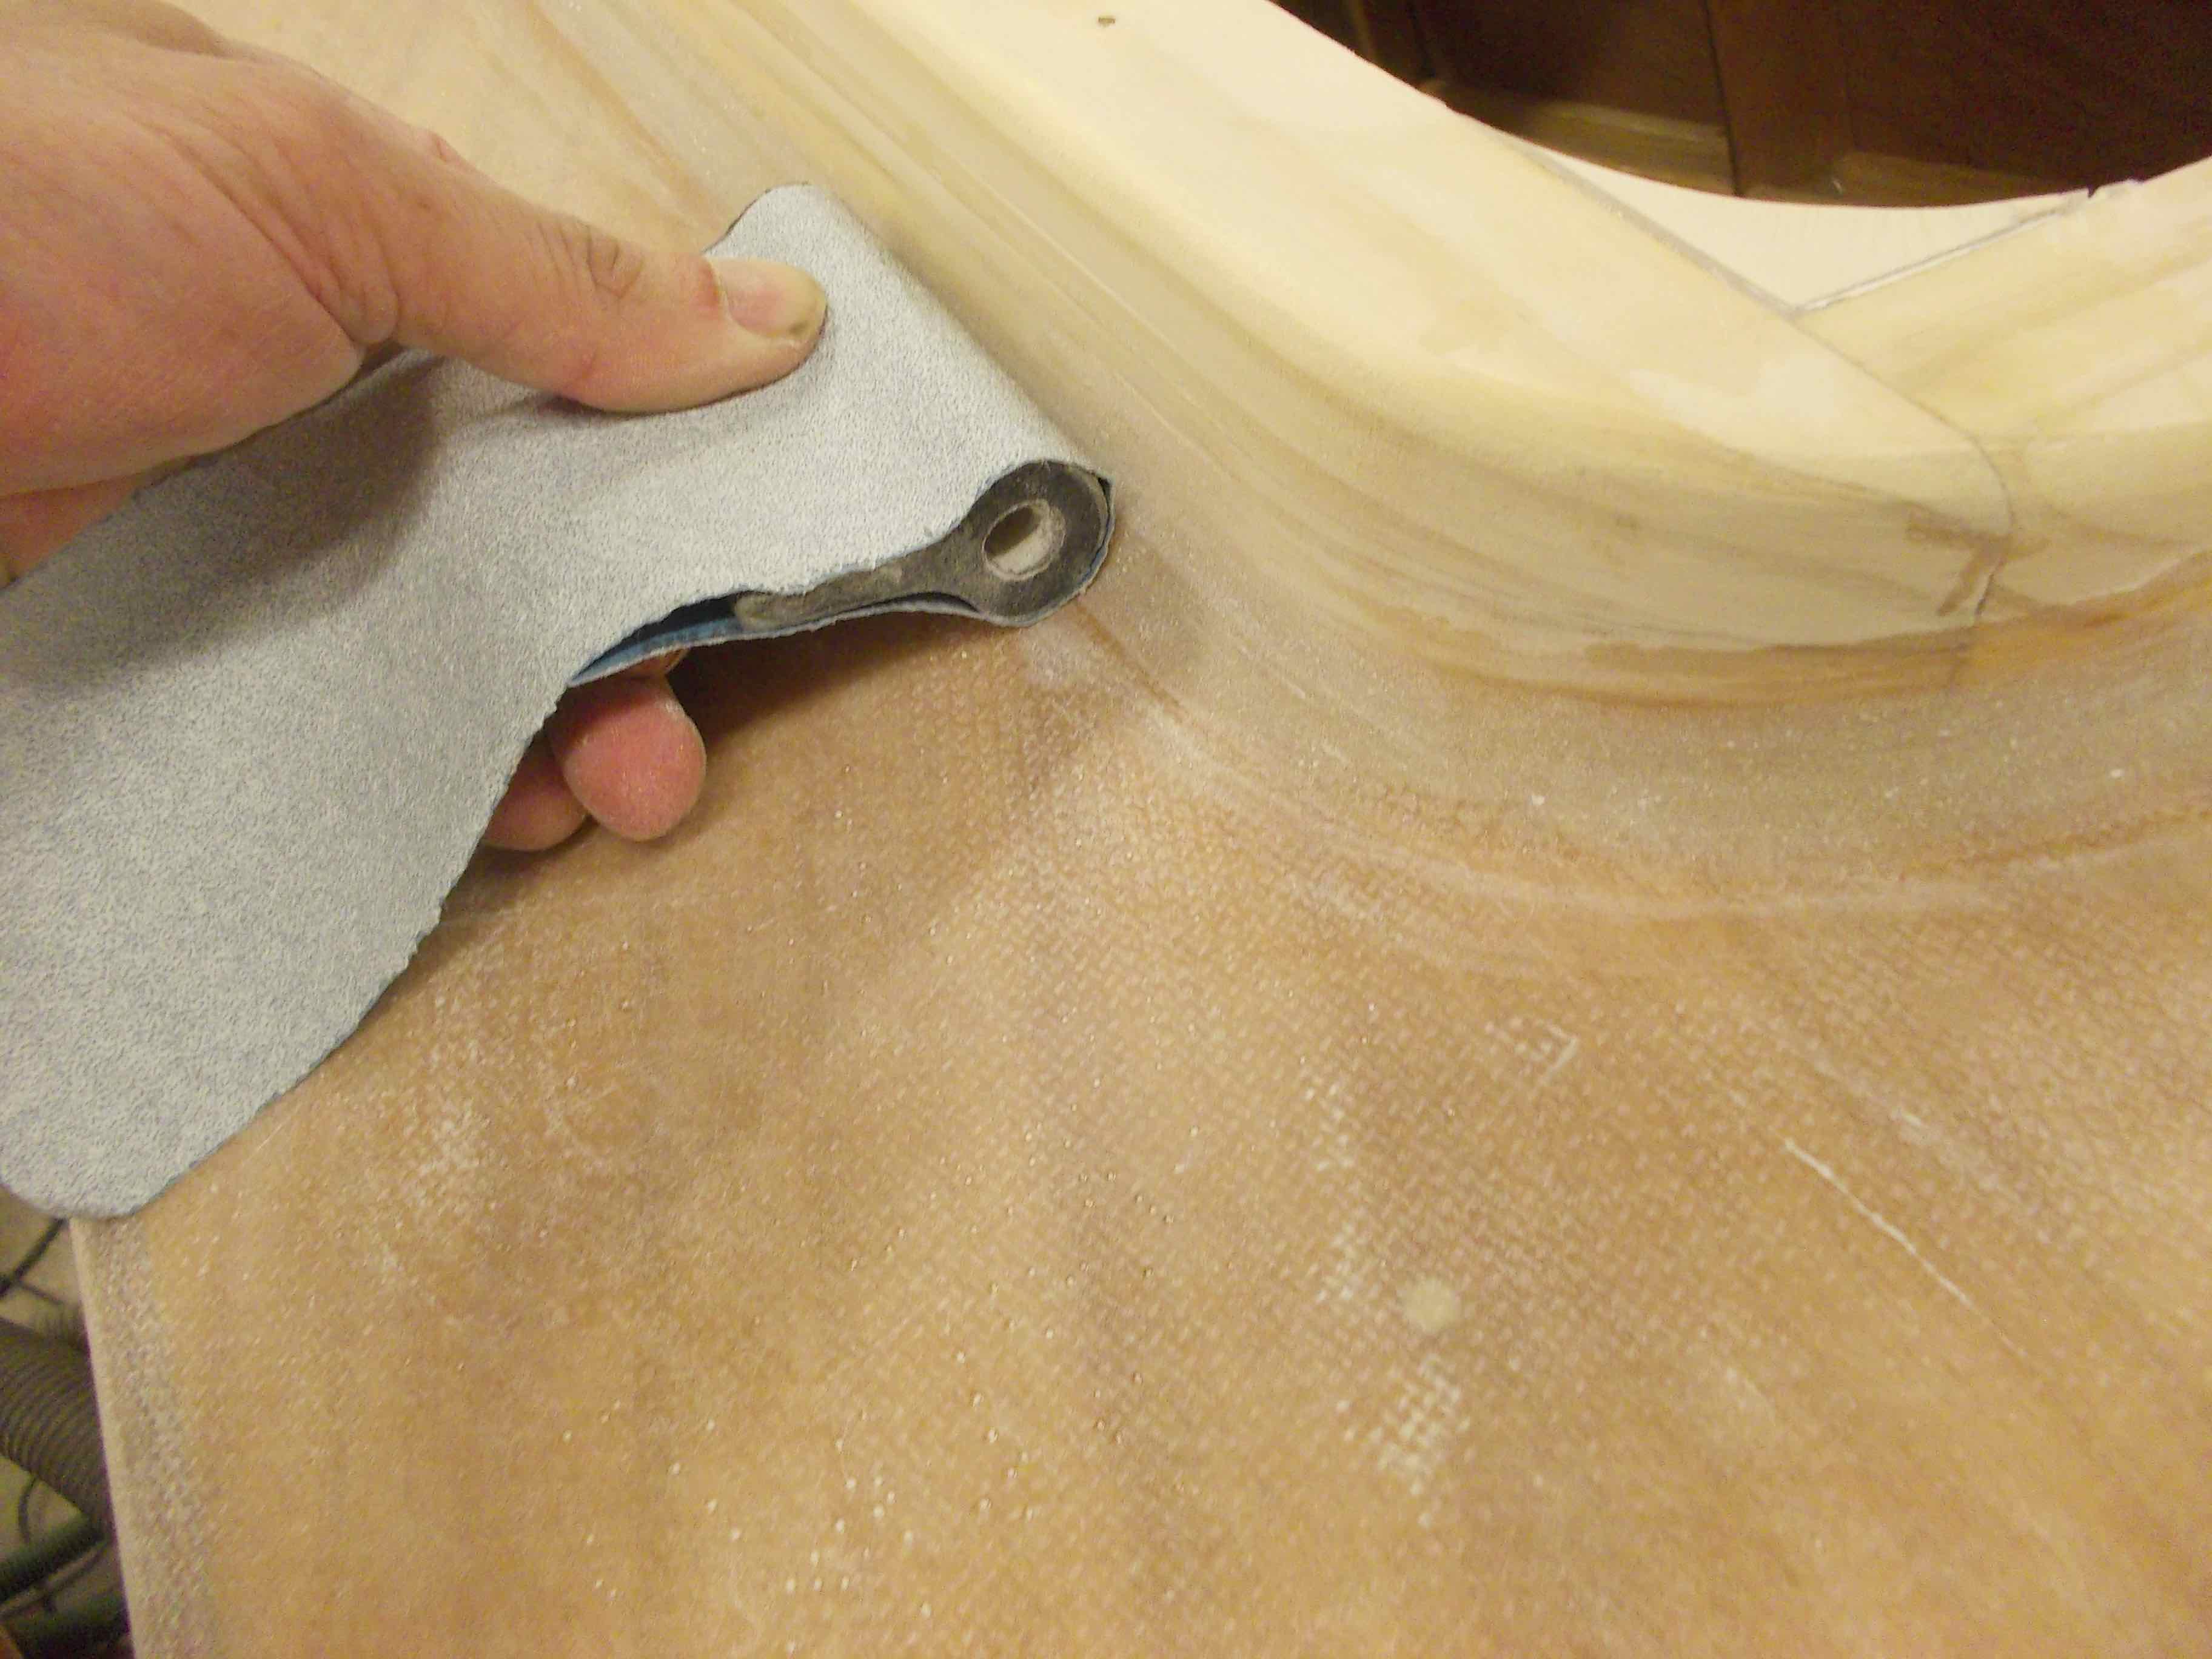
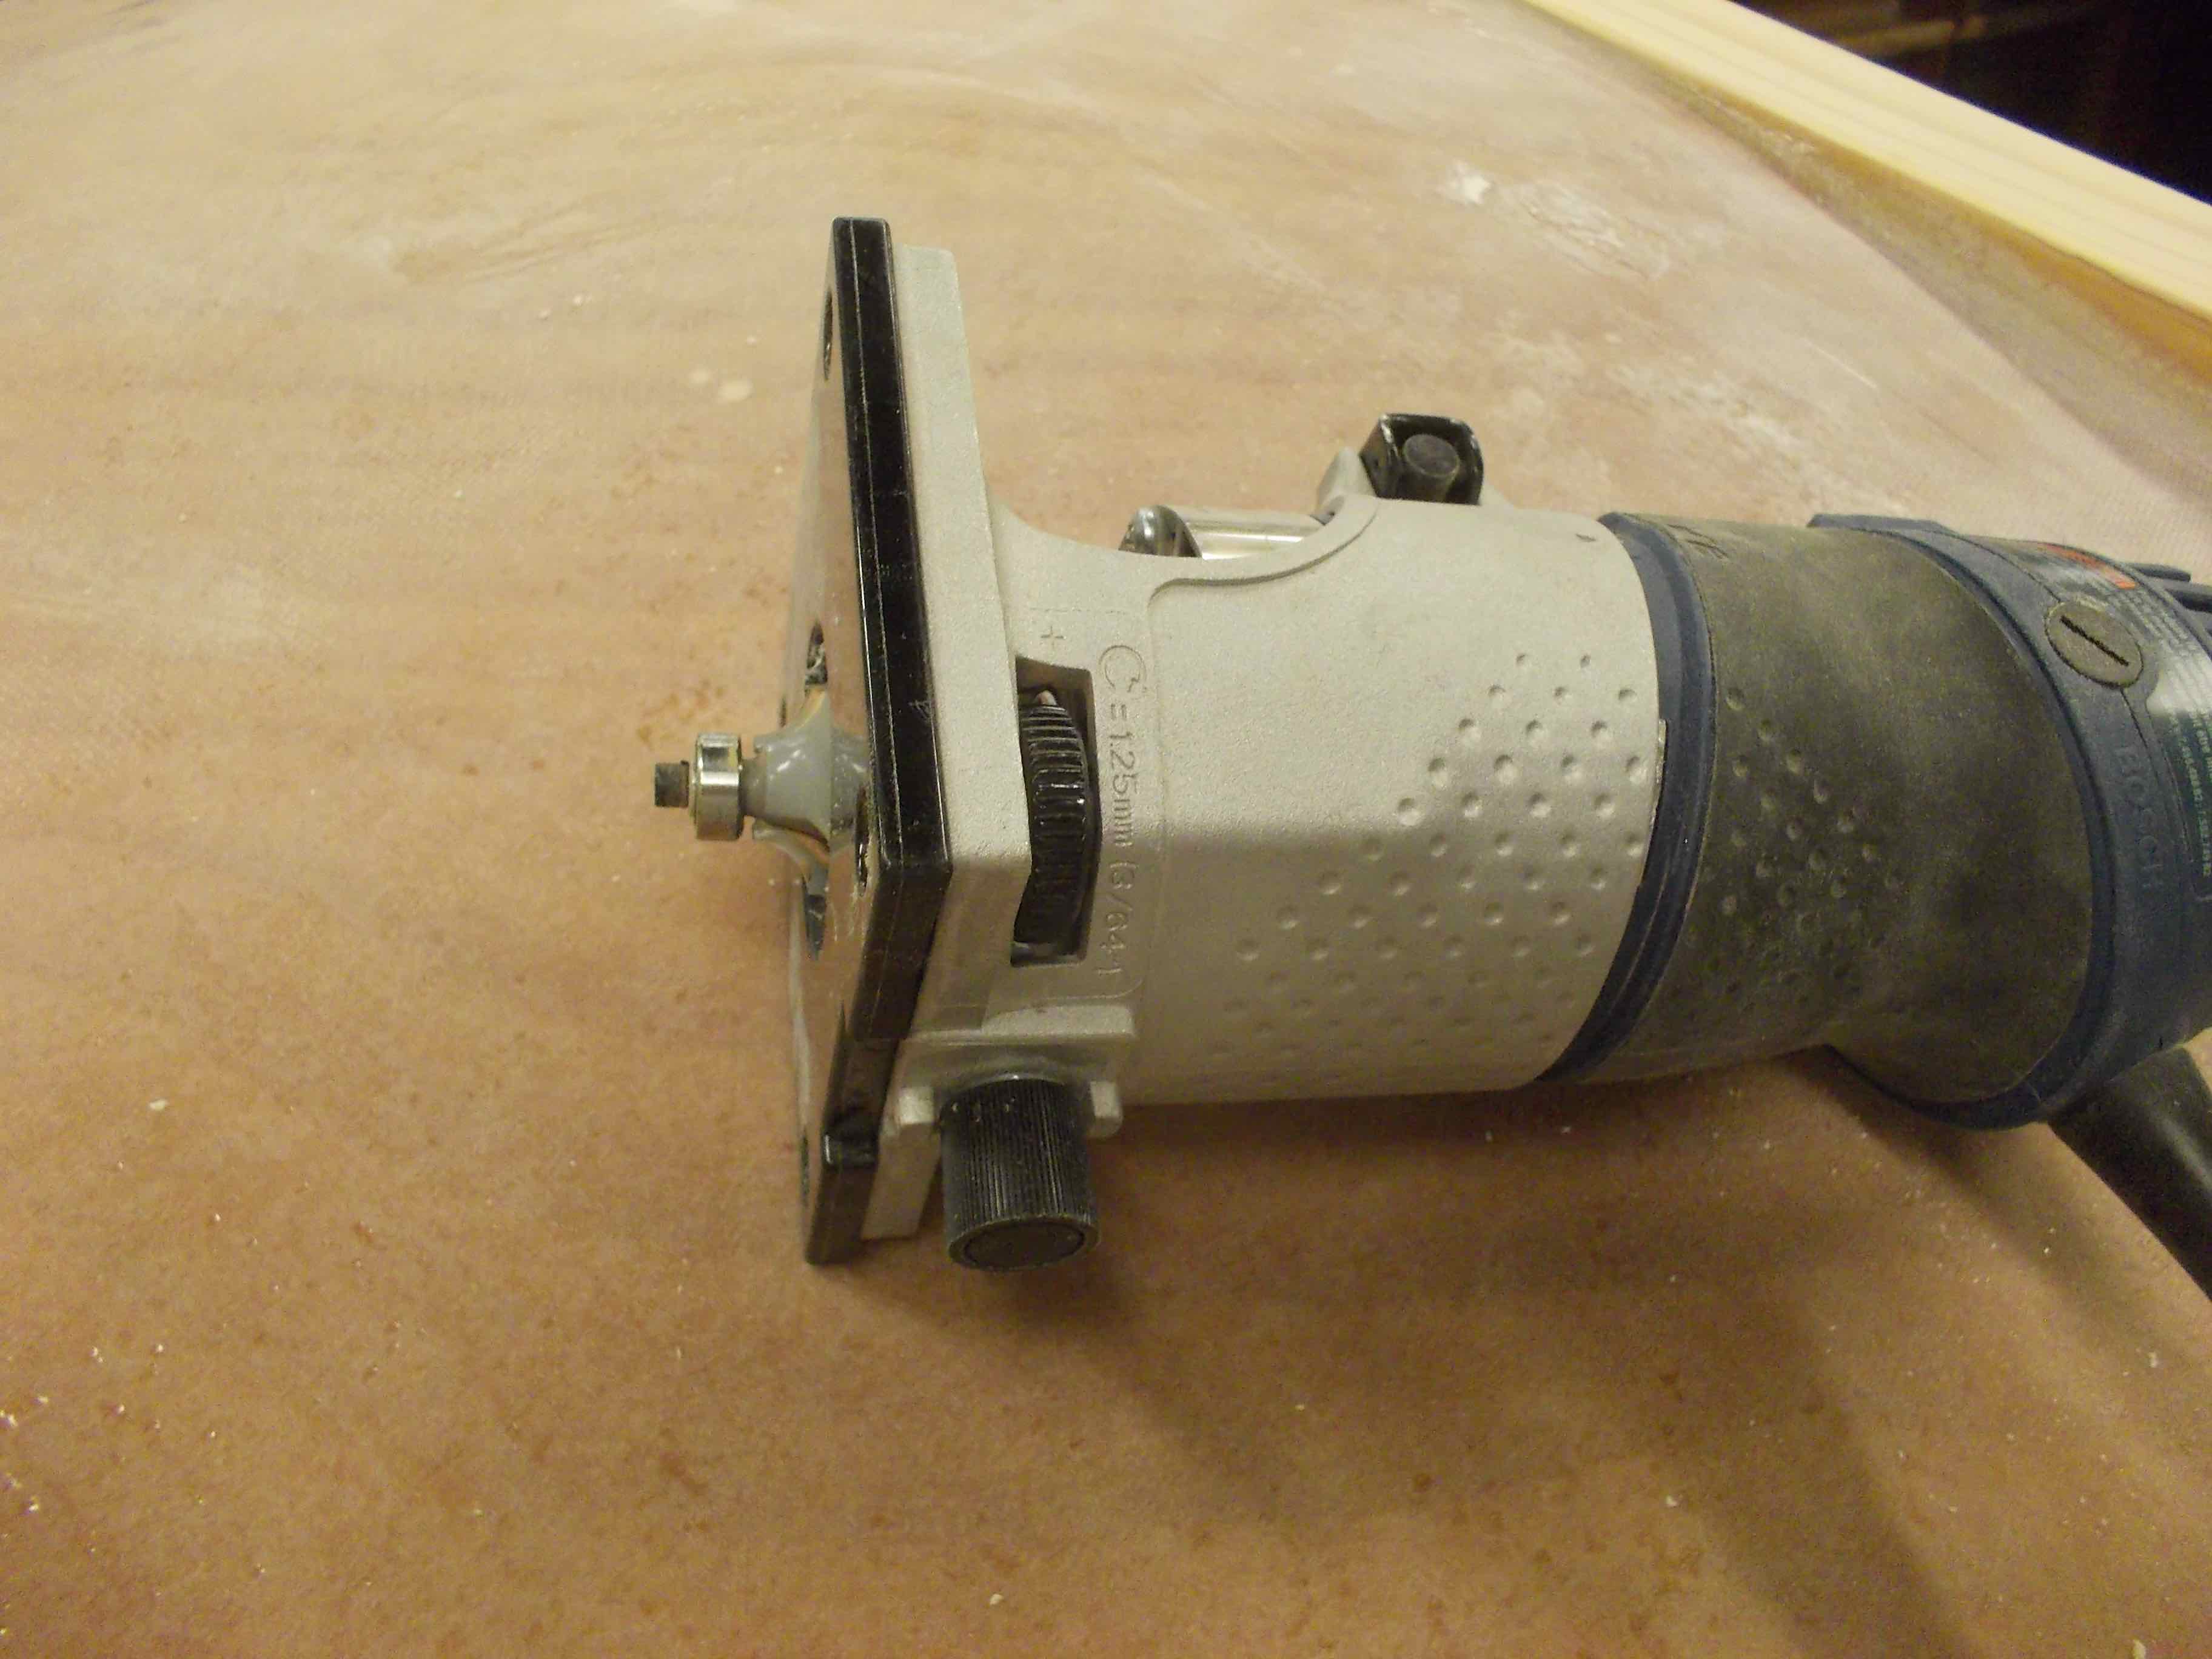
Missing from the pictures above is a drill with a drum sander. That makes fitting the radius a simple task.
“Give me a can of filler and lots of sandpaper to make me the carpenter that I ain’t!”