All things before decking…

So before you actually add the deck, you really need and want to take care of some details.

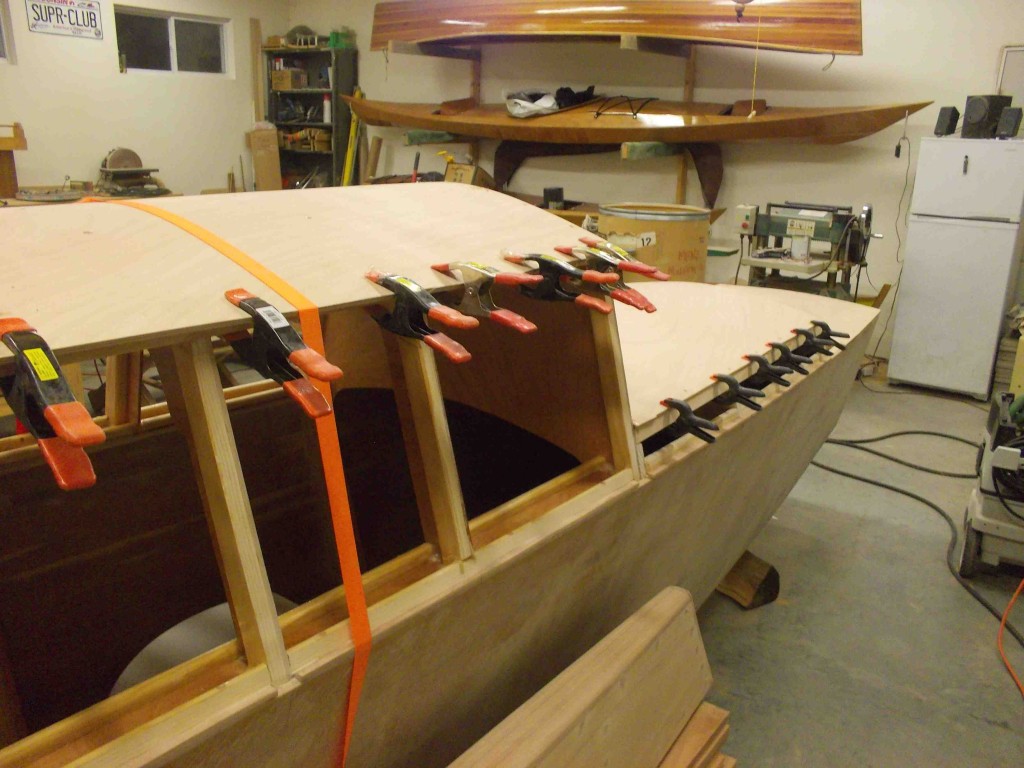
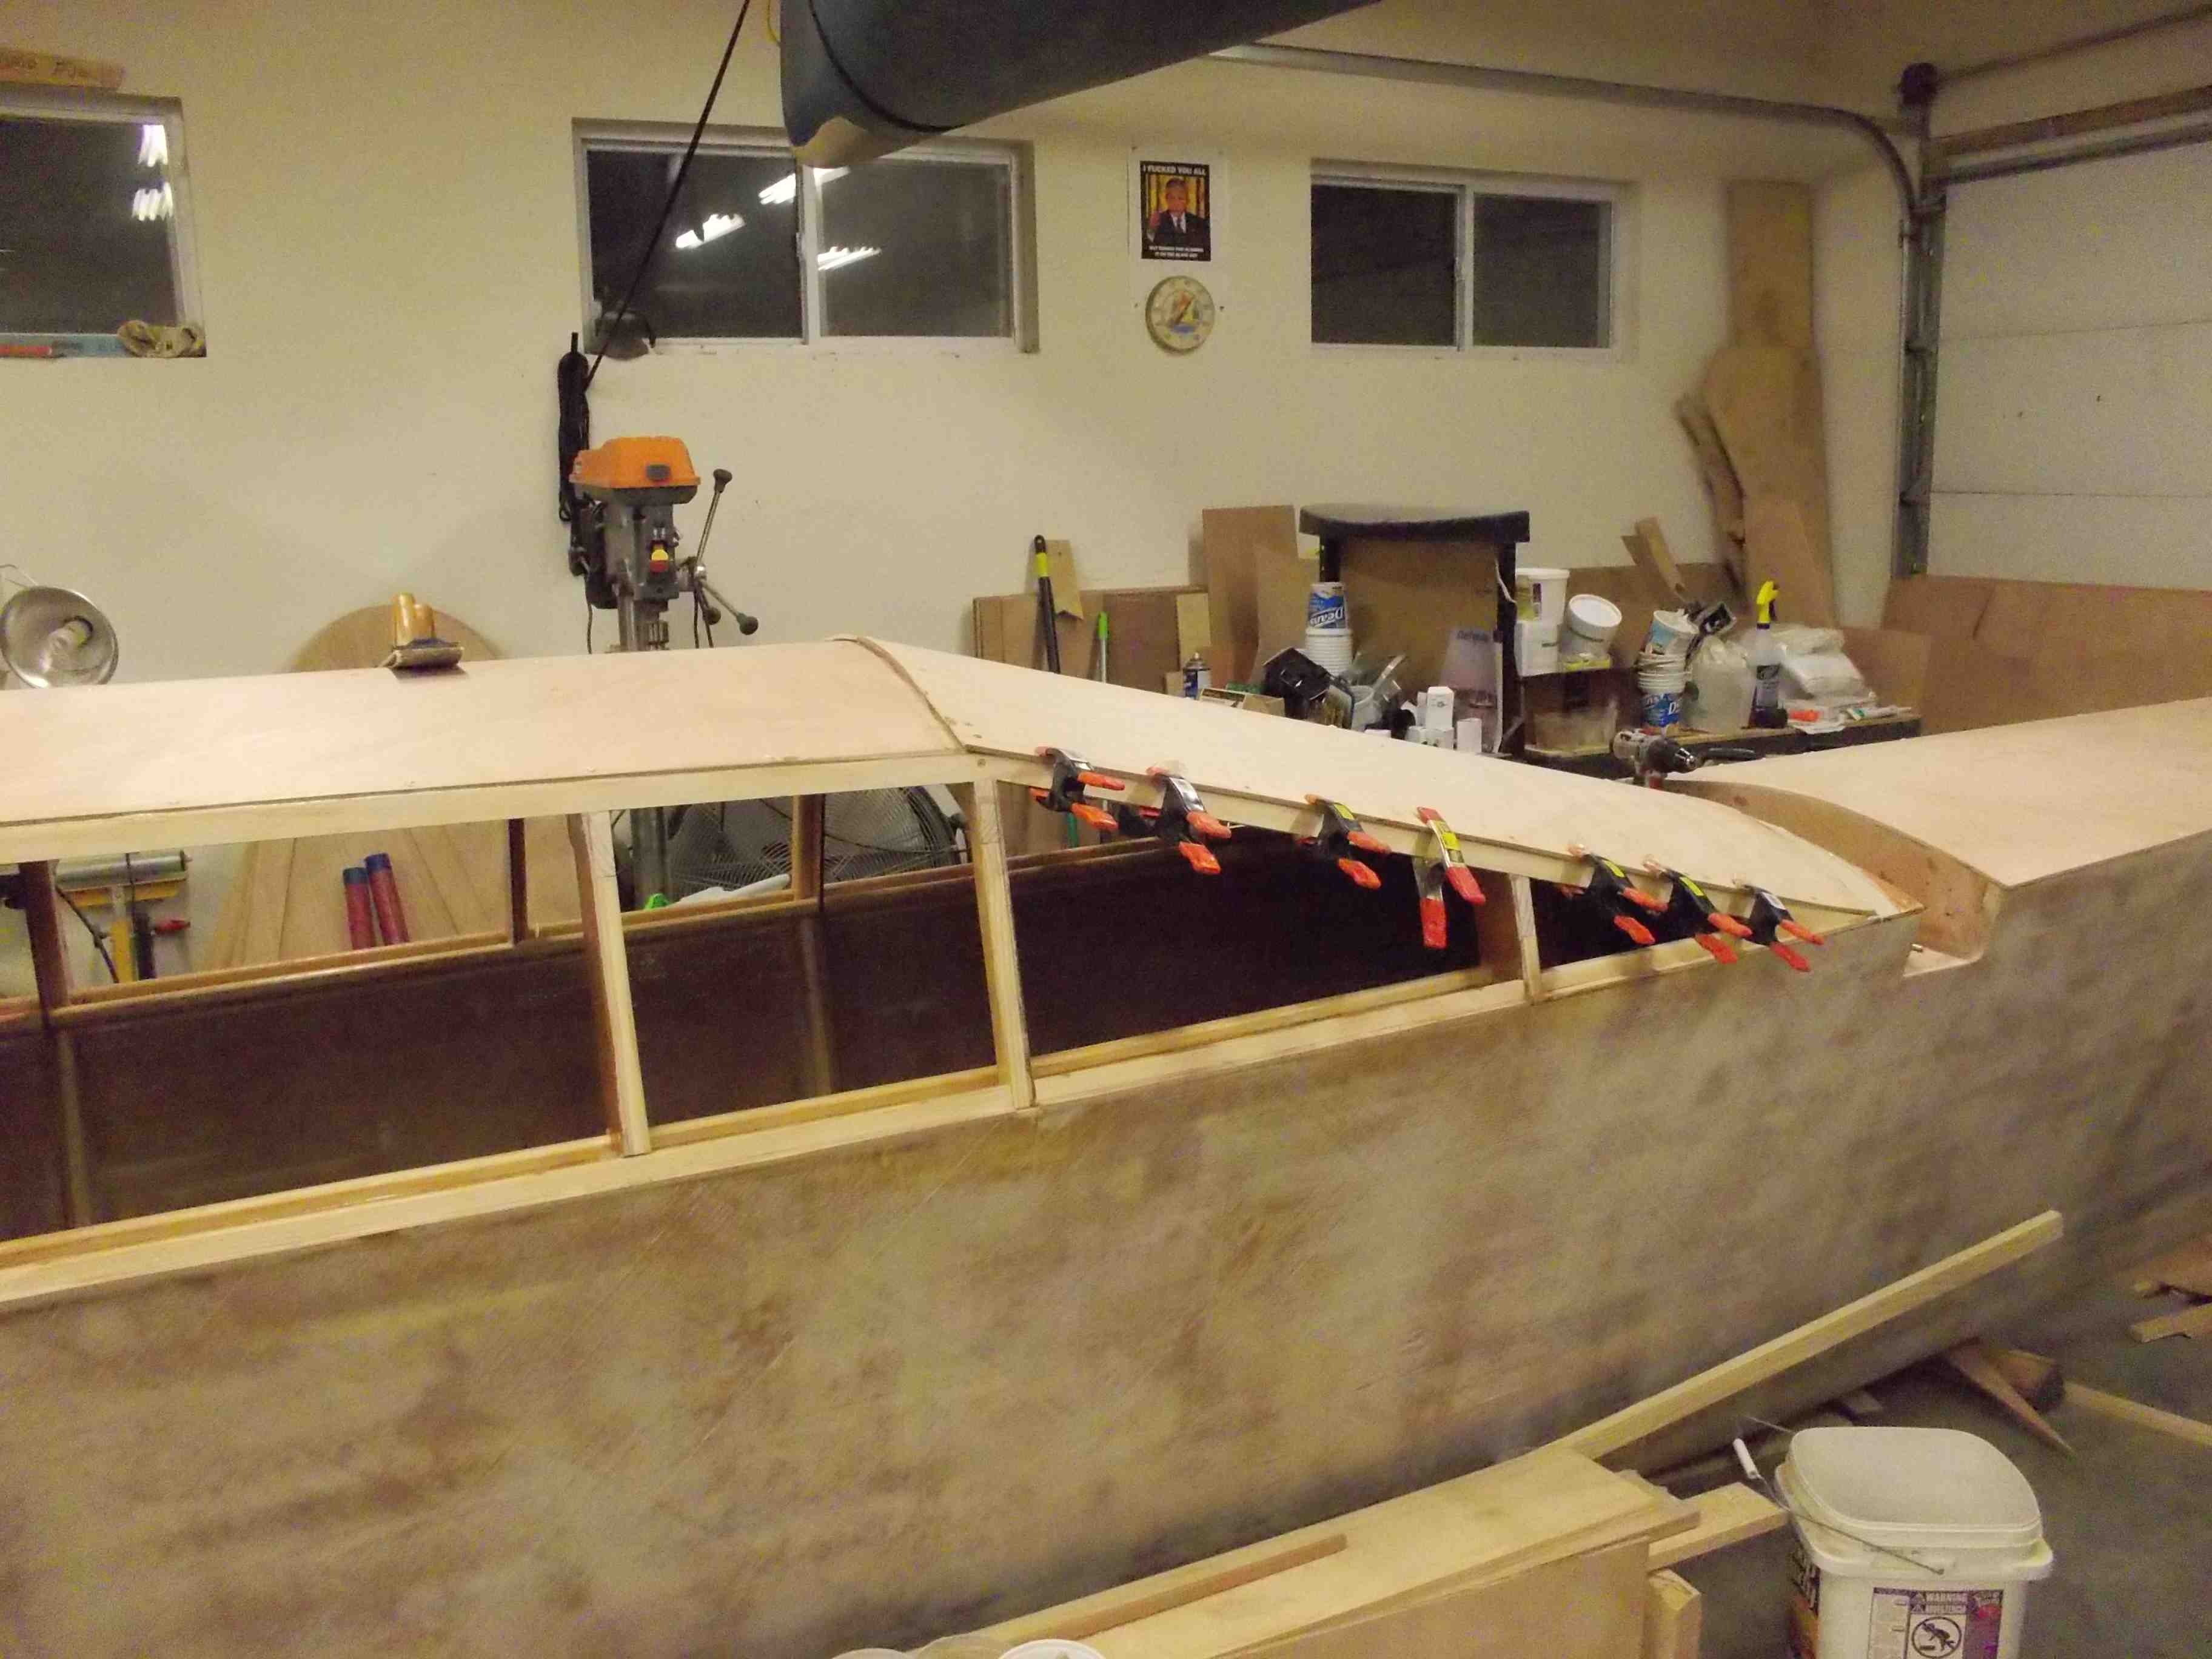
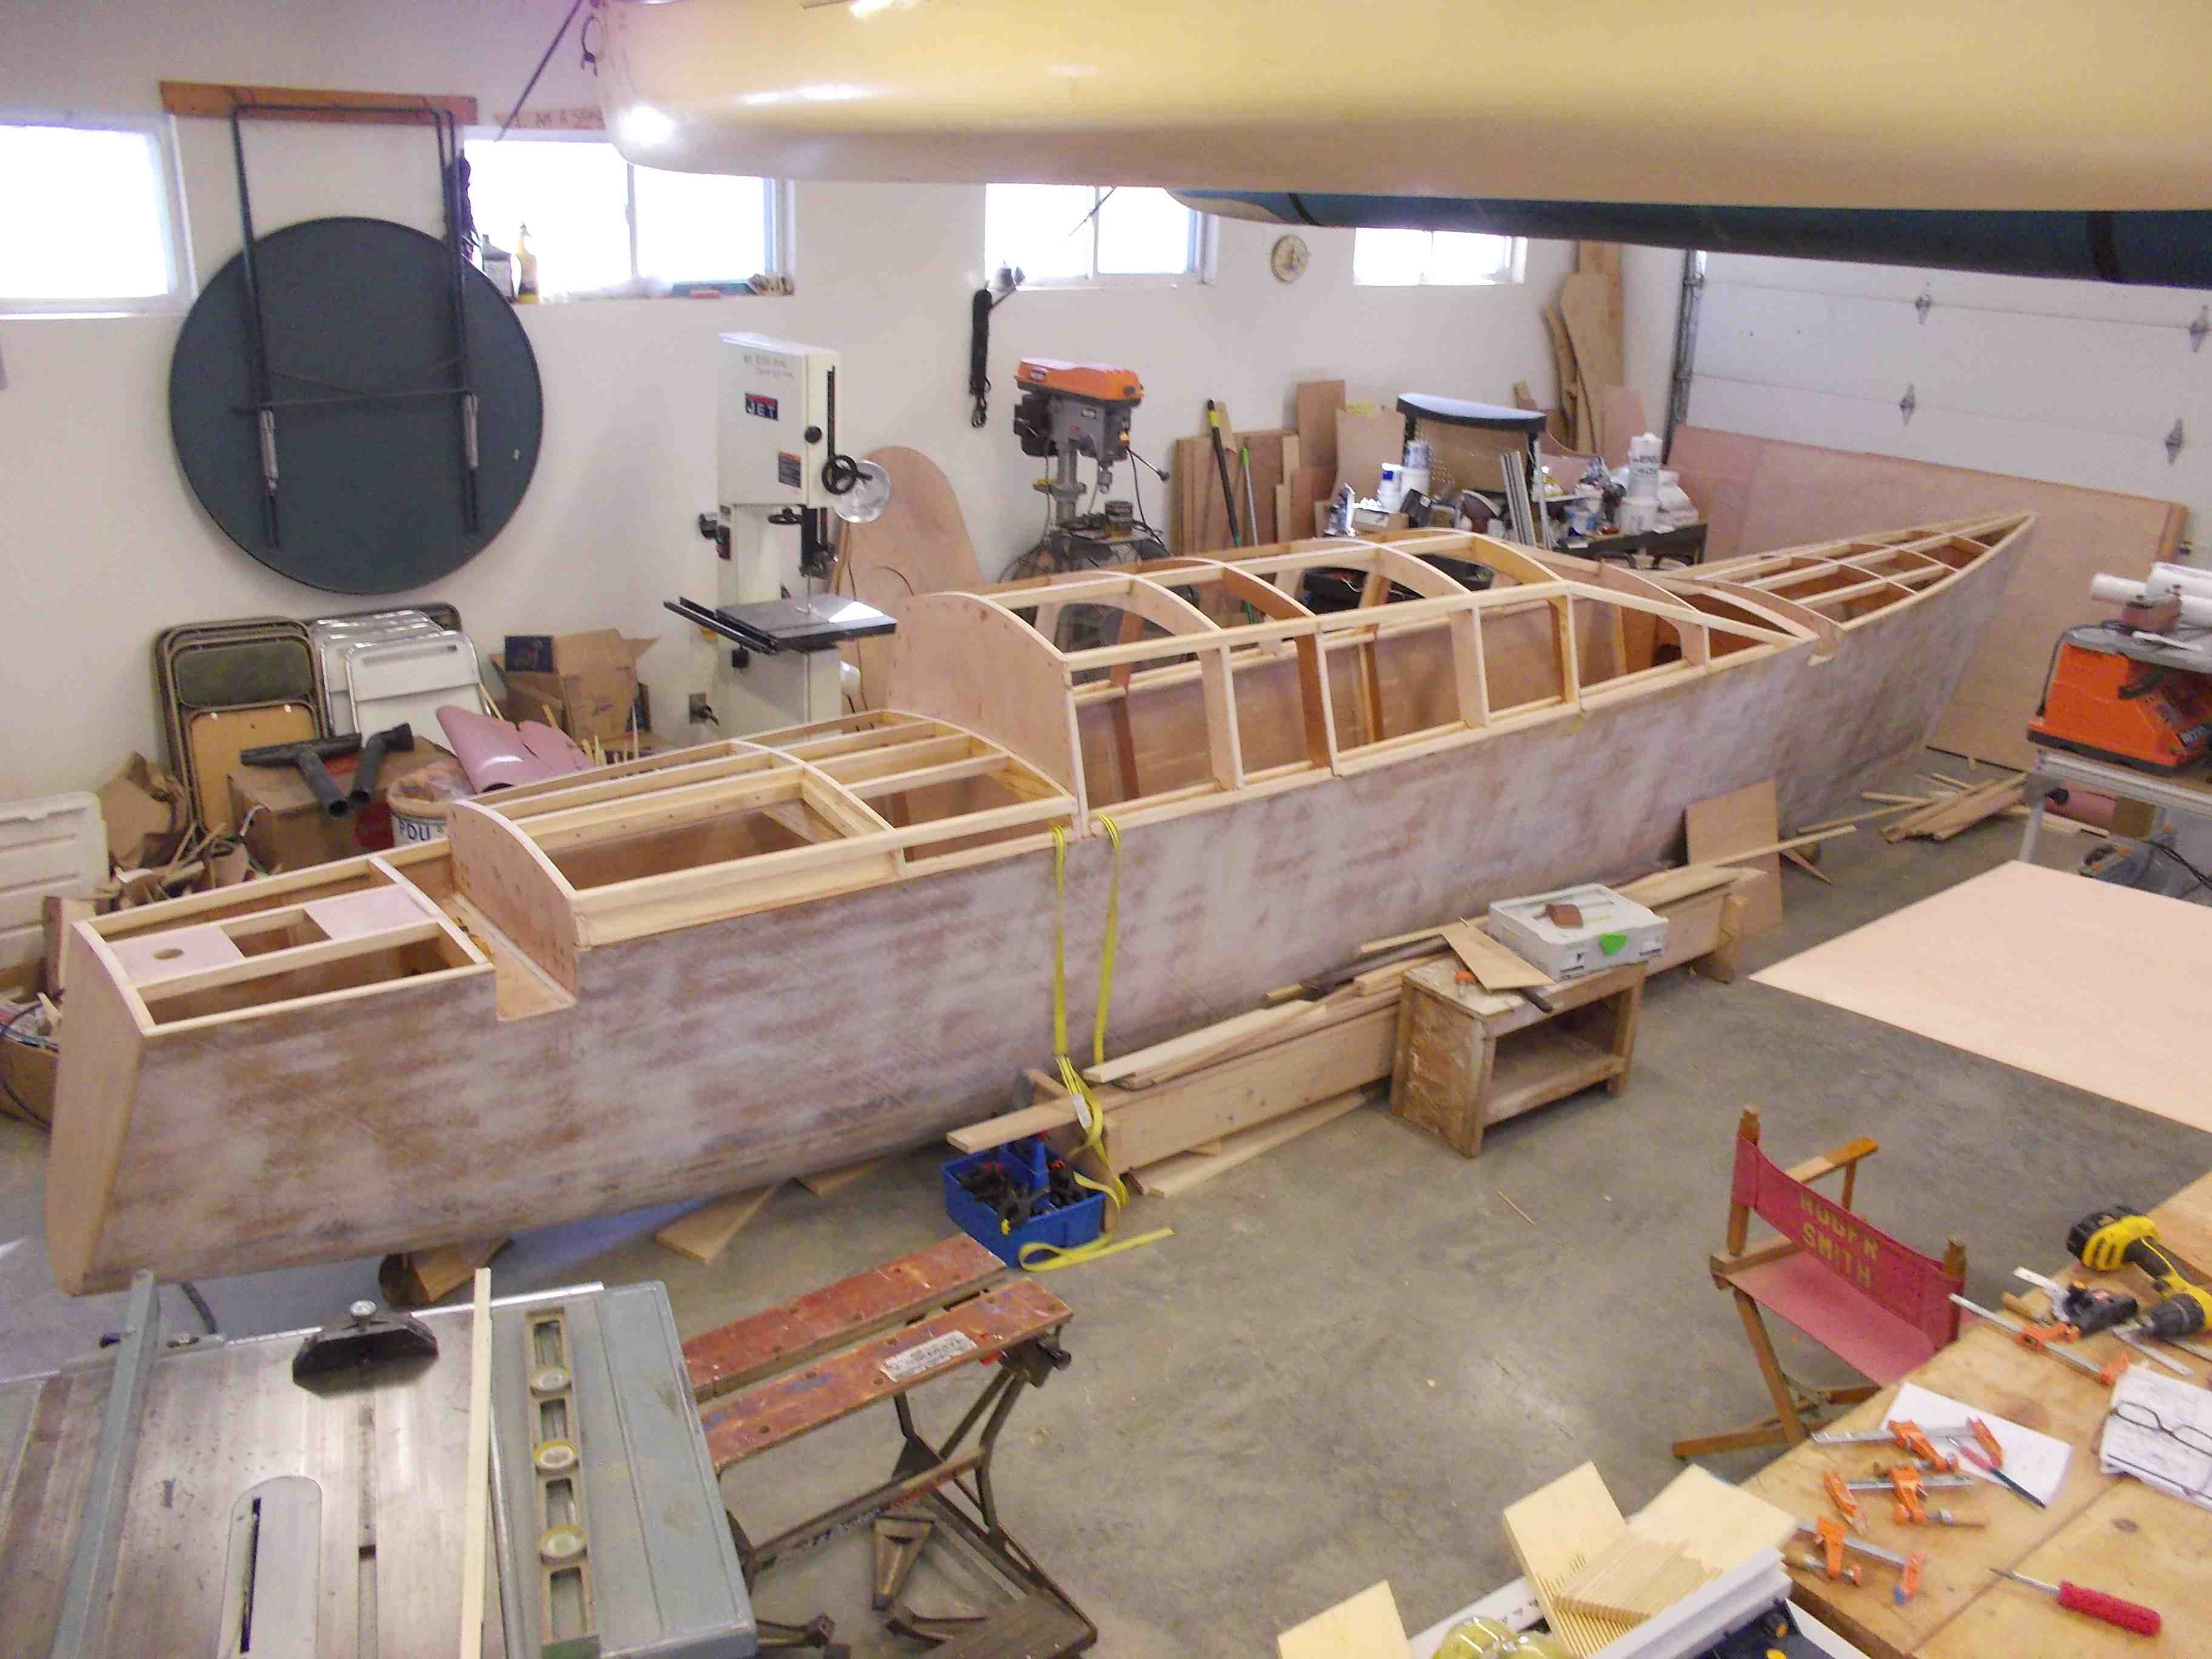
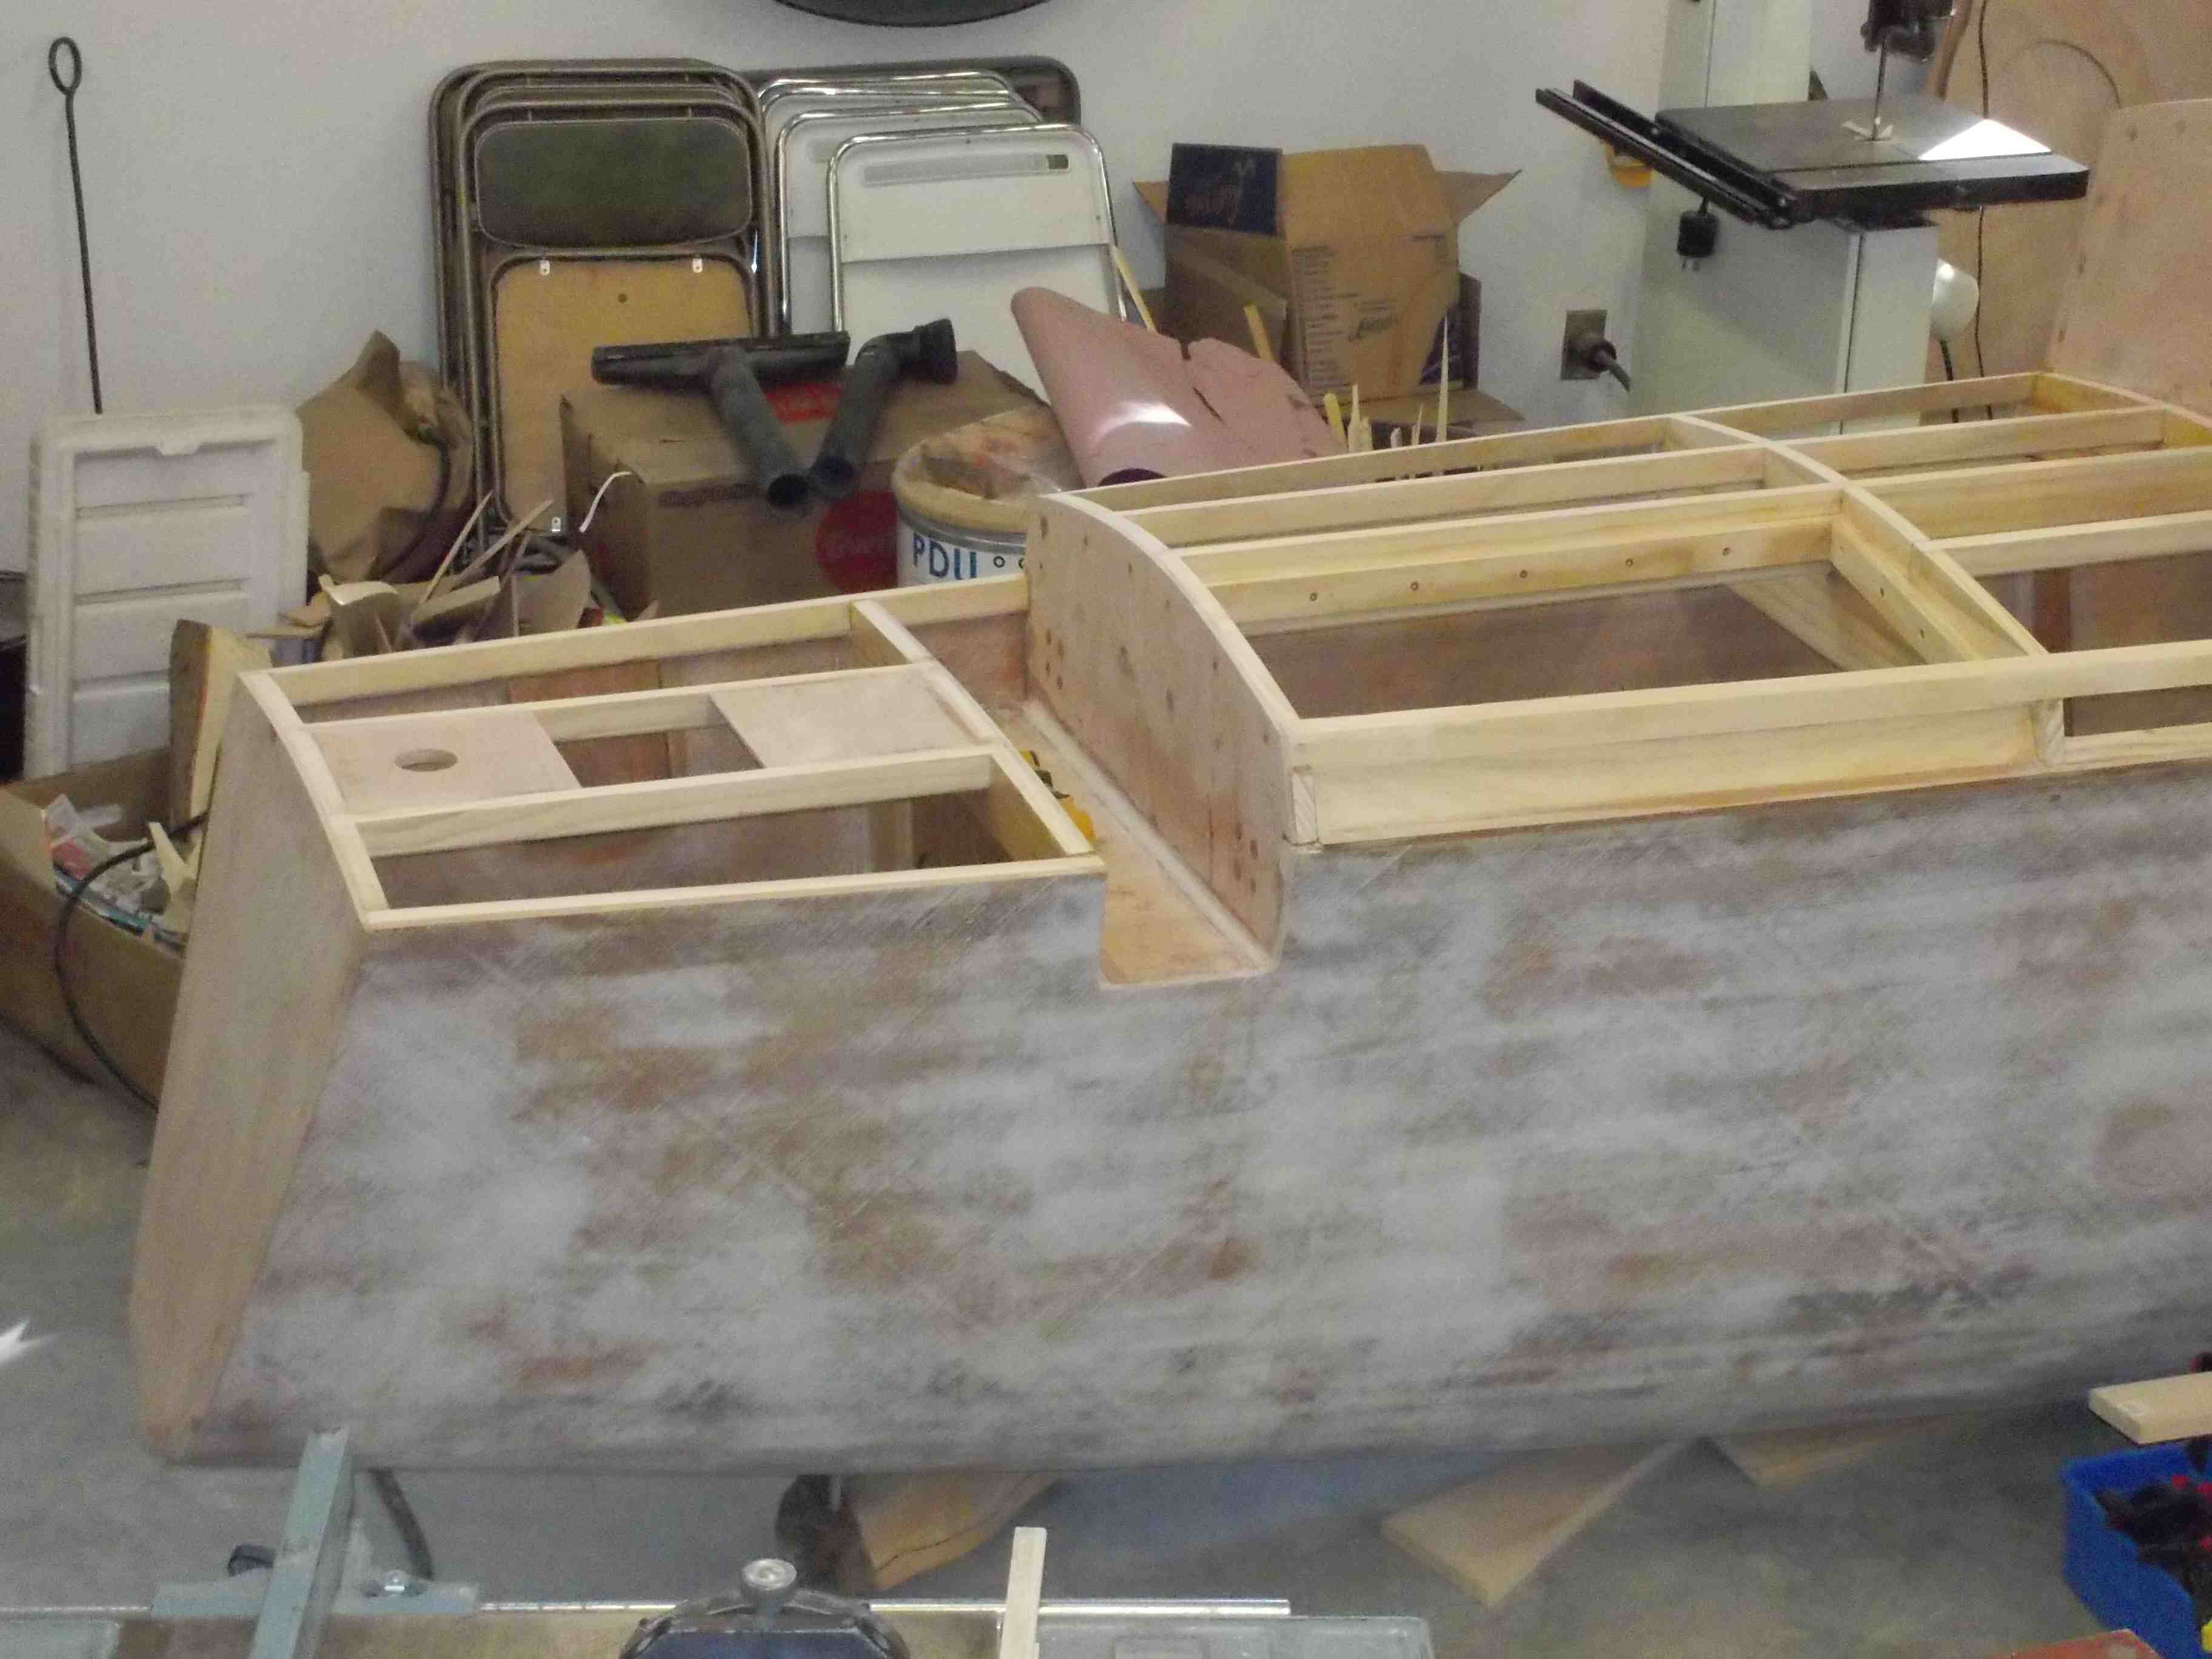
Here is the picture of the hull right before decking

just before decking


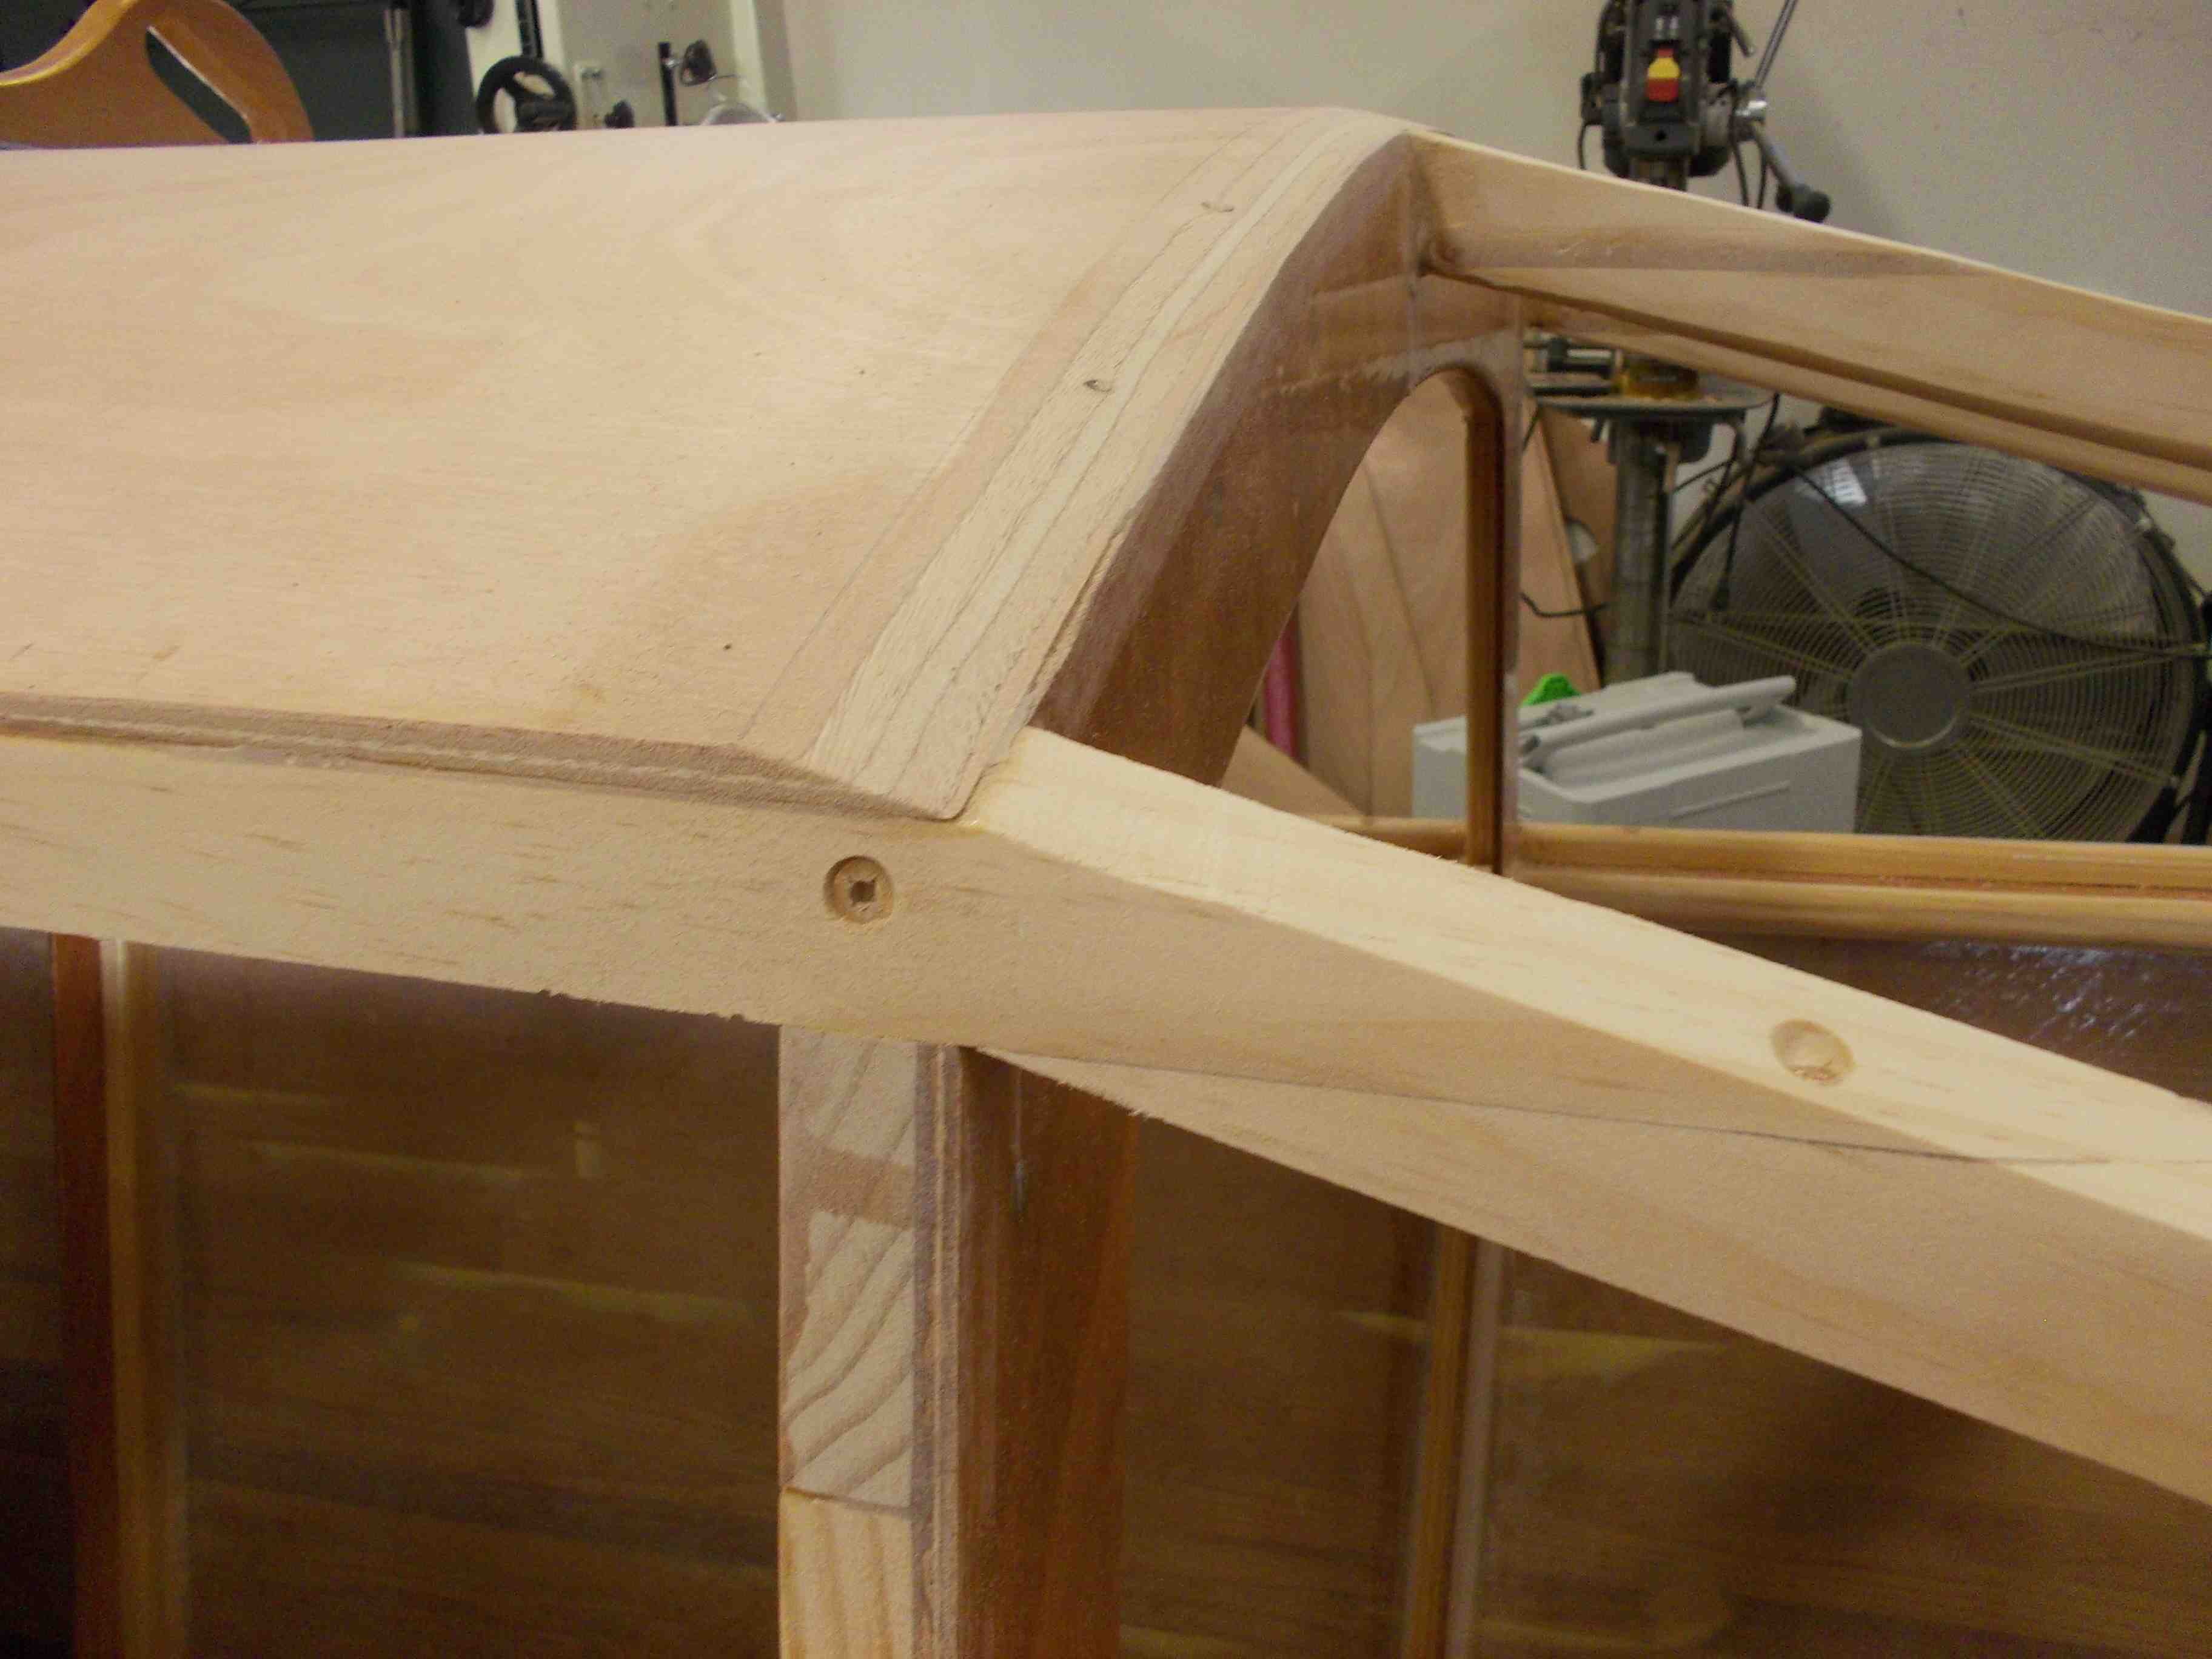
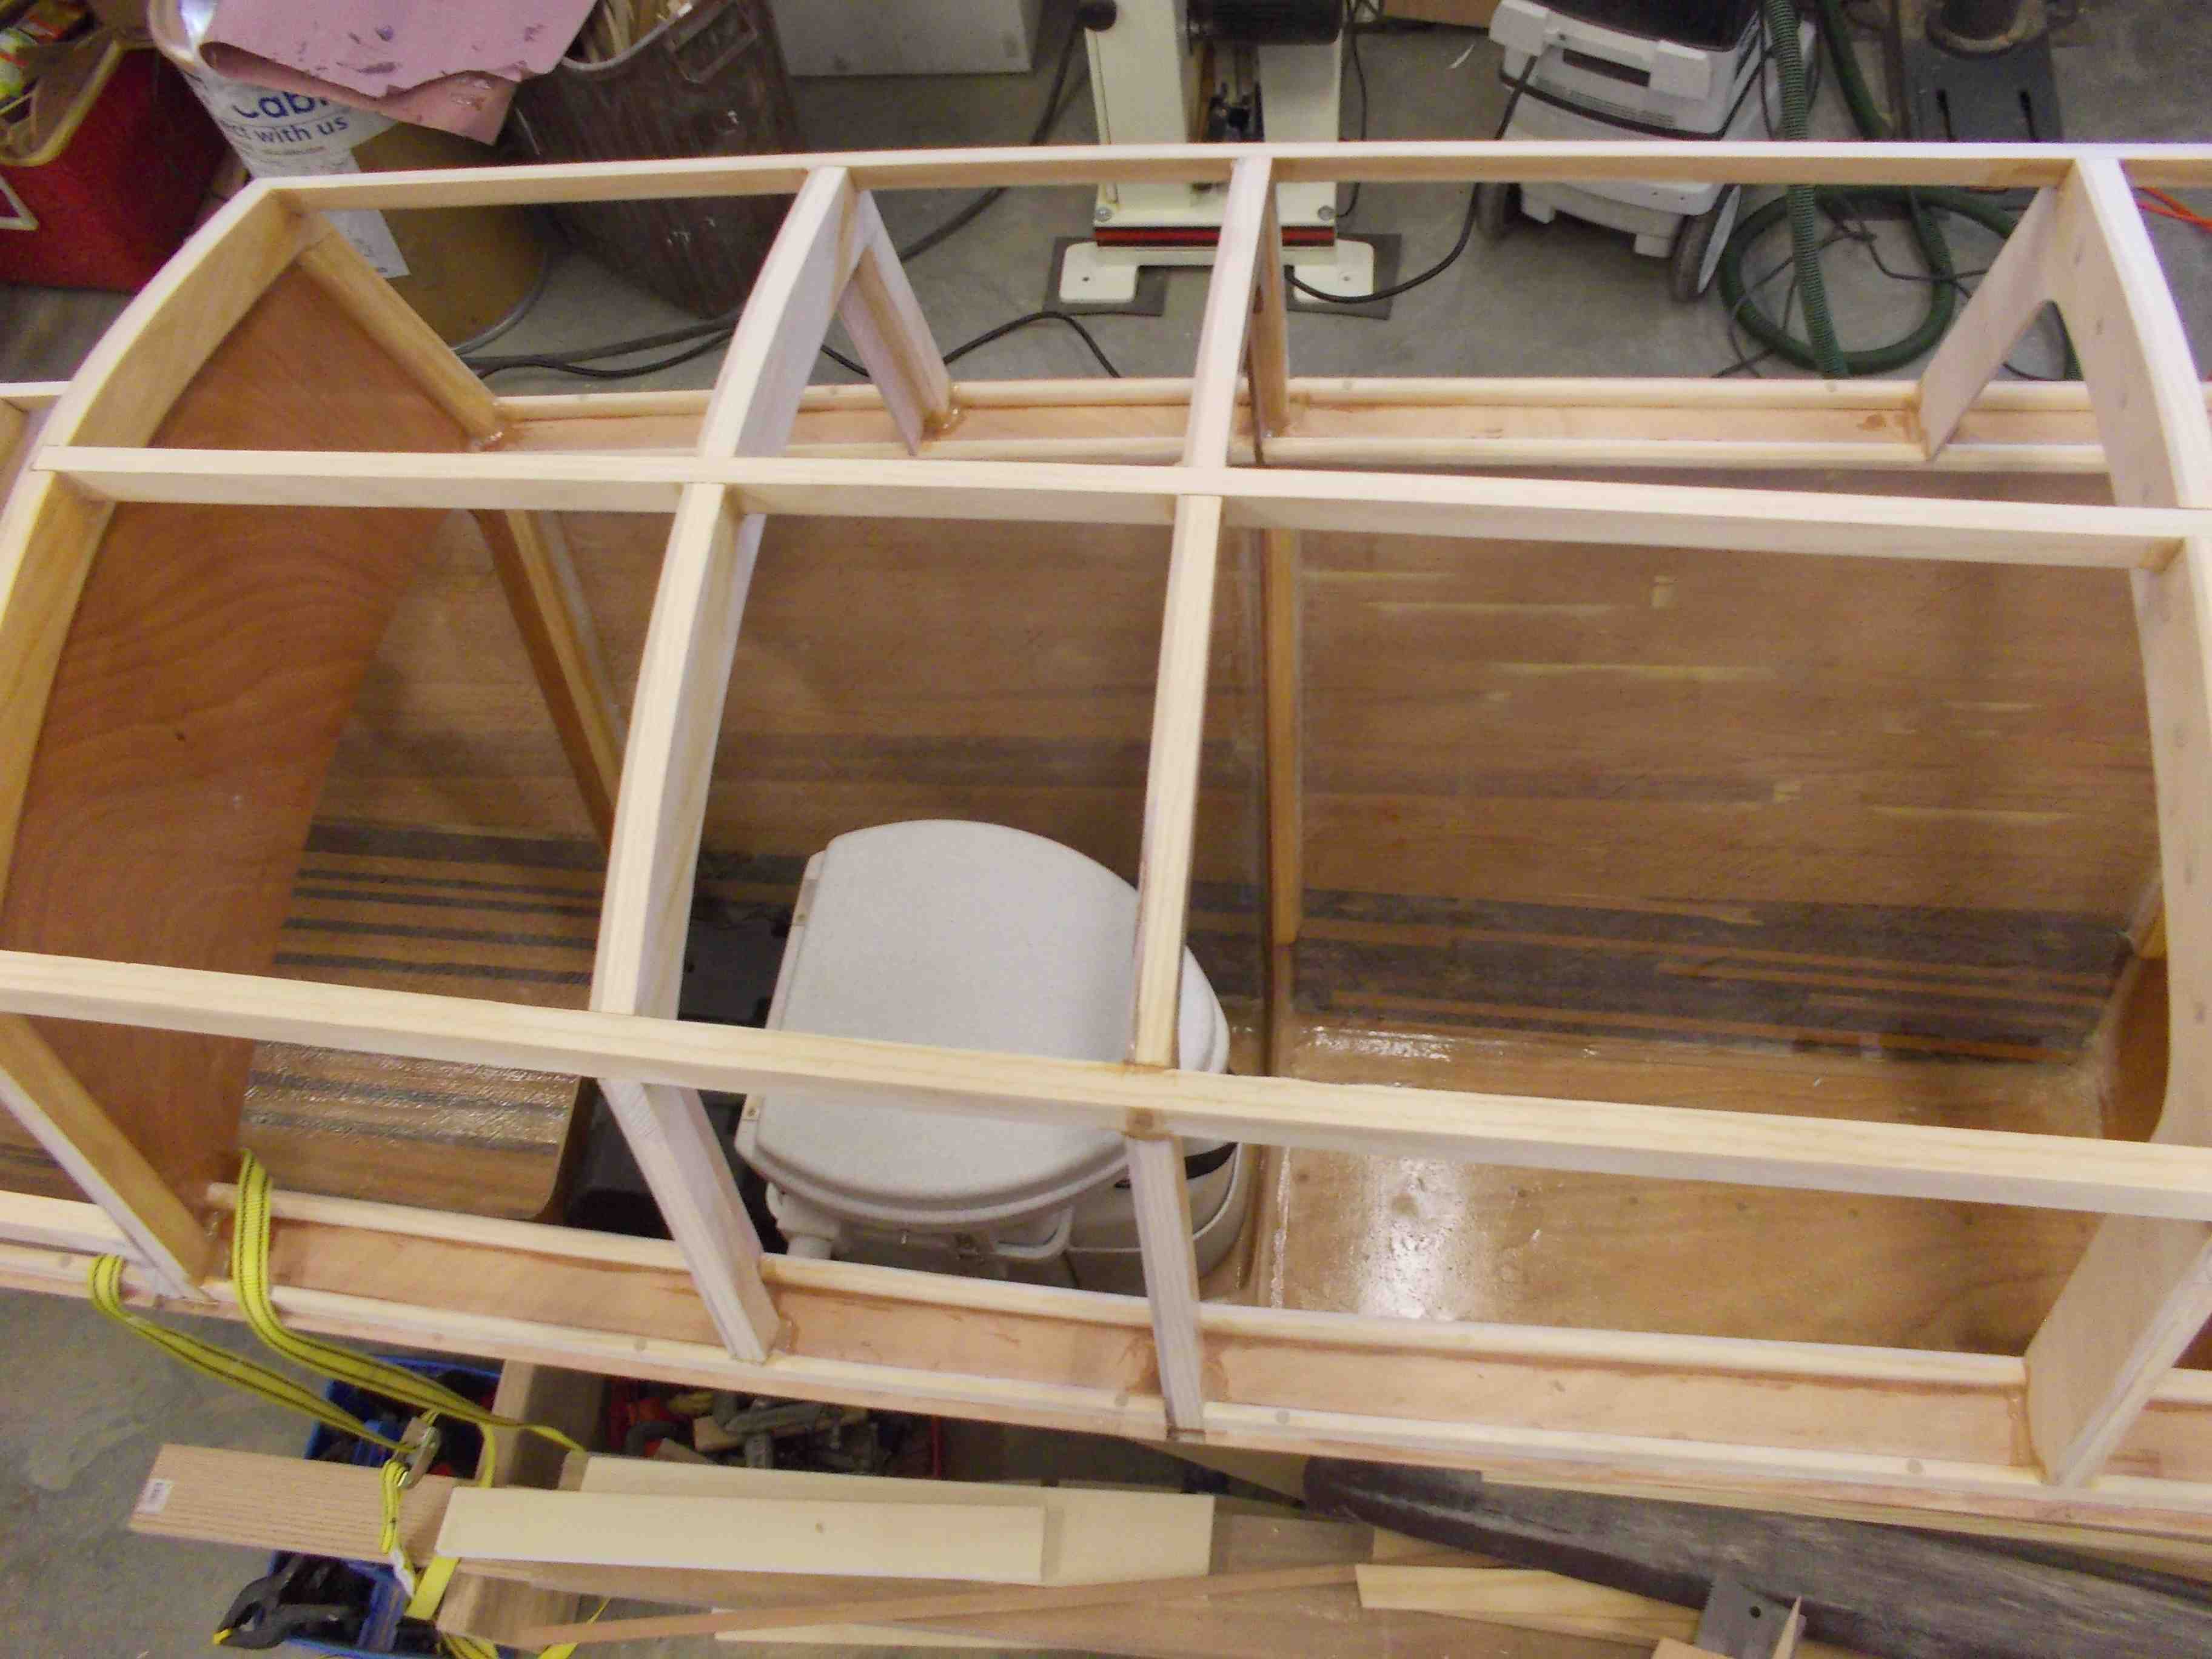
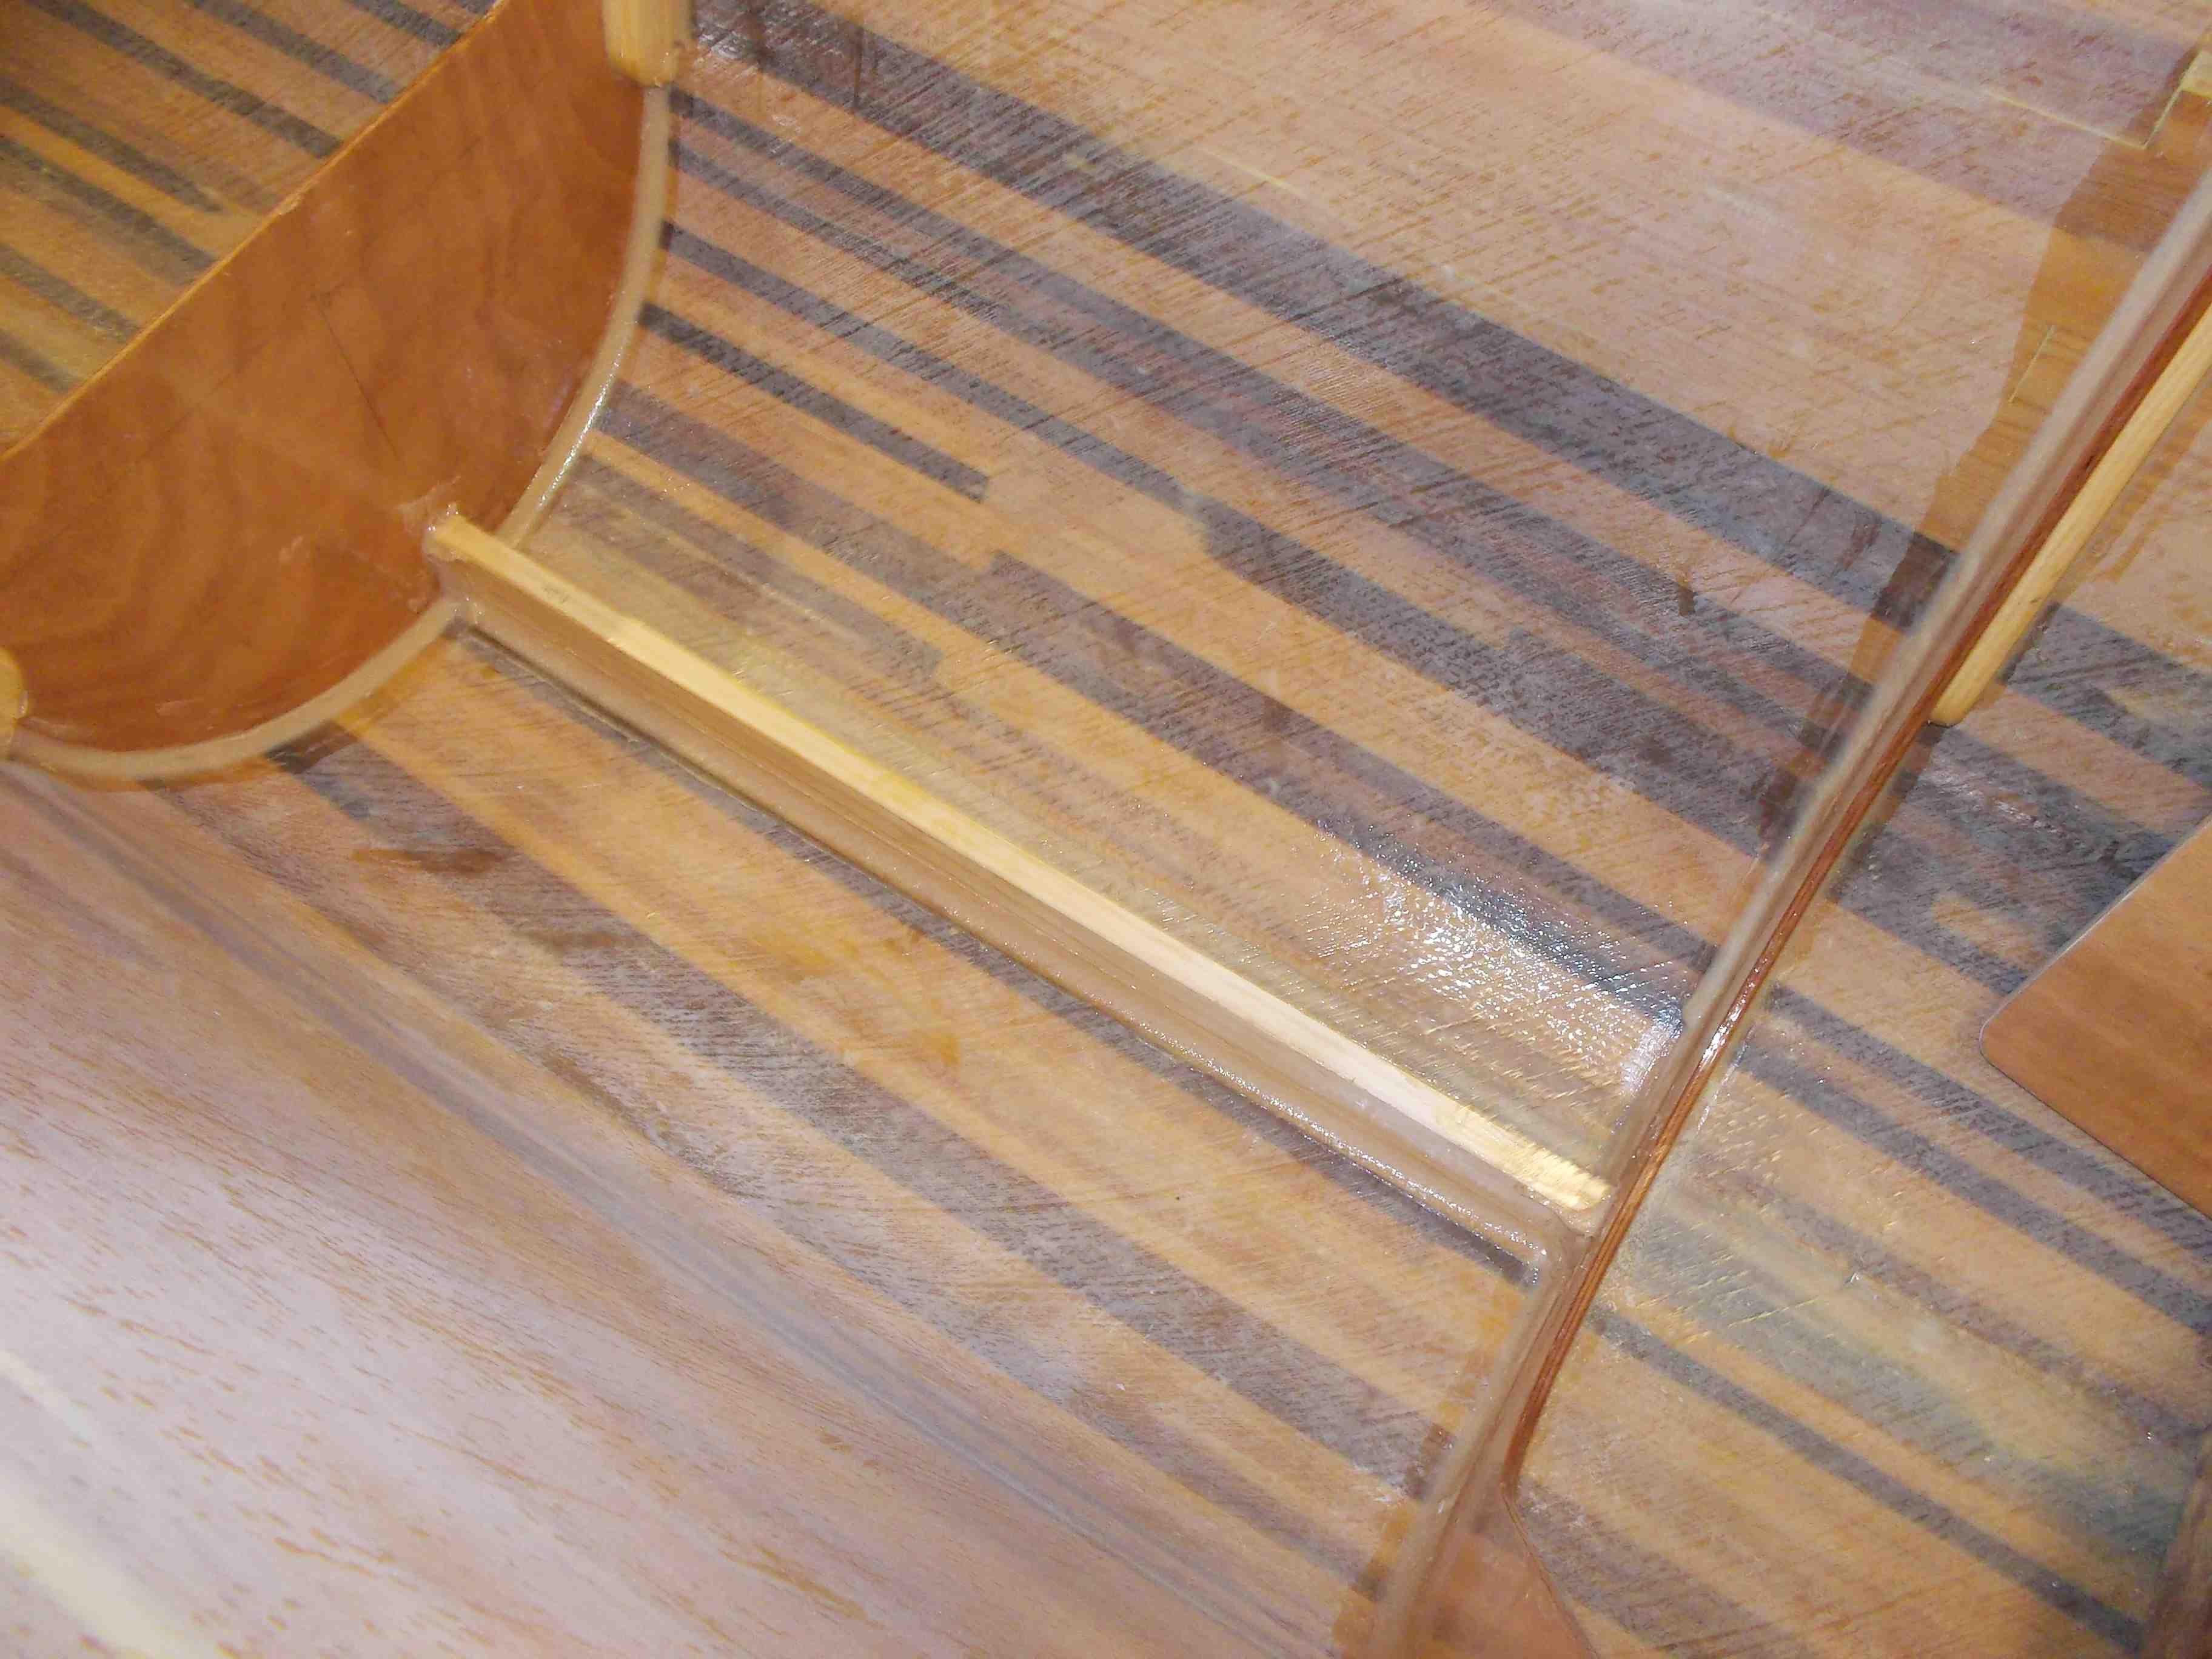
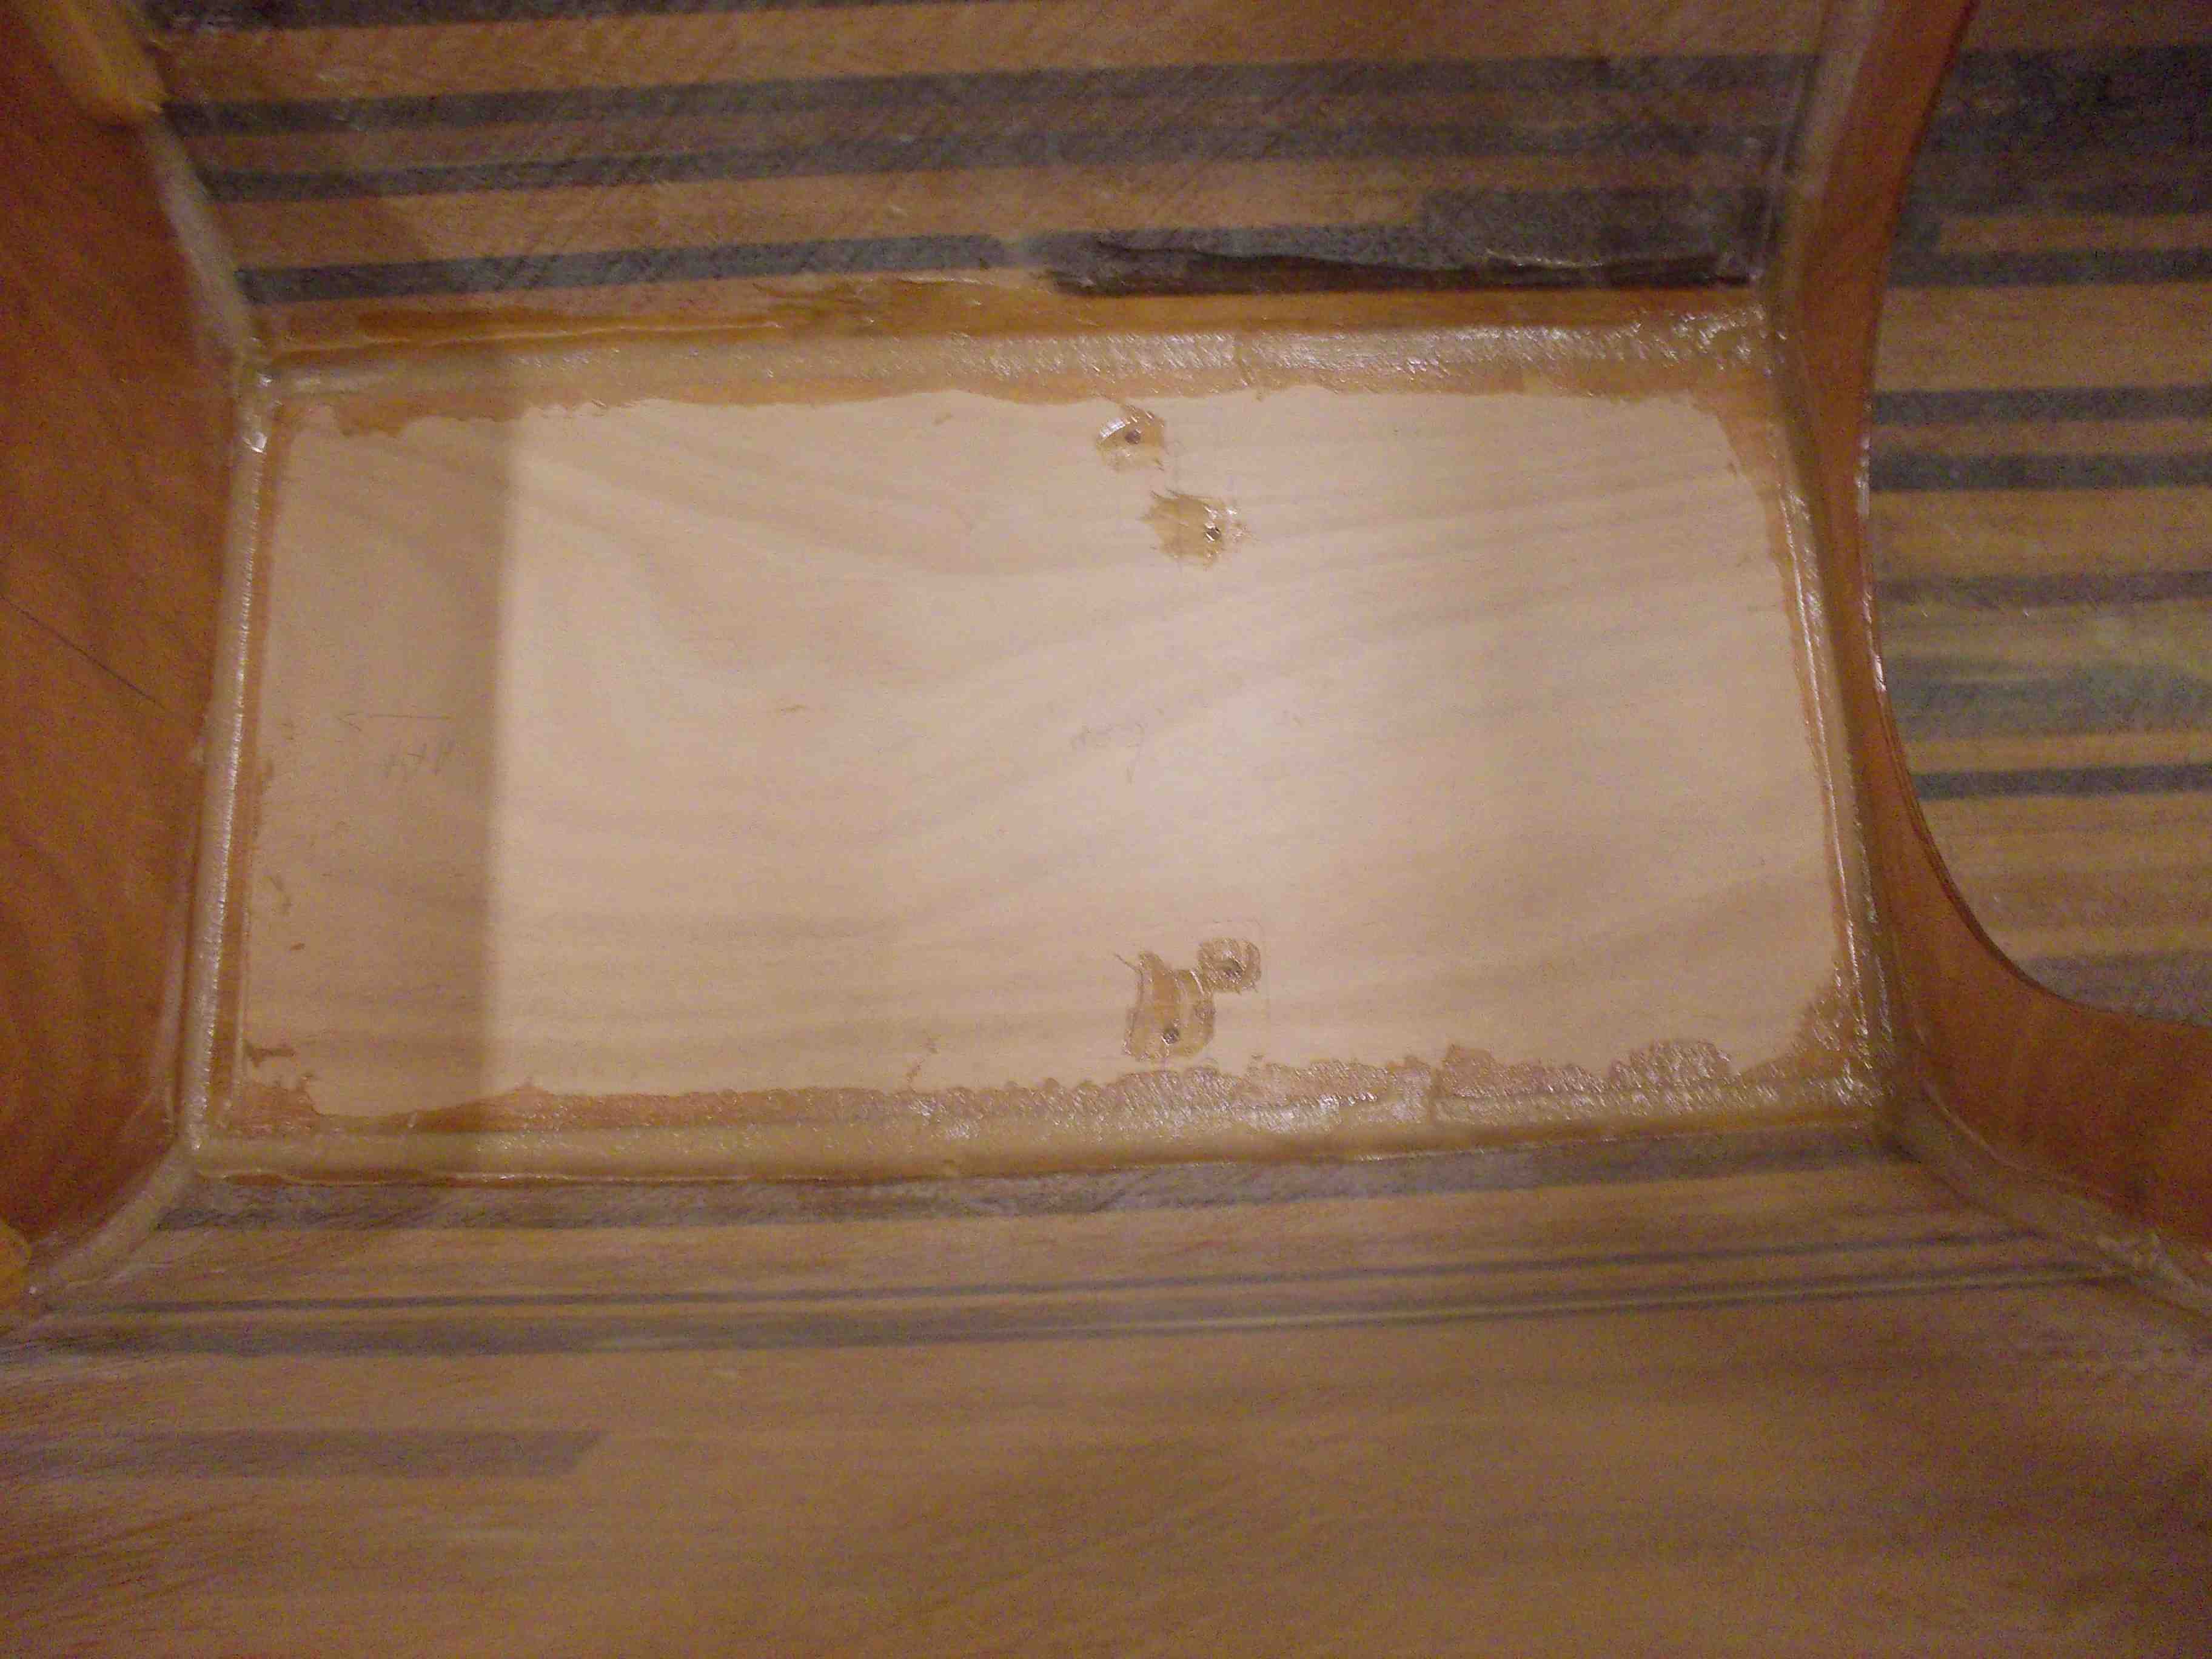
I decided that the I was going to add a composting toilet to my port hull. They are taller then a porta potty and basically I decide to sacrifice the aft bunk. Instead I get a nice lazaret.  for stowing lines and bumpers and a nice place for the battery and electrical panel. In this same picture you can see the shelf between frame 2 and bulkhead 6. The shelf is structural and adds a lot of stiffness to  the gunnel at that area

shelves and head placement

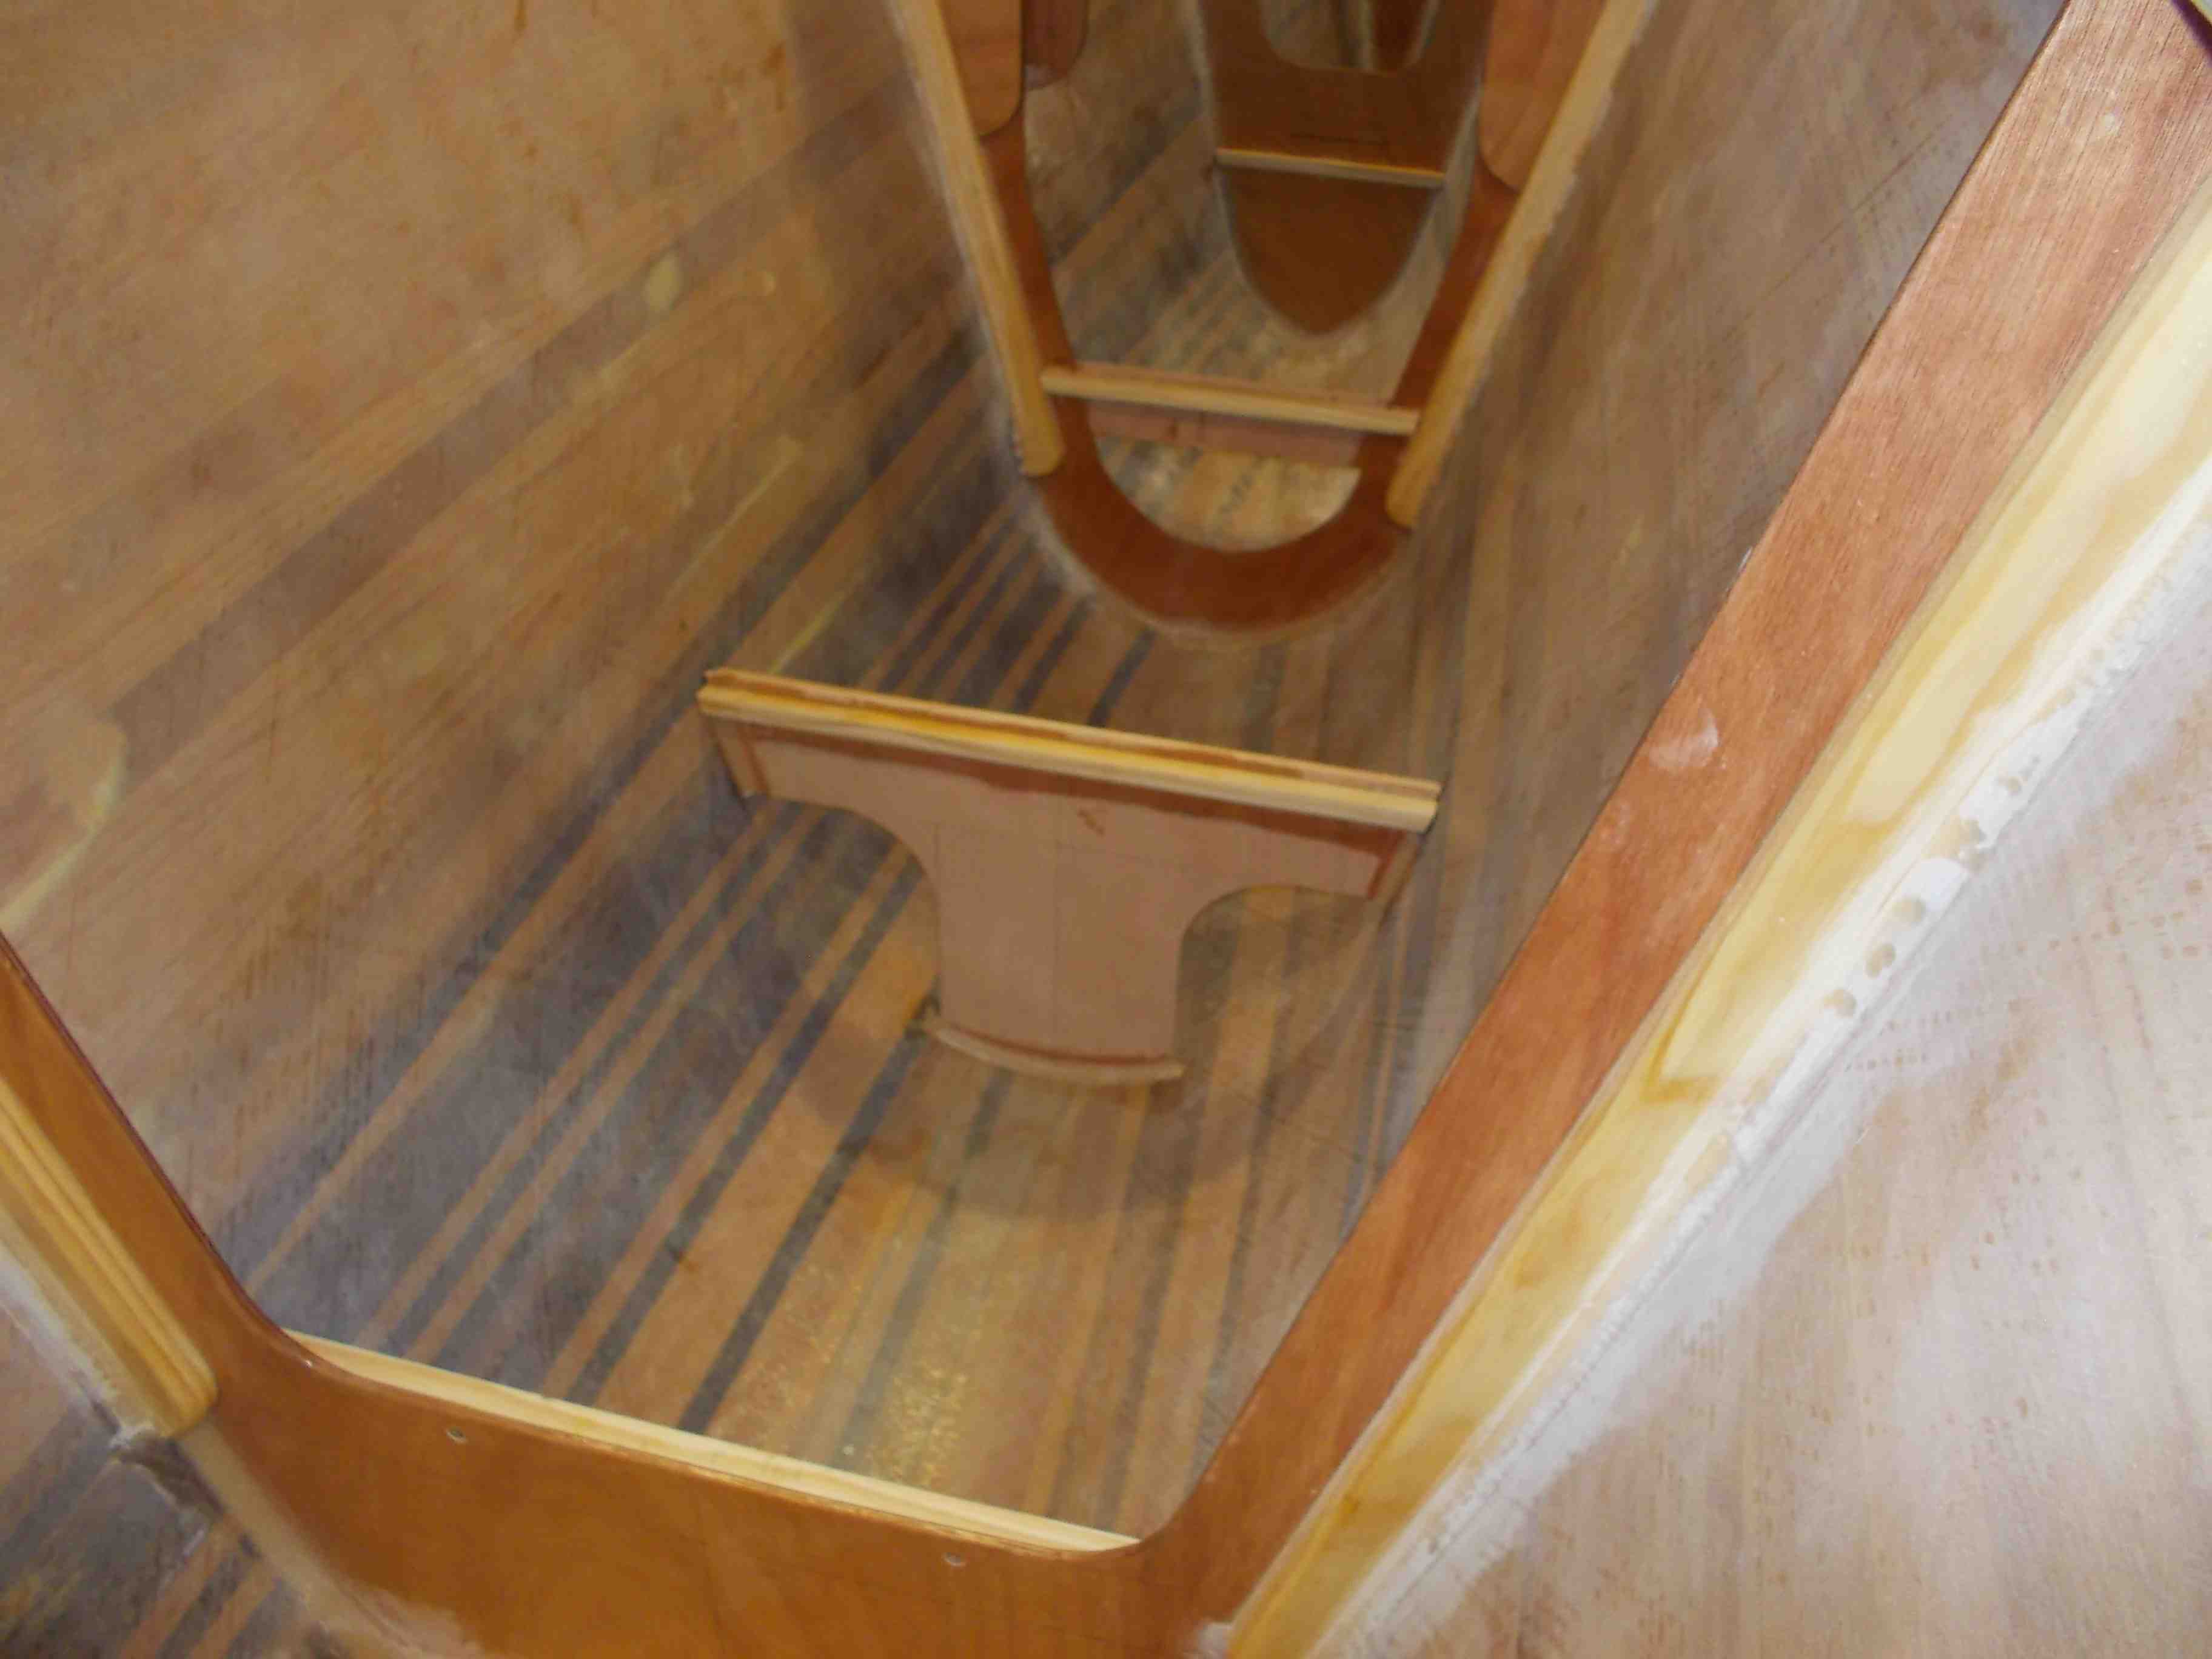
The floor and floor supports. The floor is structural in that it adds support for the keel below

floor support floor

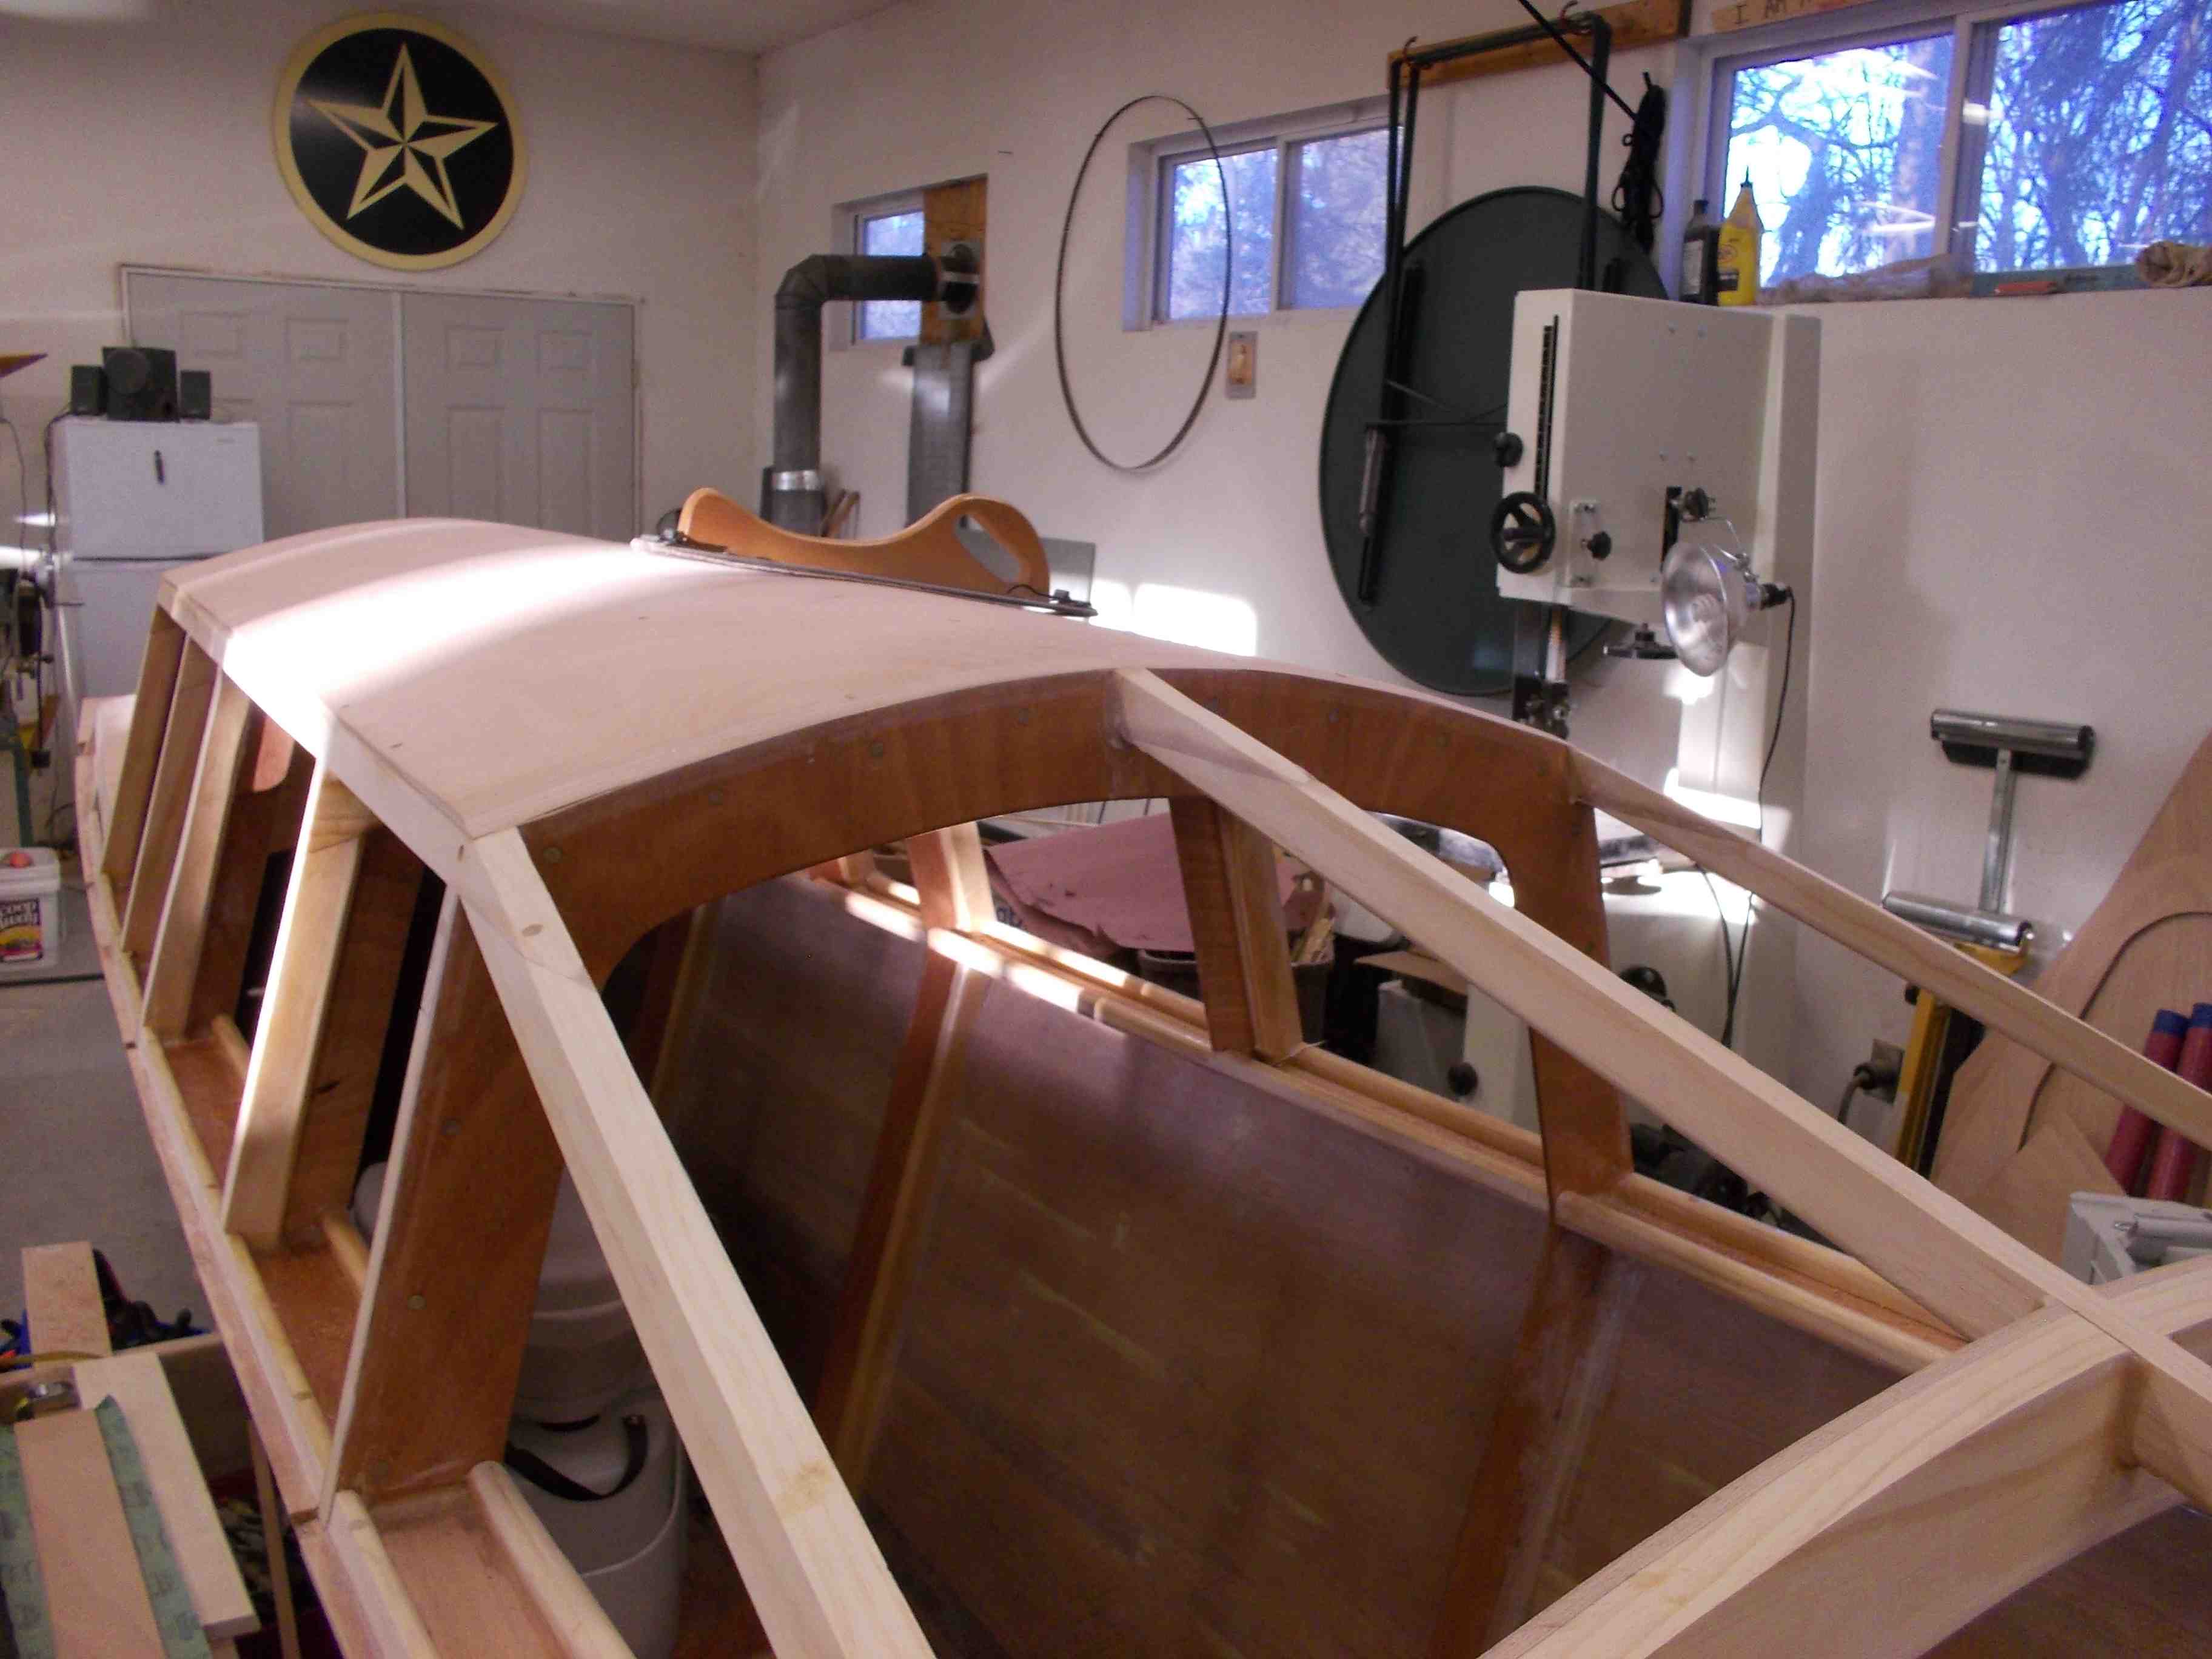
The forward bunk and bunk supports

bunk supports bunk boards2

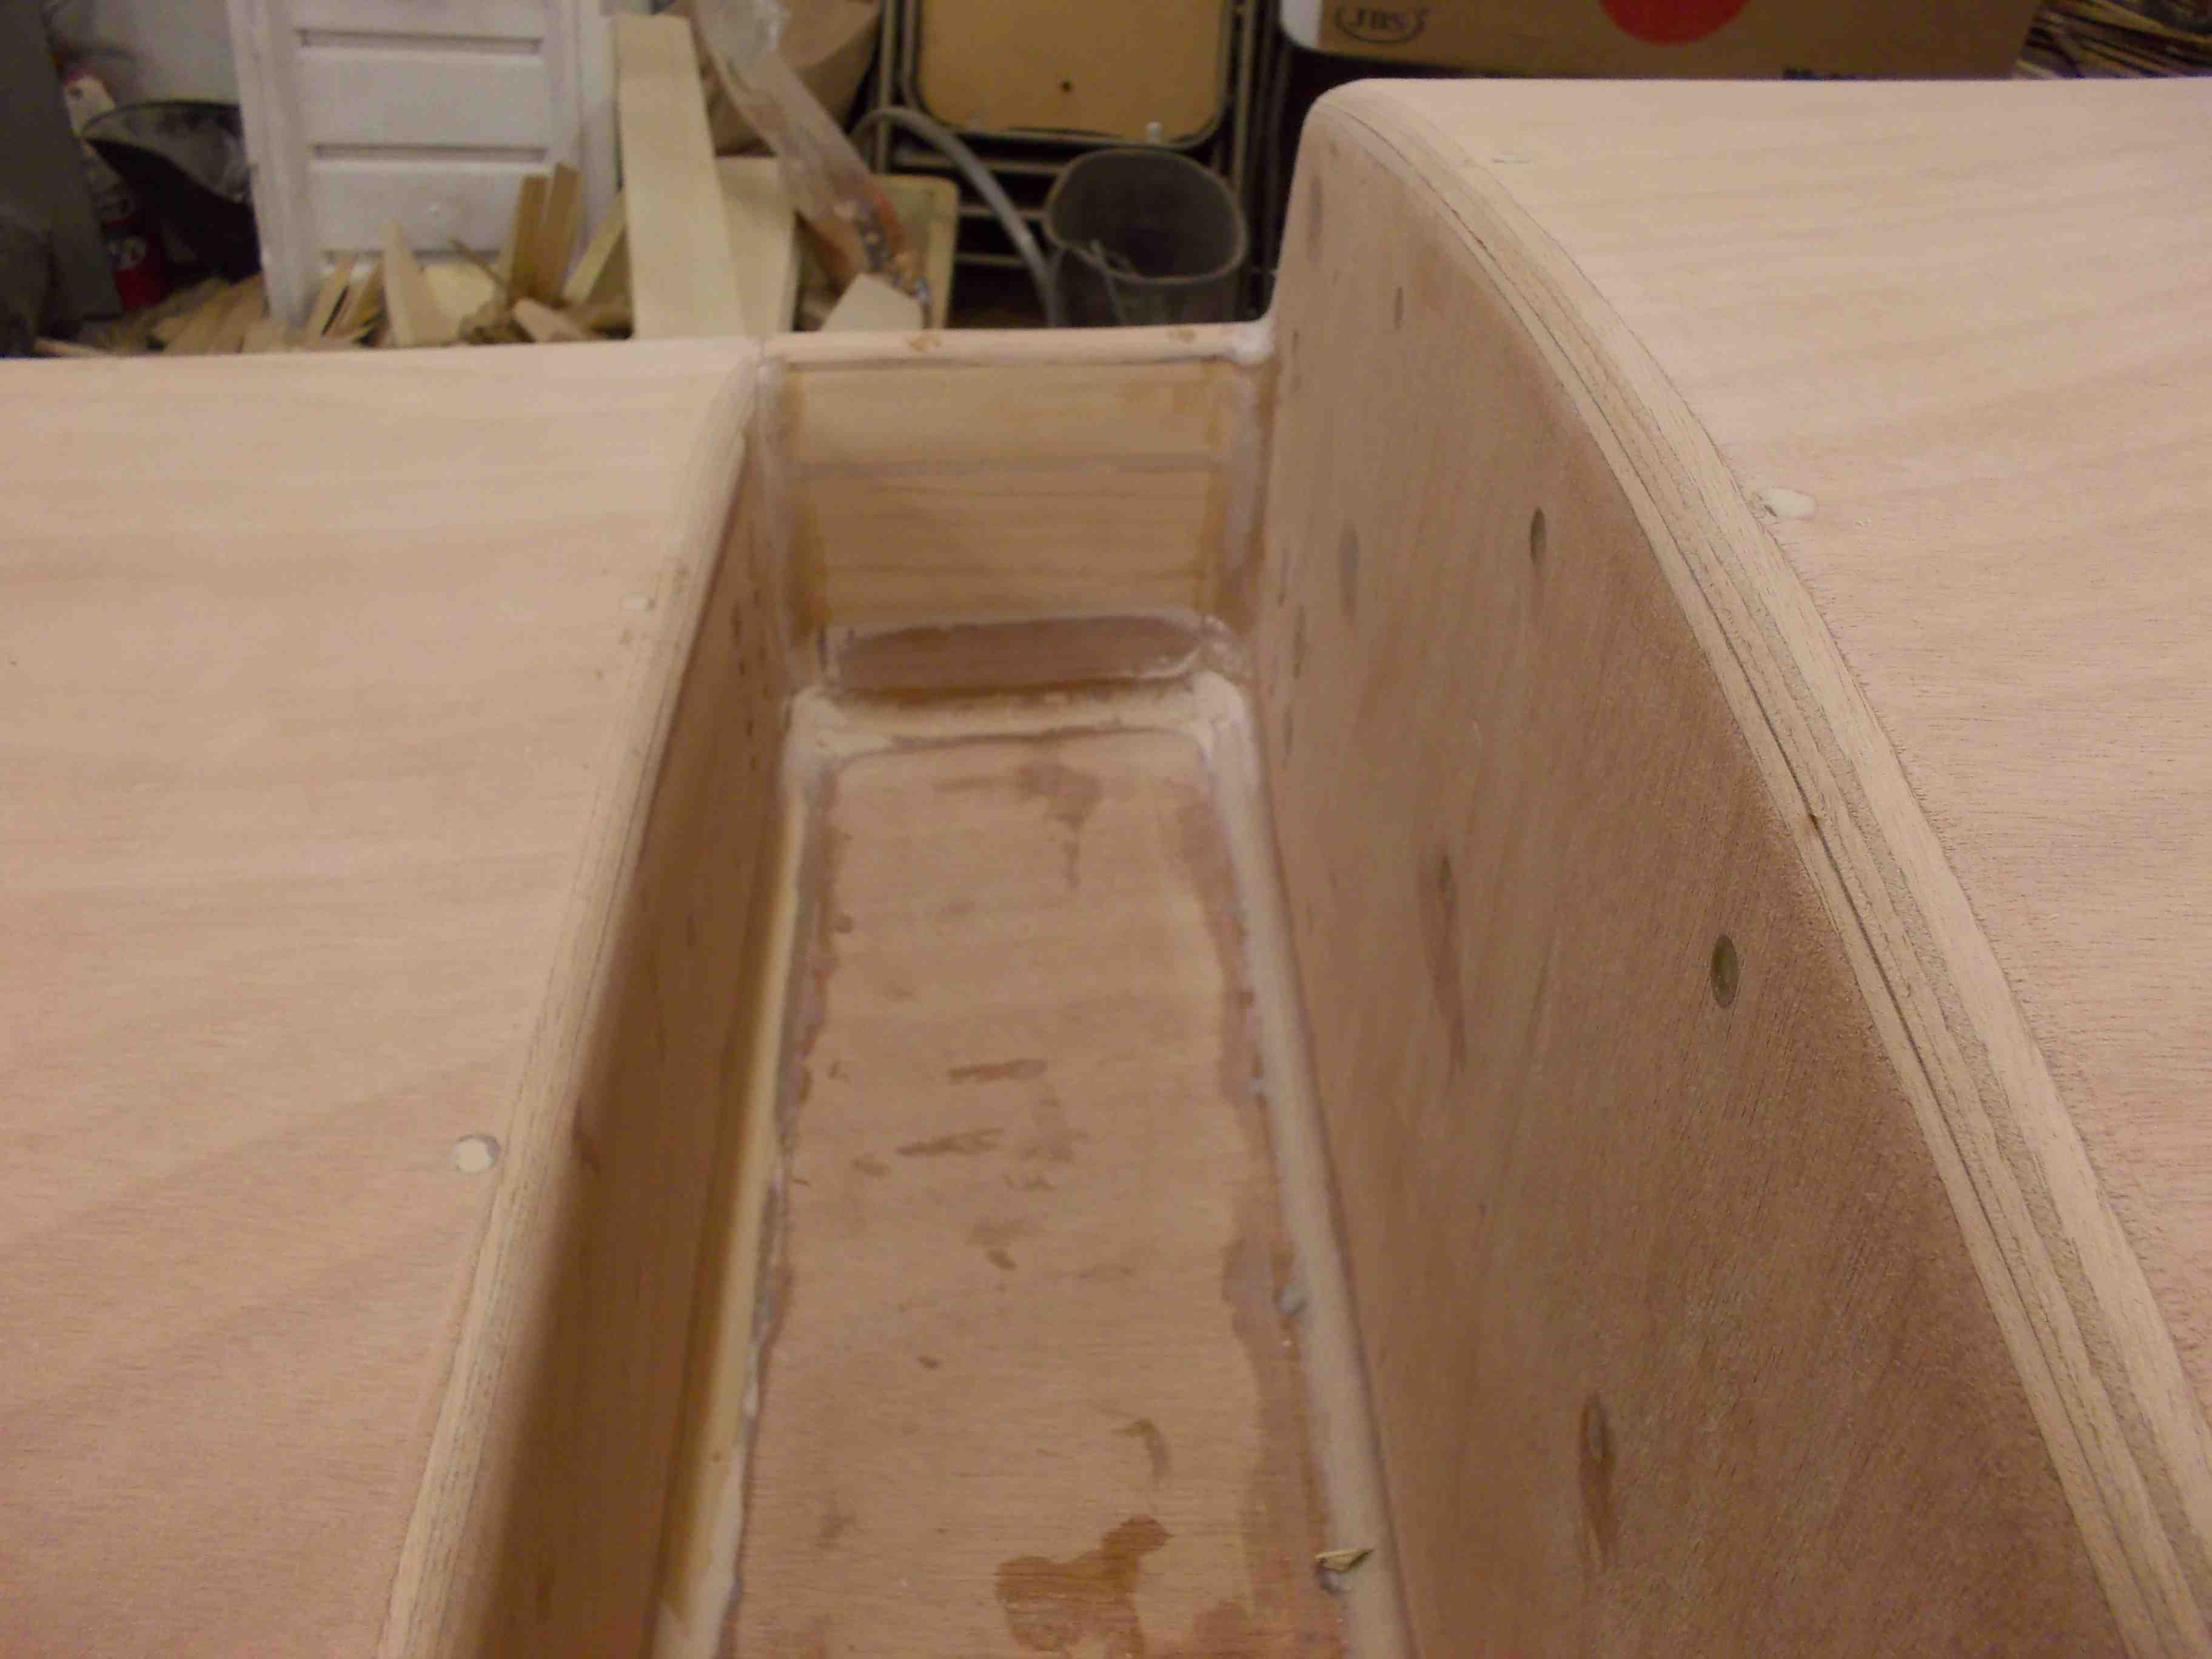
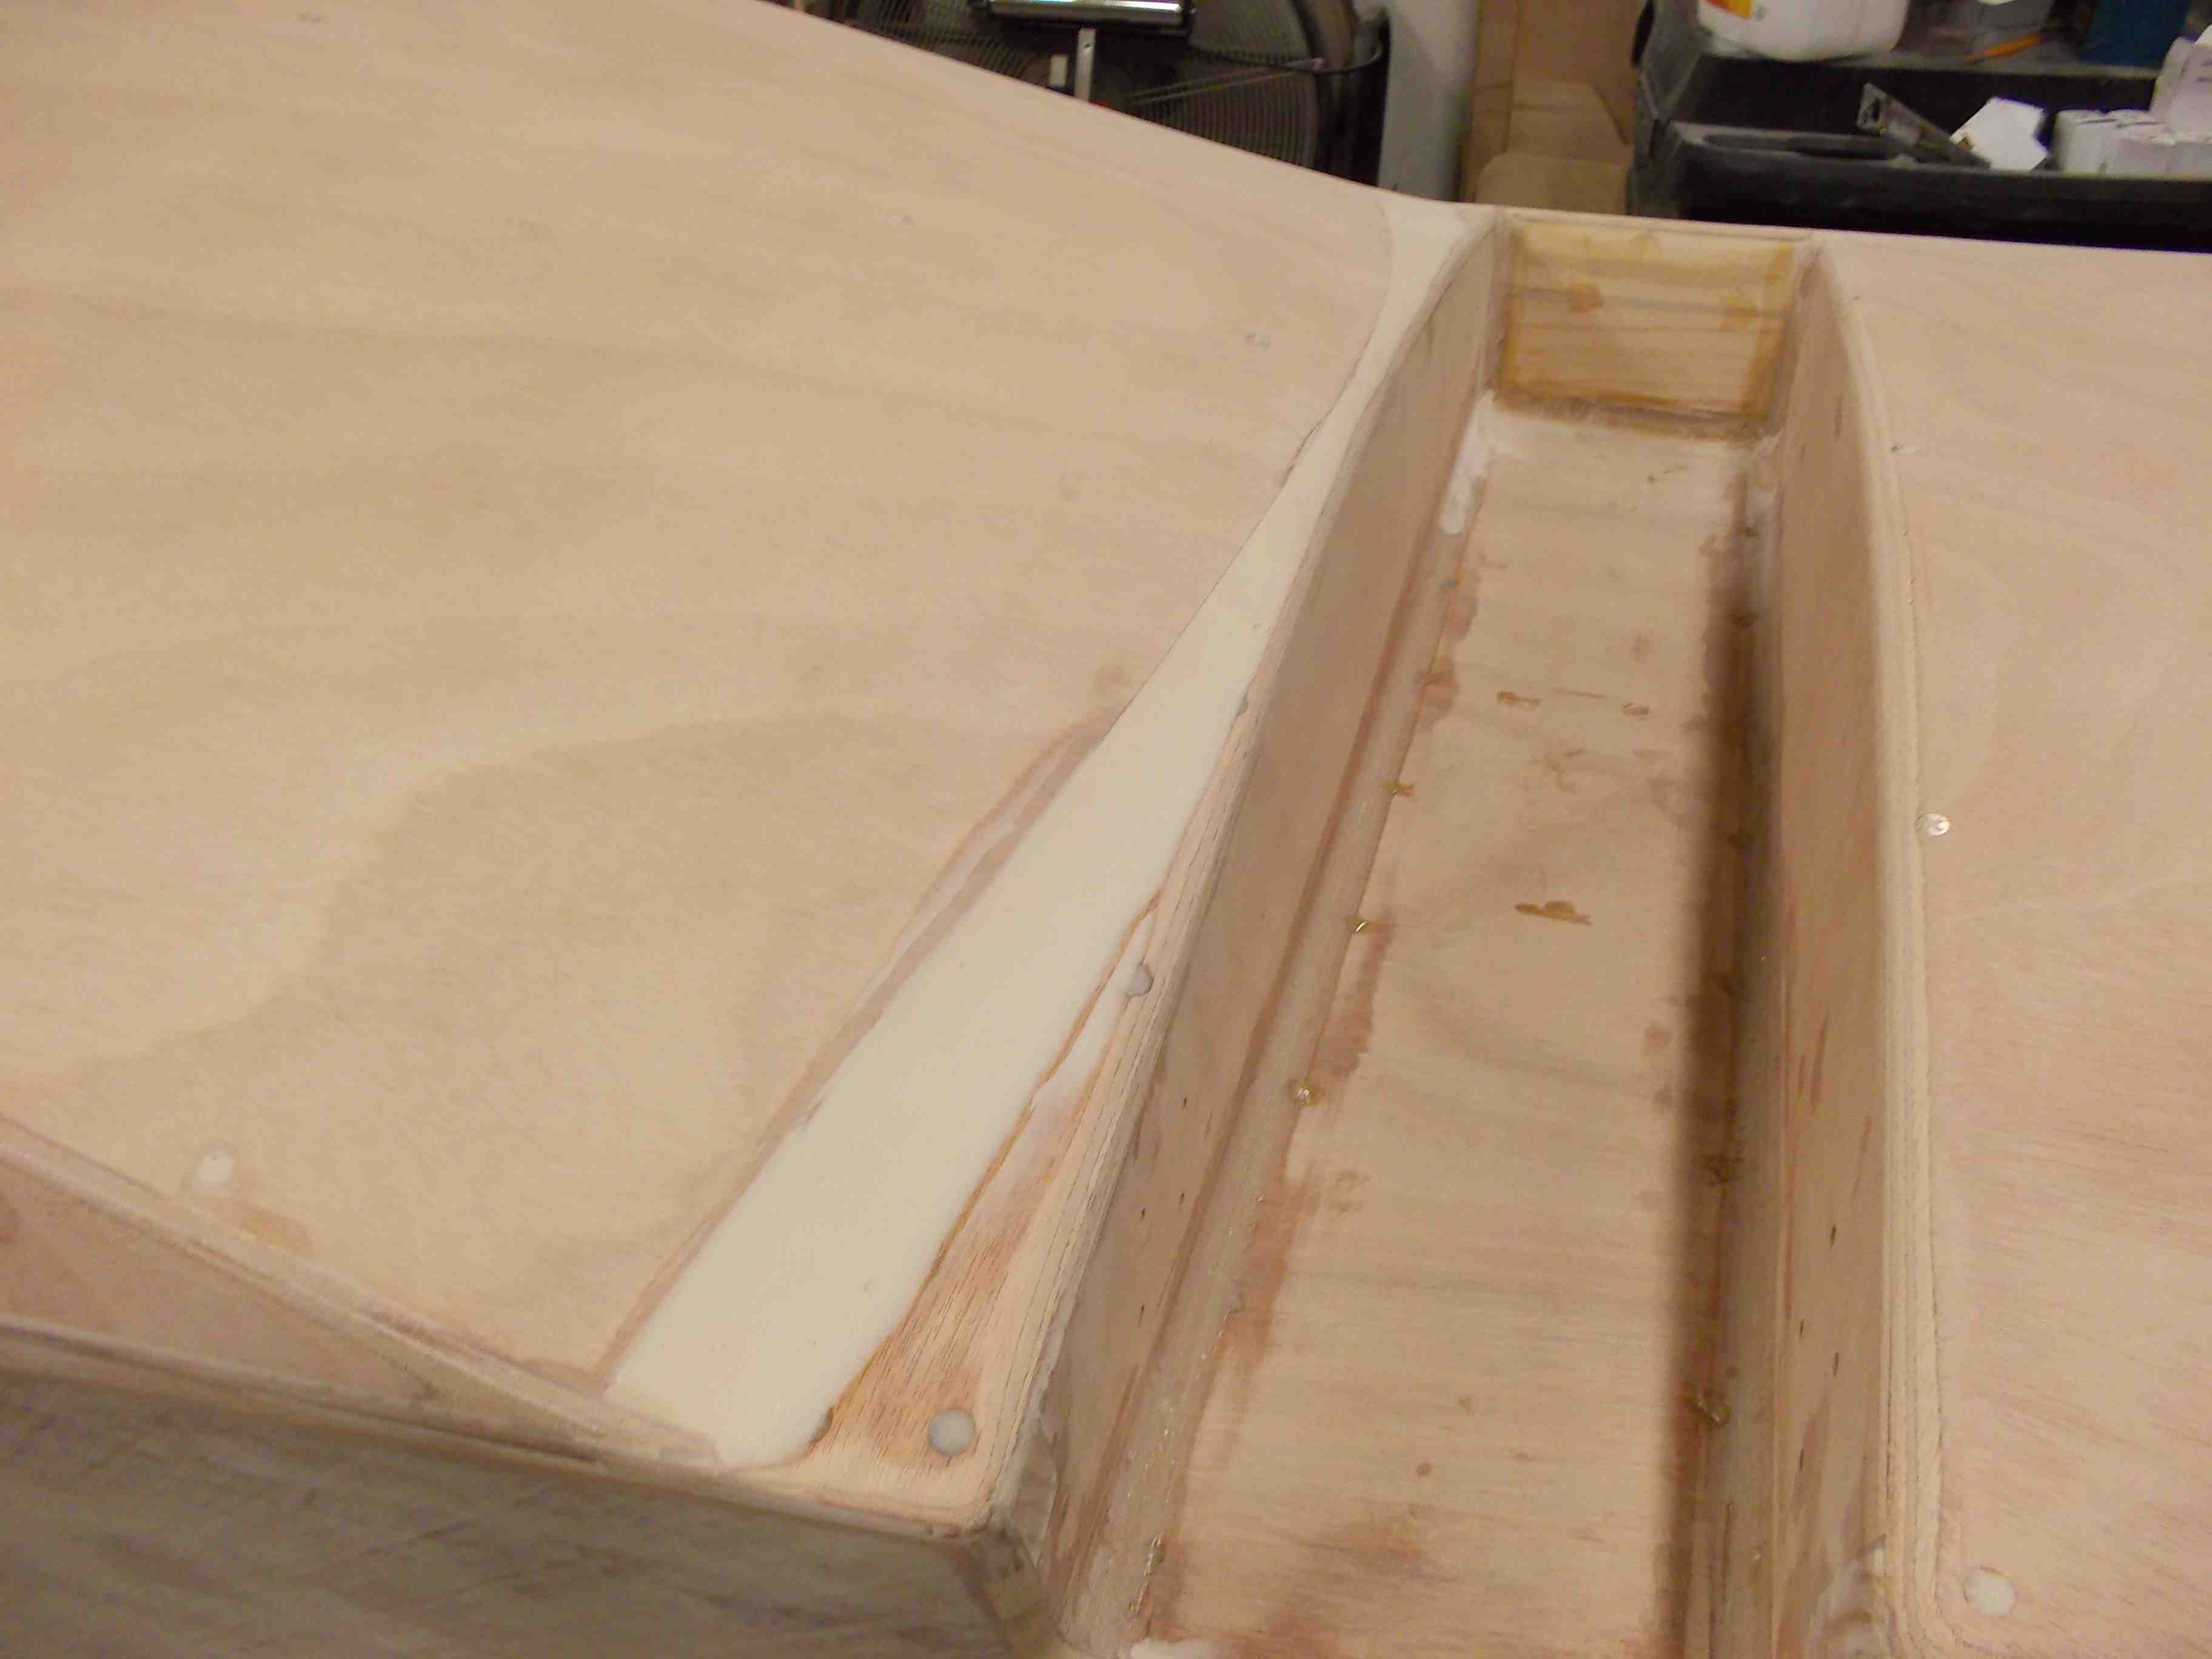
Details on the lazaret framing. note the slope of the frame to allow water do drain. I left the deck edge frame in place to make it easier to lay the deck. it will eventually be cut out and become part of the hatch.

lazaret_frame_detail

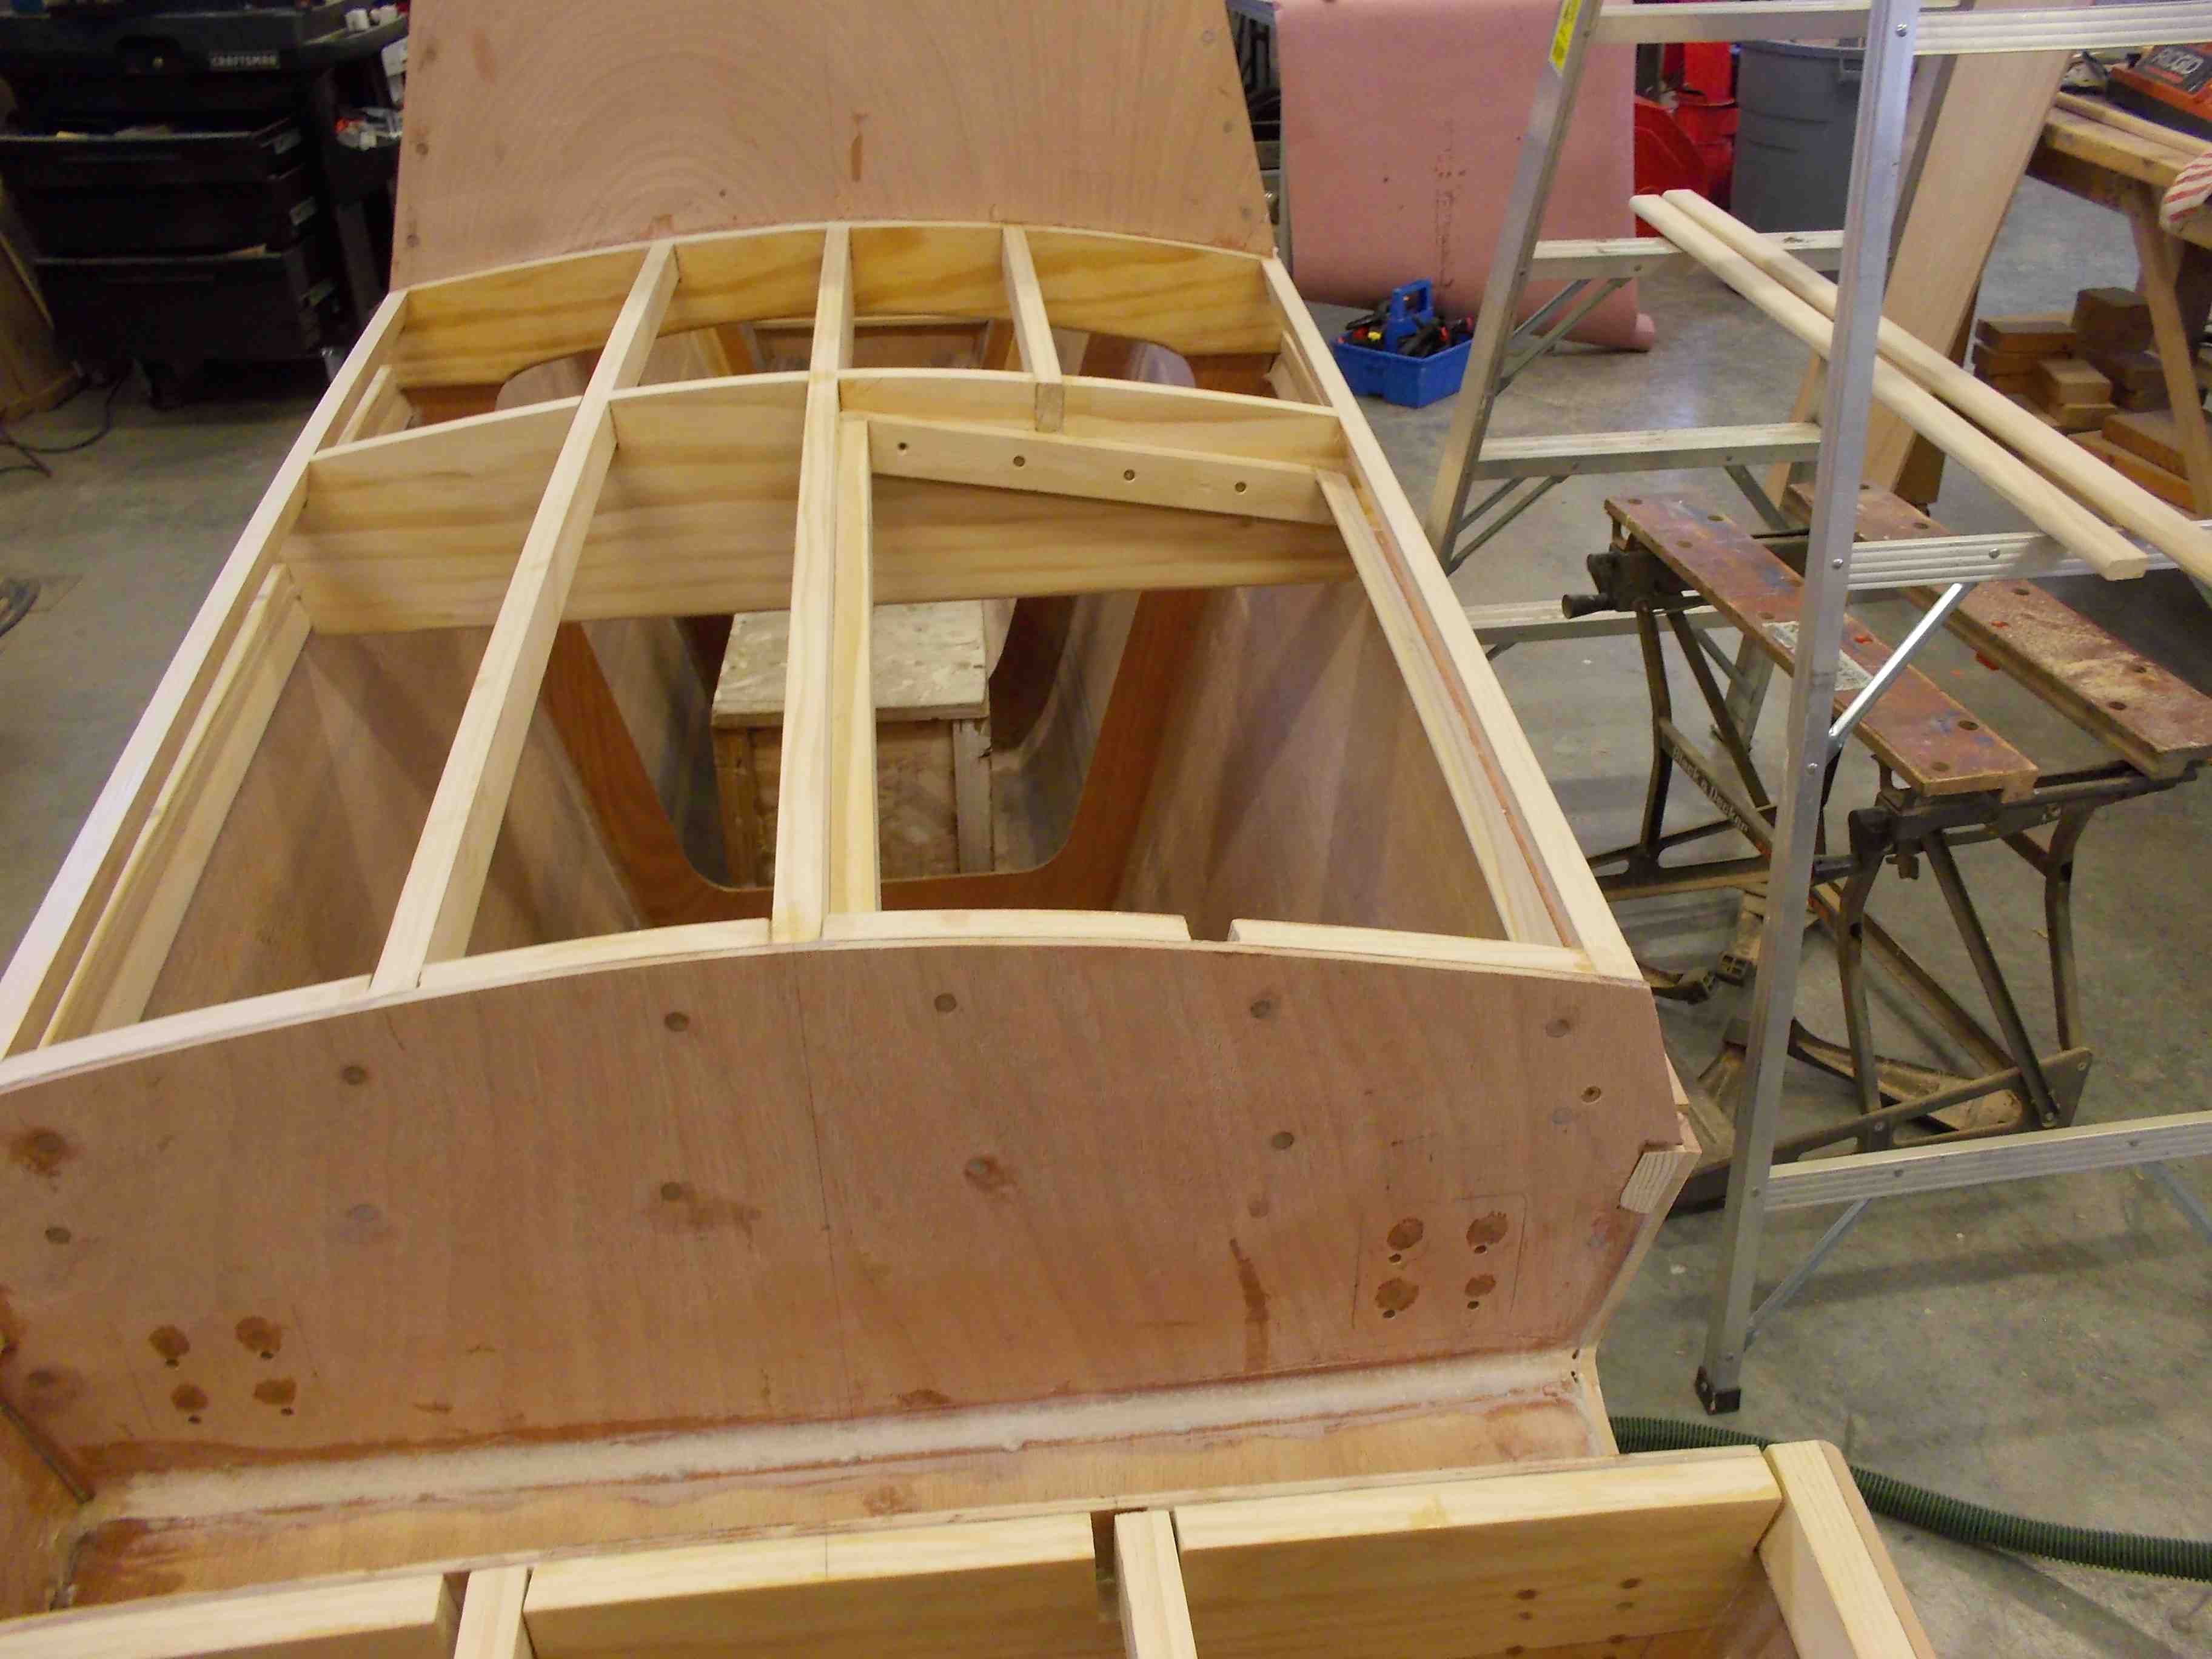
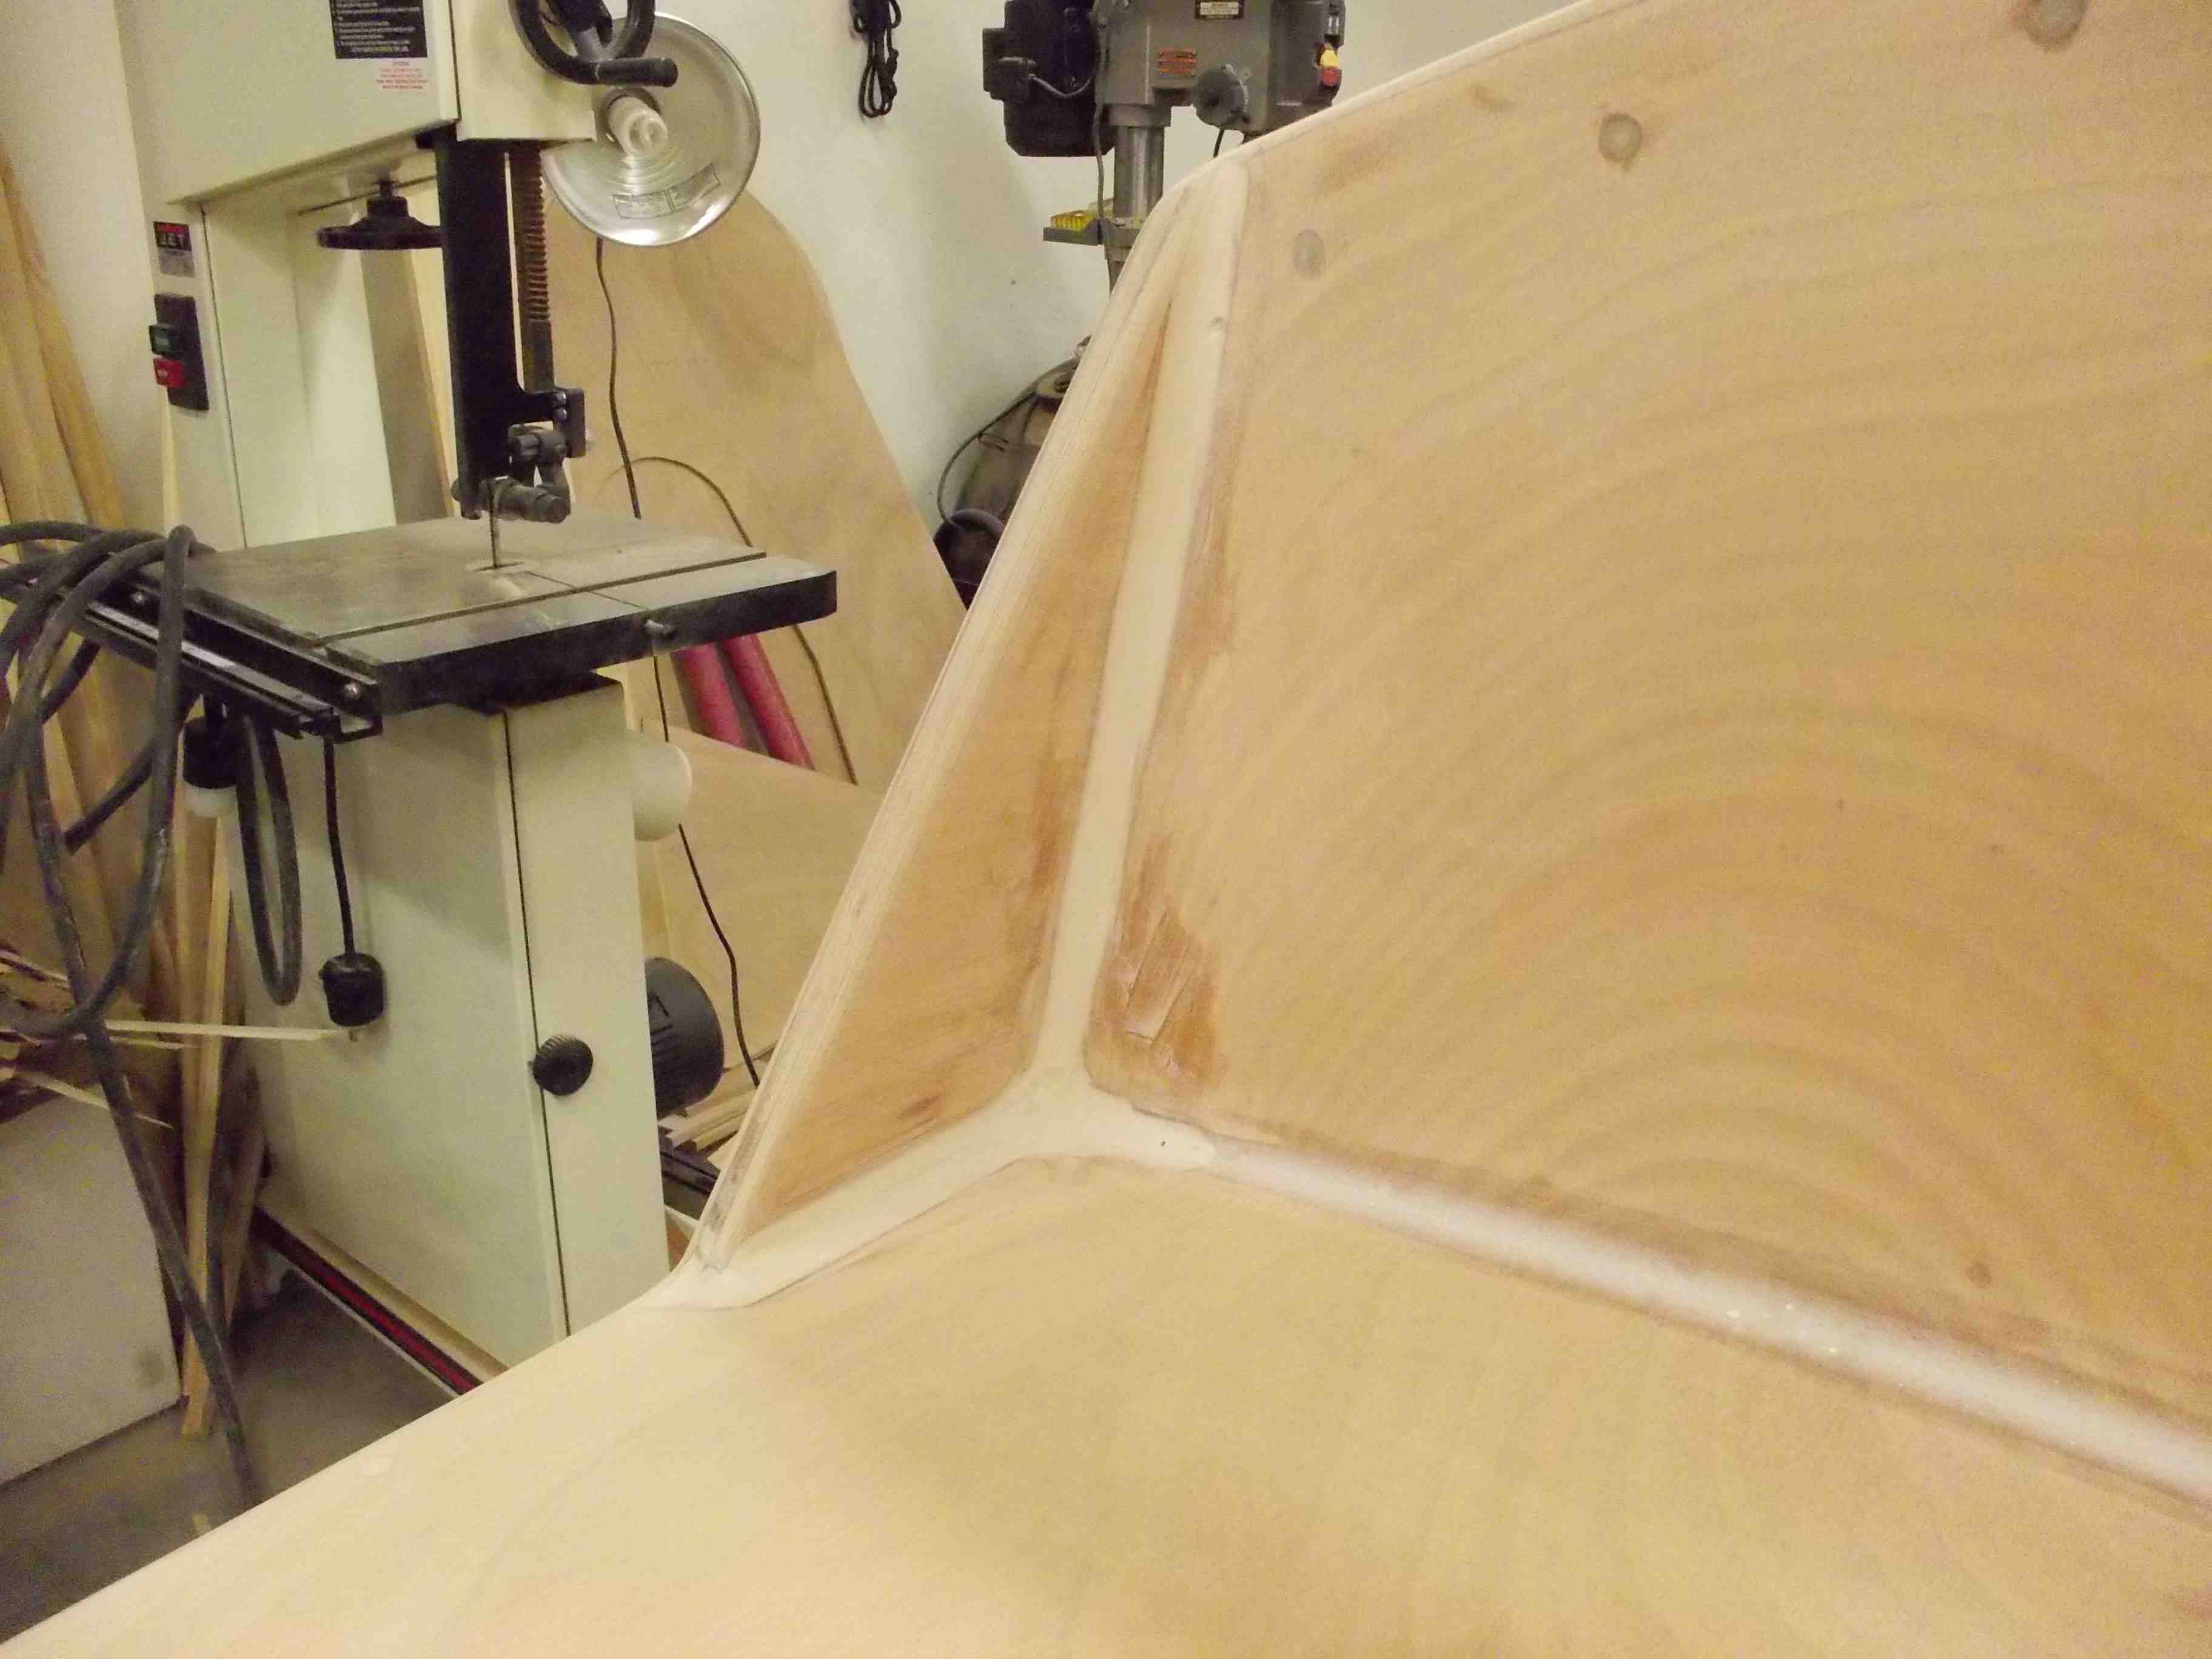
Some more details on the aft section. The rudder post reinforcement and another reinforcement just forward of it were I expect to have a vent. Hidden behind that you can barely see the spinnaker  block pad.

aft details
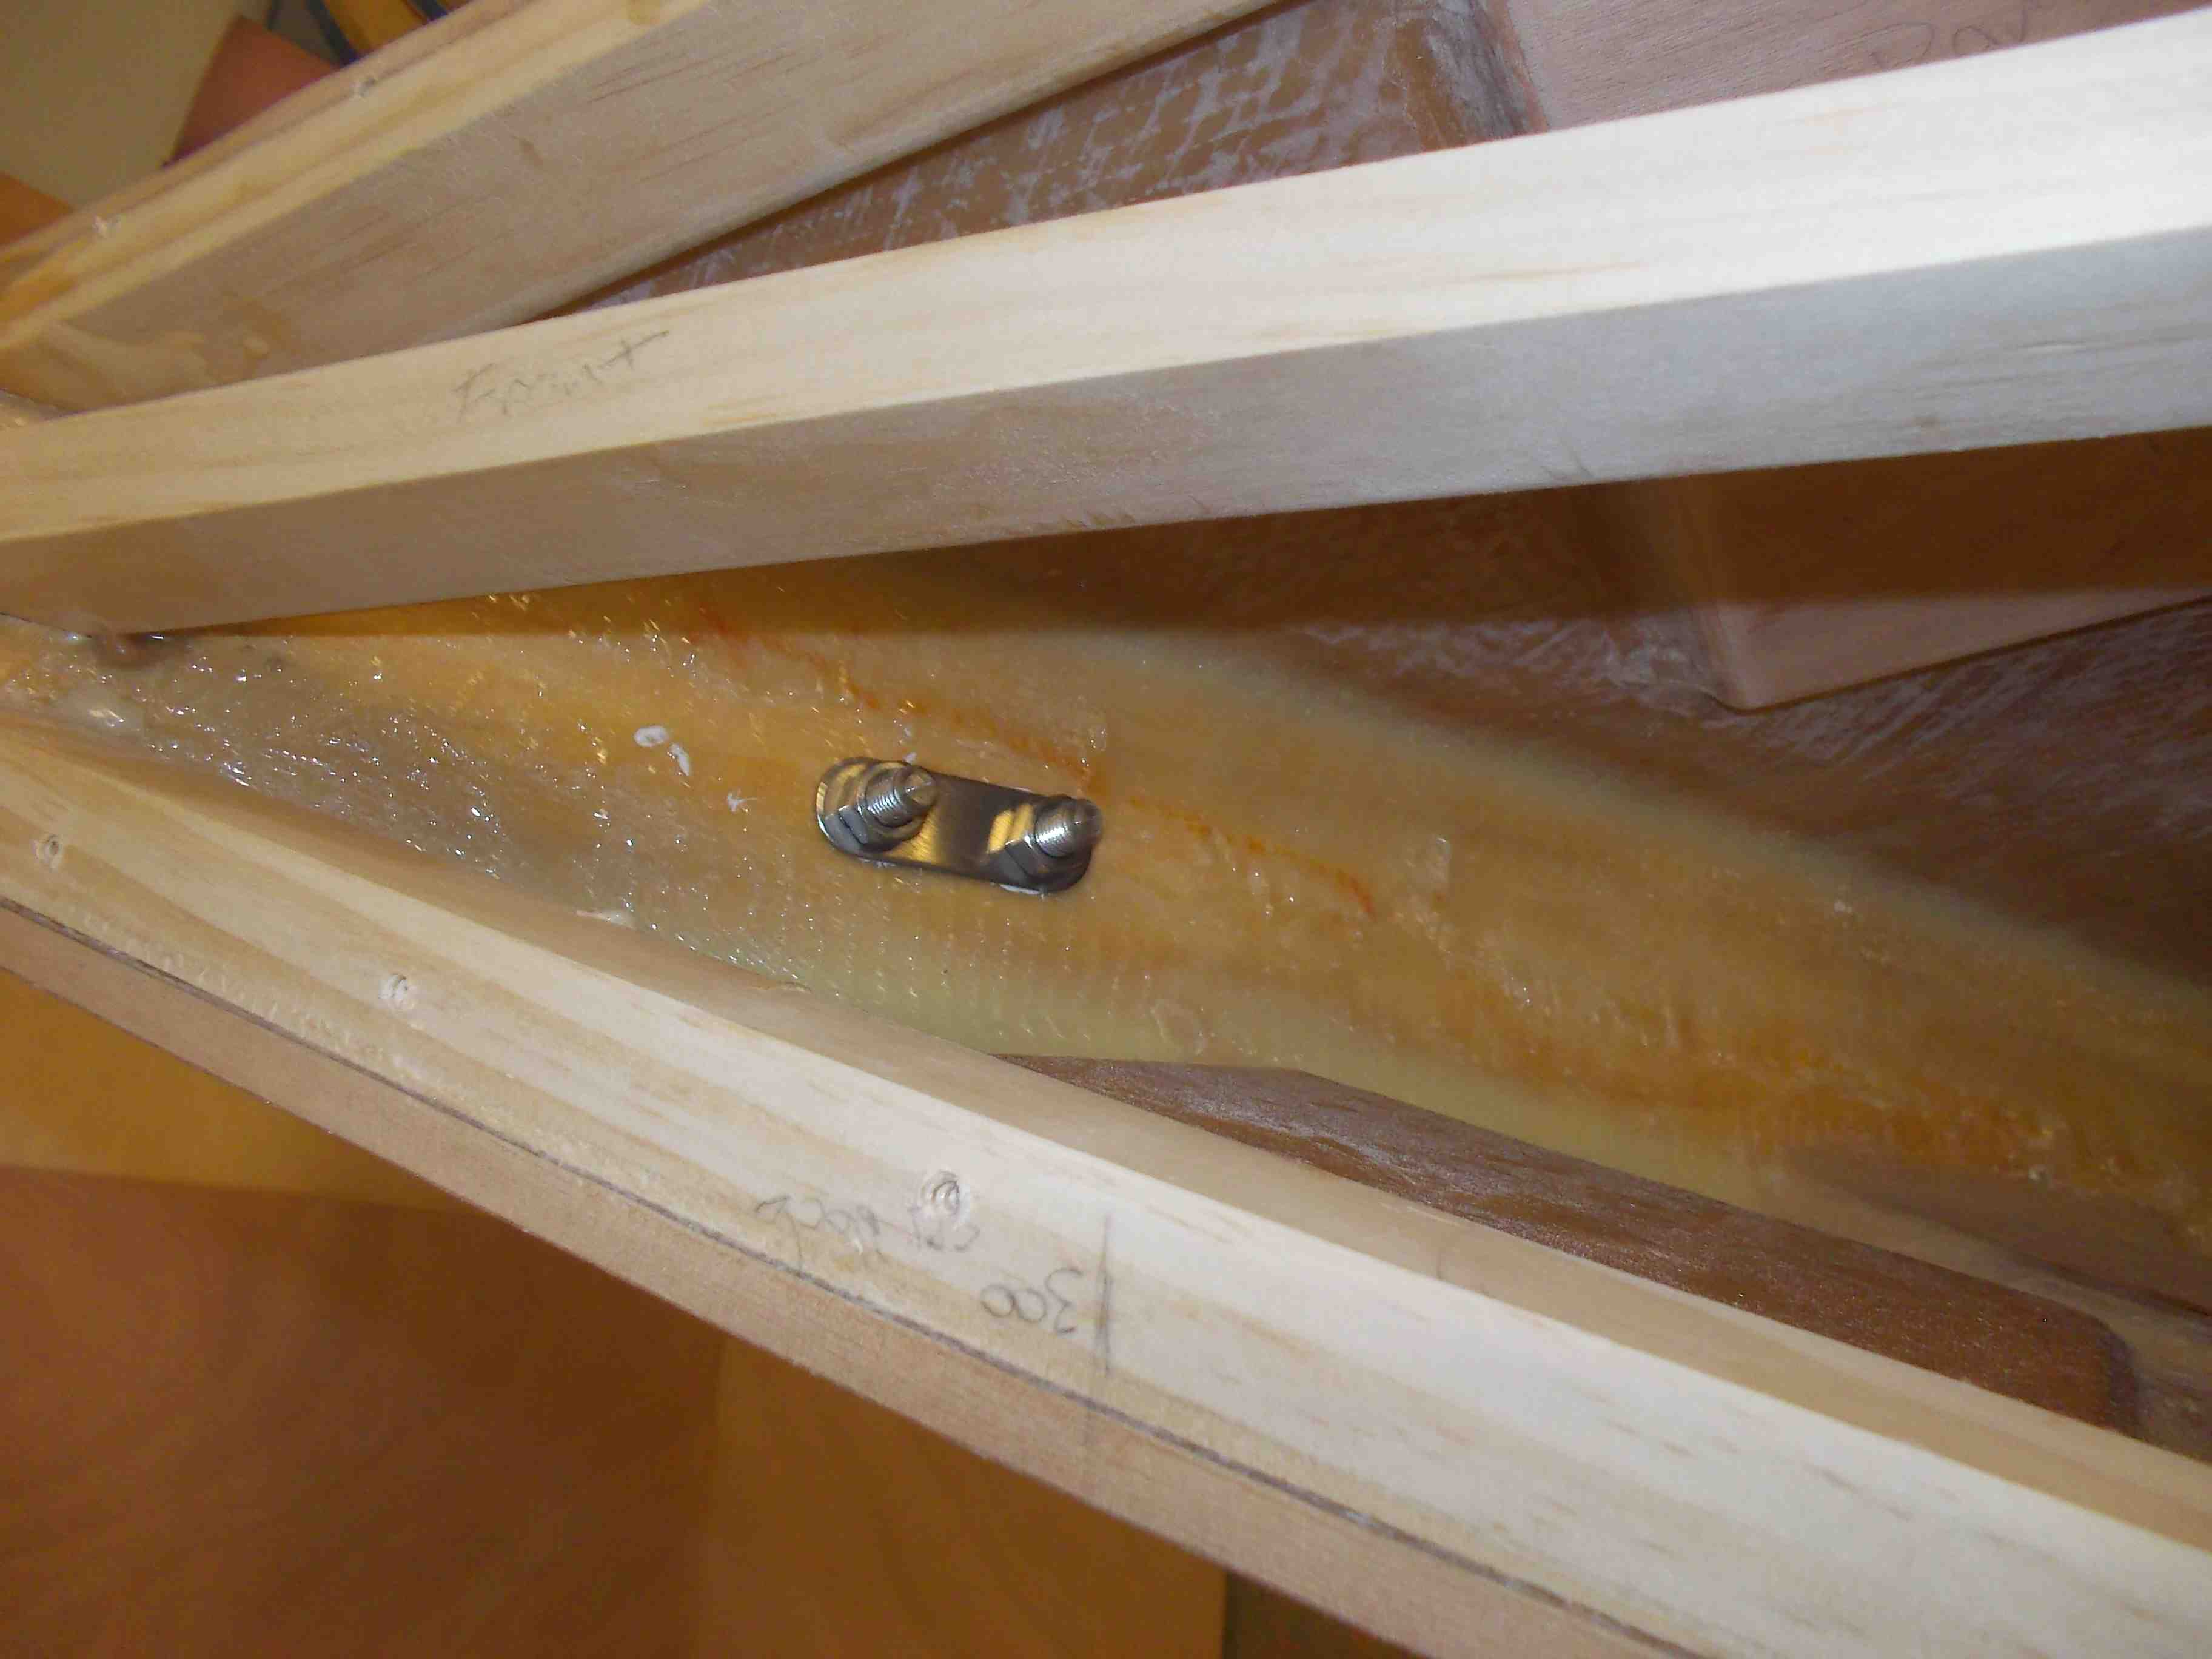
This is also a good time to make sure you have all the bow hardware reinforcement  pads and whatever hardware you have installed before decking the bow.

forward_detail


Decking the hull

So the most import part here is to have all surface as true and smooth as possible. Any thing that doesn’t look good at the point, the plywood won’t fix… Take special care at all edges and the radius of the deck.

I pre fit all of the plywood pieces and trimmed to 1/2 in of the edges. that made it much easier to clamp, align  and screw. A thick bead of epoxy goes on all contact surfaces before final fastening. A helper comes in handy to set the pieces down. The radius on the cabin top was the hardest so I started by screwing the centerline down. Then using a cargo strap to start the bending. Then from the strap outwards adding 2 inch spring clamps, a few on each side the the other side until it was all secure. Now the tricky part to eliminate voids on the radius is to add more screws to the top of the bulkheads. Work from the center down and from the center forward and aft. Without these screws I found that I had areas where the plywood did not touch the bulkheads.

deckingdecking2some details

decking-joint detail decking joint detail 2 decking joint detail 3 beam view cabin flange forward beam box cabin_topand the finished hull.

All decked out and nowhere to go!

all decked out


Glassing the deck

I will add some more pictures here after glassing the second hull. These are the things I learned.

It was impossible to do a large glassing job and keep the glass against the inside radius creating air voids through out the joints. So unlike the picture below where I tried to minimize the pieces of glass to do the job, I am going to try something different for the starboard hull.glassing_measuring_cloth glassing_fwd_deck

  1. Start by fiberglassing the beam boxes first
  2. Then the center deck and up the cabin house
  3. Followed by bow
  4. Then the cabin house top and side
  5. The aft deck and transom